Mandala Drawing: Everything You Need to Know About Mandalas
If you’re looking for a unique and creative art experience, mandala drawing is something you’ll truly enjoy. It’s known that drawing mandalas and surrounding ourselves with them has therapeutic and inspirational effects. So we encourage you to try mandala drawing to look at things from a different perspective and unfold your creativity on a different level. In this article you’ll learn the origins and history of mandala, understand its exceptional benefits and get an idea how people use it to relax. Moreover, you’ll get a comprehensive list on the materials you need for mandala drawing. We also provide you with a step by step tutorial to create your own mandala. Either you have tried it before or totally new in the topic, you’ll find something useful and enjoy creating a personal mandala for yourself.
What is a mandala?
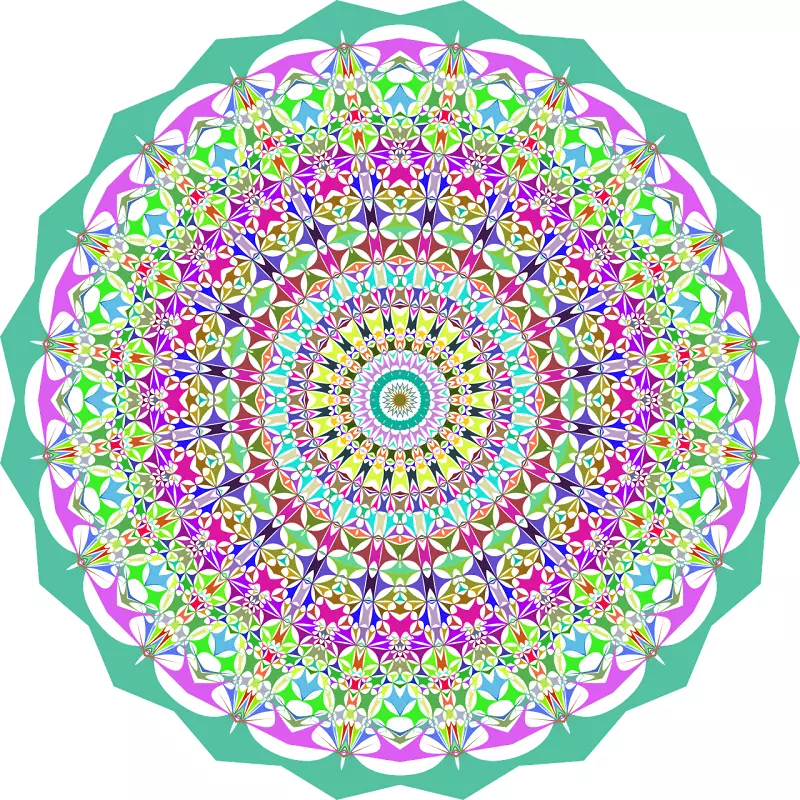
Mandala is a circular shaped design, usually decorated by different colours. It’s originally a spiritual symbol in Hinduism and Buddhism, representing the universe as a whole. It’s built around a centerpoint, making sure that every detail of it is connected with each other. It can contain both geometric and organic forms. In some cases, mandalas contain recognizable images and illustrations, but it’s not too common. Usually it’s made of tiny shapes, following a repetitive pattern which becomes an abstract design at the end, coloured beautifully. Mandalas are widely used to help people meditate and find their inner peace. They also help to be present and find answers to your spiritual questions.
An art therapy
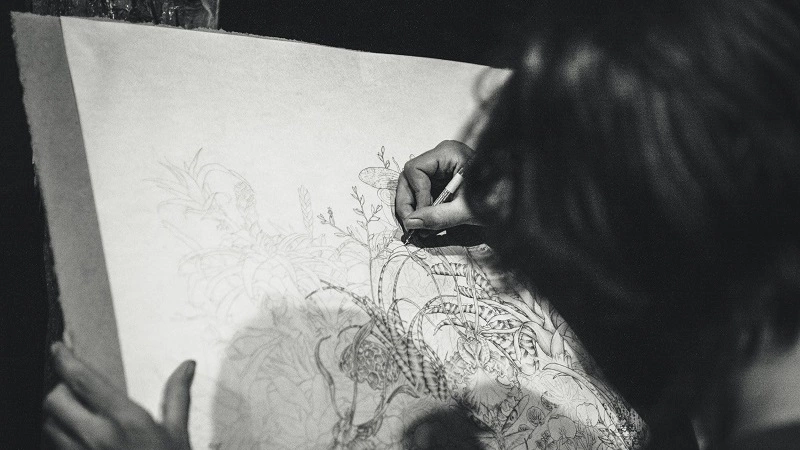
Anyone can make a mandala. Mandala drawing is known as an art therapy, as it’s a slow and meditative process, where you have to be focused and very precise. It slows down the thoughts and helps you connect with your inner self. So creating a mandala is much more than art. Mandala drawing is the best practice to listen to your soul. It gives you boundless freedom, as there are no rules to follow. You can use any kind of form and shape you want. What is more, the colour selection is also based on your style and mood. So you can truly express yourself when creating mandalas. On the other hand, you’ll feel more relaxed and complete. Drawing specific shapes and patterns and finding colours that represent your current mood helps to understand your feelings and be energised. If you’re facing challenging times, it definitely helps to empty your mind and get calm both physically and mentally. And once you’re done with your personal mandala drawing, you’ll have a unique and beautiful piece of art to hang on your wall, that will bring you the best energies every day. Taking 5-10 minutes every day to stare at our work and get lost in its details is inspirational, therapeutic and healing. So learning how to make your own mandala is the best you can do!
Materials you’ll need for mandala drawing
For this meditative art therapy, you don’t need any specific art supply. You’ll need the most basic equipment, depending on what you like to use. In our previous post we compounded the must have drawing supplies, so you might get some inspiration from there. But here’s a list of basic materials you’ll need for mandala drawing.
- Sheet of paper - We recommend starting with an A4 paper size, but choose whatever you feel most comfortable with. The paper thickness doesn’t really, but consider using a thicker paper if you’re planning to use markers or watercolour to decorate your mandala.
- Graphite pencil - You’ll need a pencil to plan and draw the outlines of your design. So choose one that is not too hard. An HB type works perfect.
- Drawing compass - It’ll help you make regular and accurate shapes that are essential when drawing mandalas.
- Ruler - It’s the best to have a smaller sized ruler with you.
- Protractor - A protractor helps to create patterns and place them in equal distance from each other on your paper.
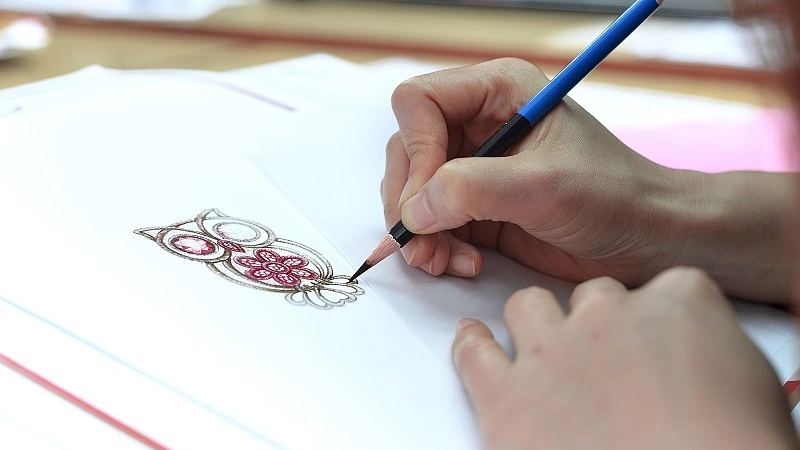
- Fine liner or ink pen - It’s optional. You can use liners to redraw the pencil marks once you’re done with outlines. It gives you more defined lines and a total different look. However, if you’re planning to use watercolour later to colour your mandala, ink pens are not the best to use. The water will dissolve the black ink and it’ll ruin your work. So in these cases, we recommend you to work with pencil only.
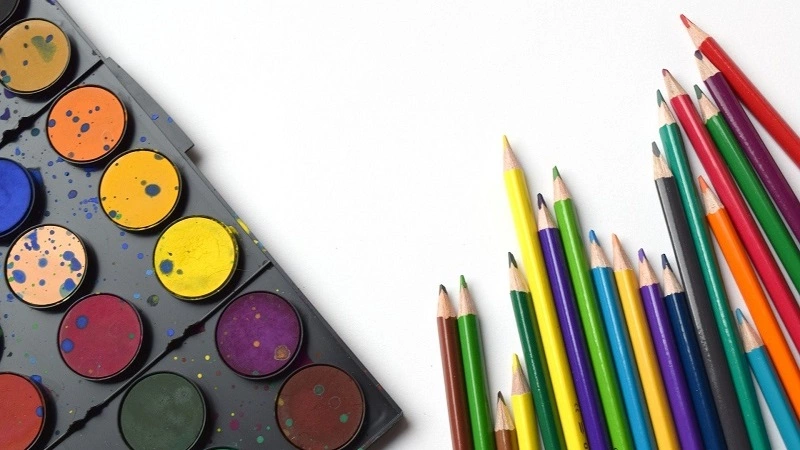
- Colours: pencils, paint, watercolours or markers - Have a collection of coloured equipment around you. It can be pencils, markers or any kind of paint you like to work with. These you’ll need to decorate your final work.
Create your own mandala - a step by step tutorial

Creating a mandala is a unique art therapy that requires a proper mindset. Make time for it and consider the process as some precious time for yourself. Feel free to put on some meditative music that helps to focus even more. It’s an activity that you’re doing for yourself. So don’t think about the outcome or how your environment will react to your mandala. It’s all about you and your own creative word. So enjoy every moment of it. By following our step by step tutorial, you’ll get the basics of drawing a mandala. Use this as a guideline to get started, but let your intuitions lead your hands and mind when creating this inspiring and meditative piece. So prepare the materials you’ll use, be present and let’s get started.
- Step 1 - Planning
Start with a tiny dot at the middle of the paper. This will be your centerpoint. Use your compass to draw different sized circles starting from that little mark in the middle of your paper. When drawing the lines with your compass, apply different distances between them. You can decide the number of circles - there are no good or bad solutions. But the more is the better, as it will help you make a beautiful, detailed mandala. We recommend around 10 lines. - Step 2 - Slicing
Once you have all the circles marked, you’ll need your protractor to divide the circles into equal parts. The number of slices are your decision, just make sure that they have the same size. A number between 8 and 12 slices works well, but there are no rules to follow. Once you have marked them, use your ruler to connect the points. Go from side to side, so your divider lines will run between the outer circle, crossing each smaller one too. It will start to look like pizza slices. - Step 3 - Draw the center of your mandala
Now you have a beautiful template that you can start to fill with shapes you like. You’ll need to start from the absolute center. So now focus on the middle, where all your lines meet. Start by filling out the smallest circle. It’s quite tiny, so think about a shape you can easily repeat in such a small space. Small circles, flower petals or tiny lines might be a good choice. But use your intuition and creativity to make a nice repetitive pattern inside the first circle. - Step 4 - Contours
You can darken the circle to make clean boundaries. You can do that either by drawing a contoured line or tiny circles around it. It will provide a clearly visible starting point for the next circle. - Step 5 - Follow this pattern
Moving to the next circle, you have the opportunity to create even more interesting shapes. Always make sure to copy them around the circles and make repetitive patterns. You can vary the shapes and forms in every circle and close the circles with contour lines before moving to the new one. - Step 6 - Finishing of the mandala
If you’re done with creating tiny circular patterns around your mandala, you can give a unique finishing to it. You have the chance to close the biggest circle without using contour lines, only drawing small shapes and patterns around it. It will have a more open feeling and a pretty style. - Step 7 - Colouring
Now it’s time to colour your work. Choose any material you feel like working with it and let your mood unfold when making choices on your colours. Make combinations, play with the shades and find what appeals for you the most. Take your time and always stay inside the lines when colouring.
If you want to use your mandala later as a wall decoration to attract certain energies into your every day, take a look at the following list to get an idea of the meaning of each colour.
Orange: intuition, transformation, creativity
Yellow: joy, cheerfulness, wisdom
Red: passion, excitement, love
Pink: gratitude, sensitivity, beauty
Purple: creativity, luxury, spirituality
Blue: calmness, strength, confidence
Green: peace, balance, safety
Brown: stability, reliability, balance
Grey: stability, maturity, balance
White: freshness, hope, truth
Black: power, elegance, sophistication
If you’re curious about the detailed meanings behind colours, check out our previous article and find out more.
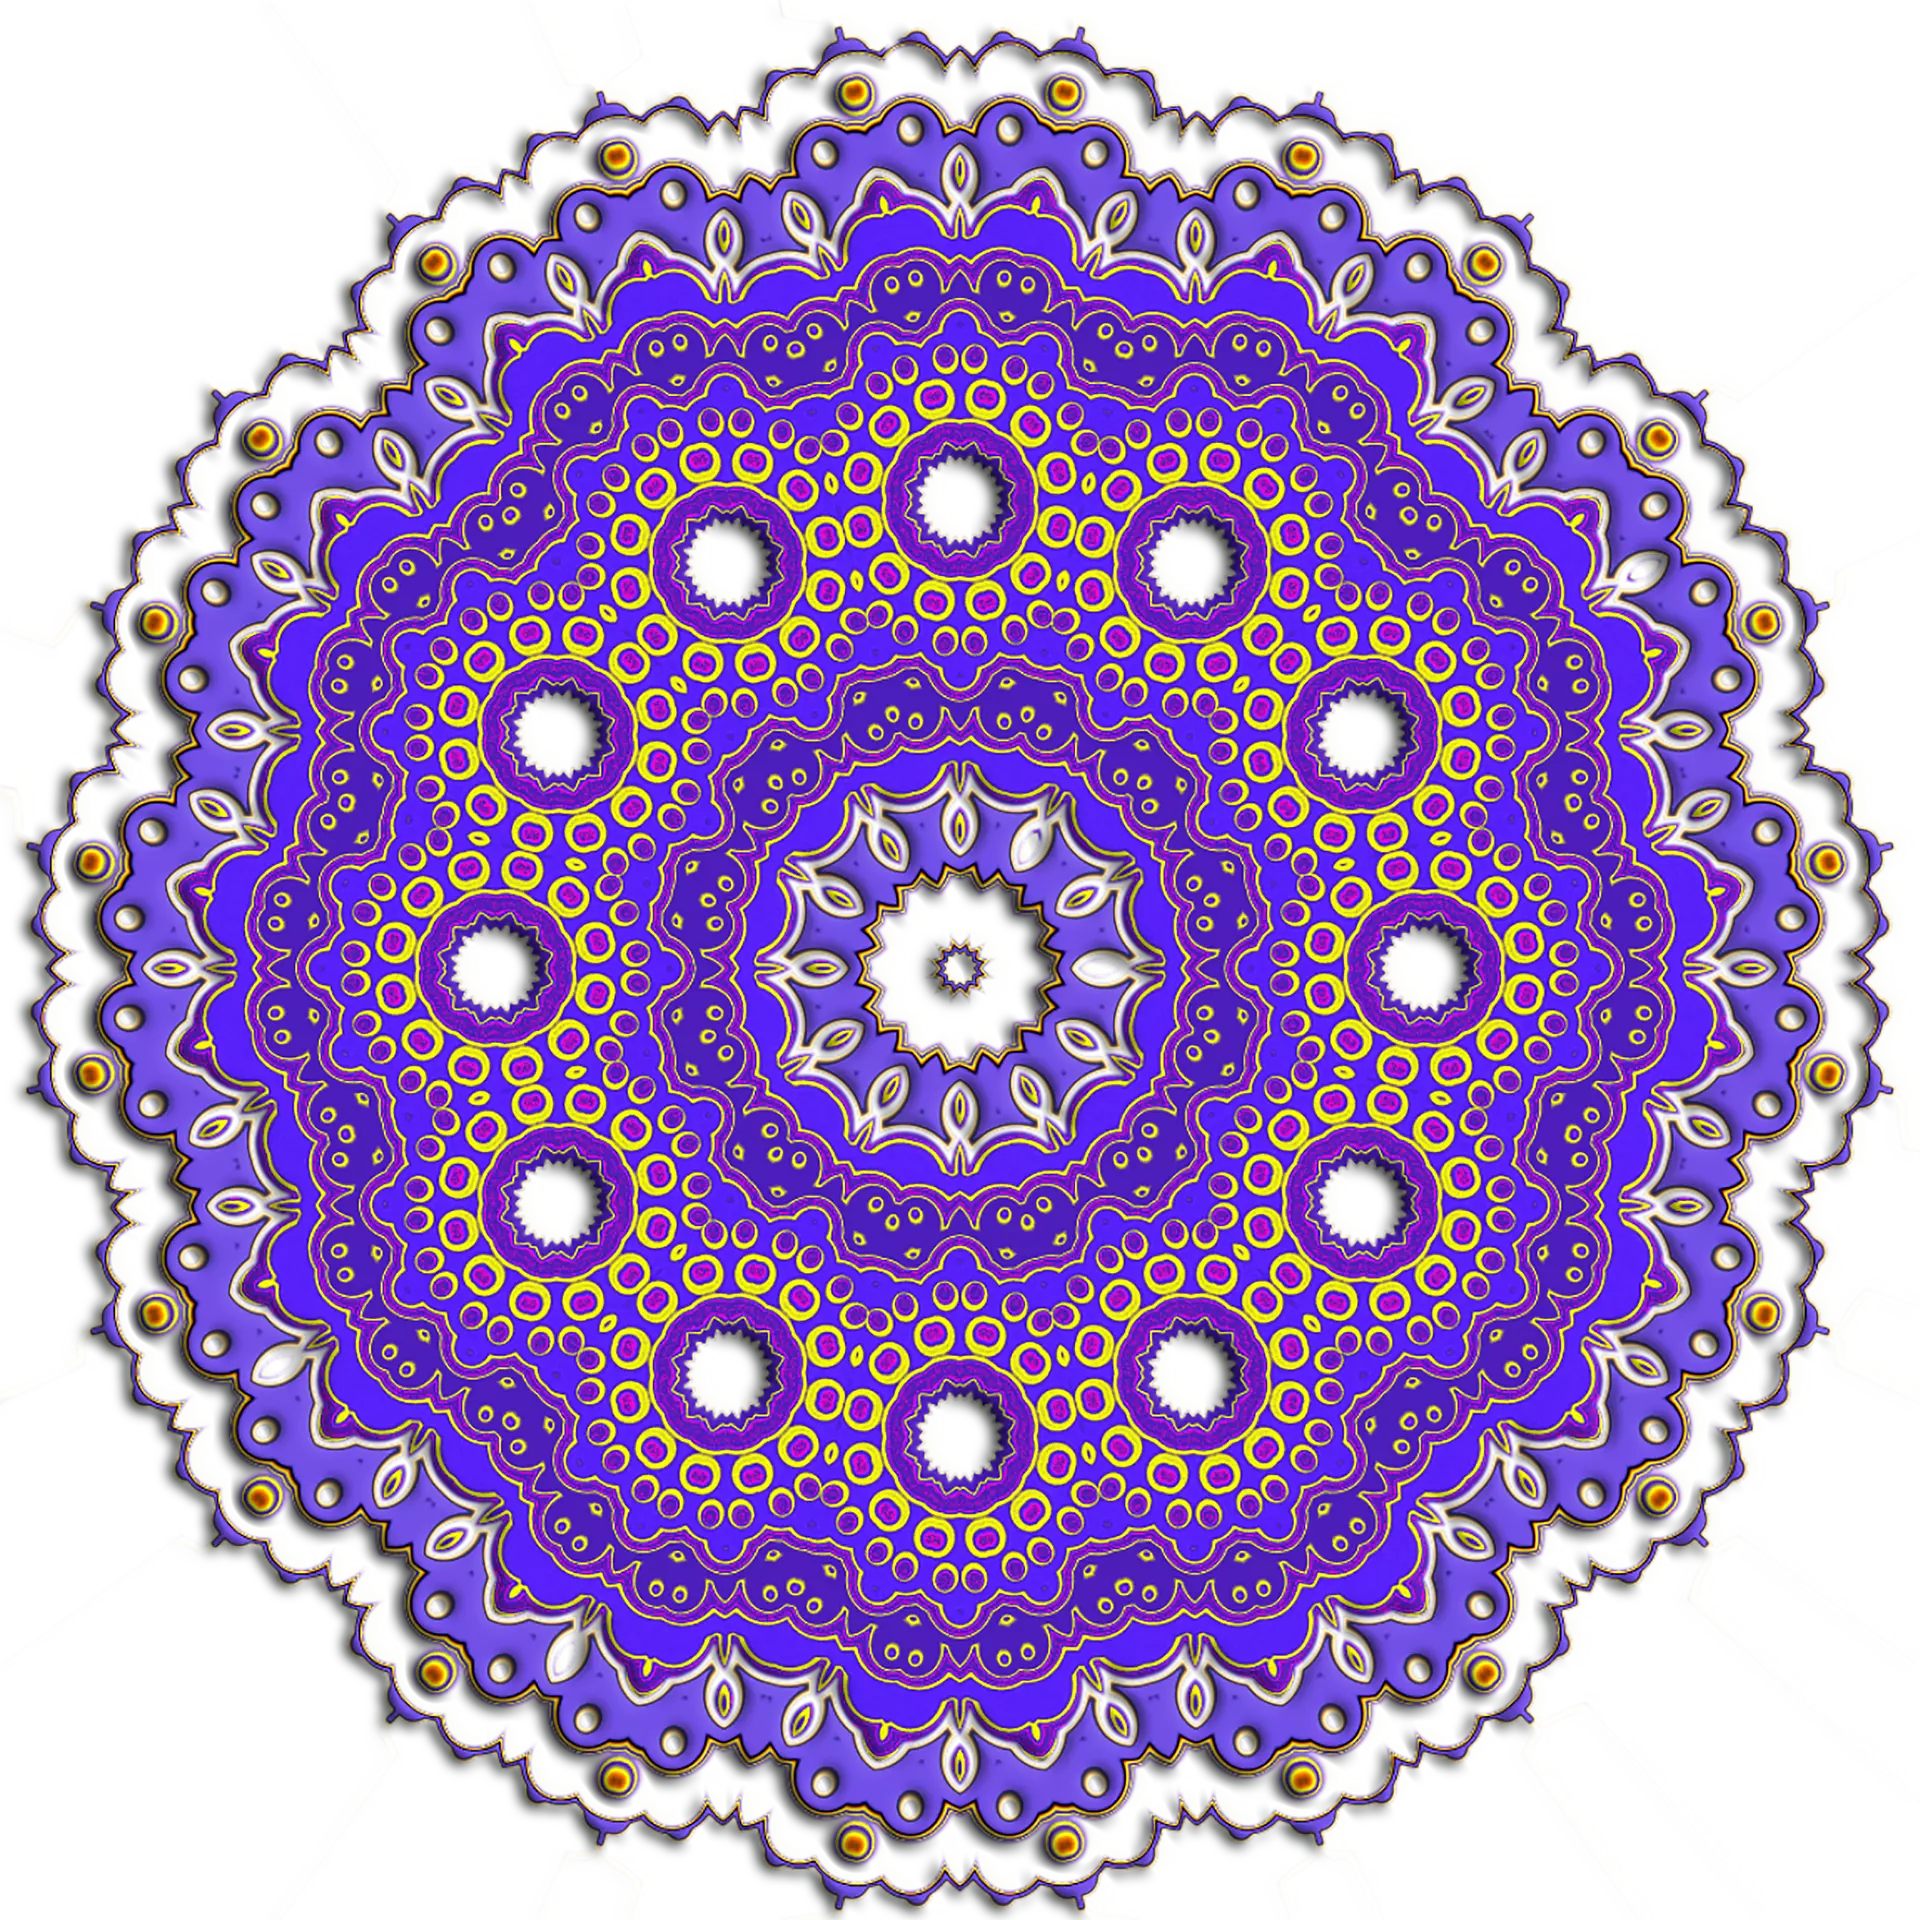
You have a mandala now! Take a moment to stop and reflect on it. Do you like it’s colour? What does it tell you as a whole? Spend a little time looking at it to take in all it has on offer.

