How to draw a Butterfly?
We all know that we live in a beautiful world consist of flowers and animals and one of the most beautiful creatures we know is Butterfly. A butterfly has a beautiful marking on its wings that attract our eyes whenever we found one. Therefore, if you like a butterfly and want to be able to draw the beauty of the butterfly, prepare your pencil, paper, and eraser and let's get started!
Steps:


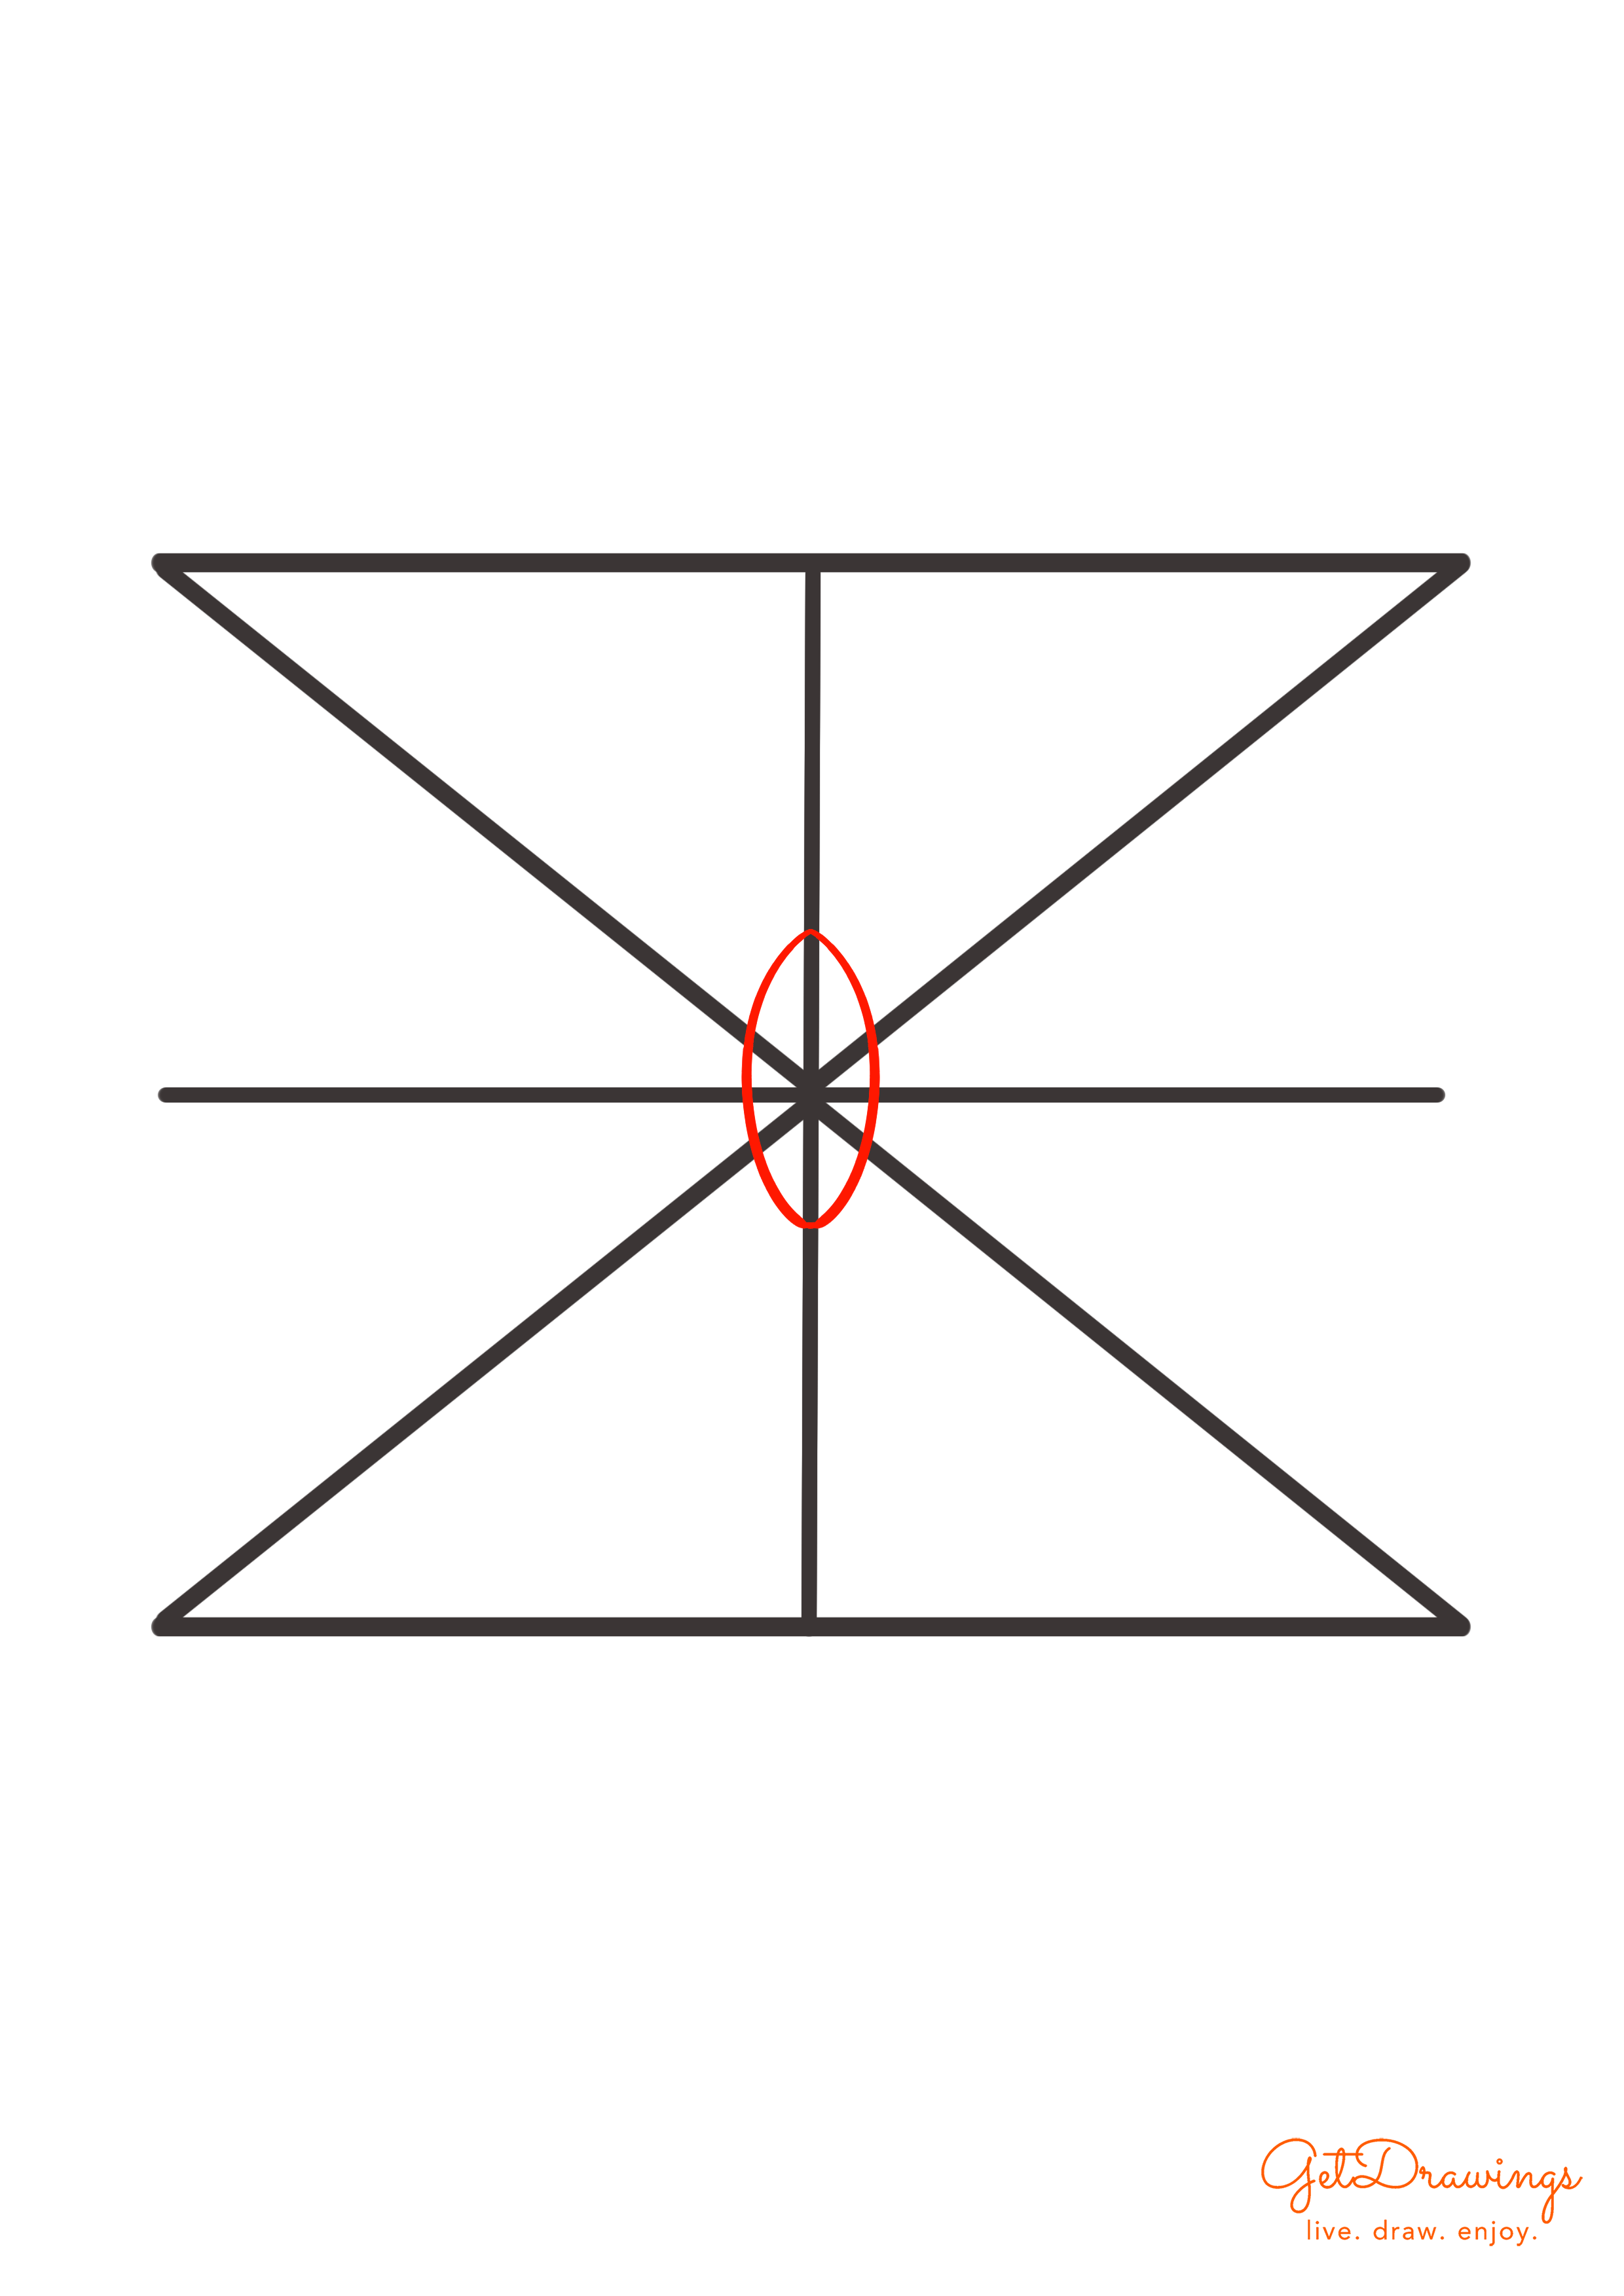
- Make two triangles for your guideline first, It must be heading the opposite of each other so your butterfly wings can spread
- Then add 2 lines vertically and horizontally for another guideline for the butterfly’s body
- Create a thin oval straight on the middle of the vertical line for creating the upper body part of your butterfly

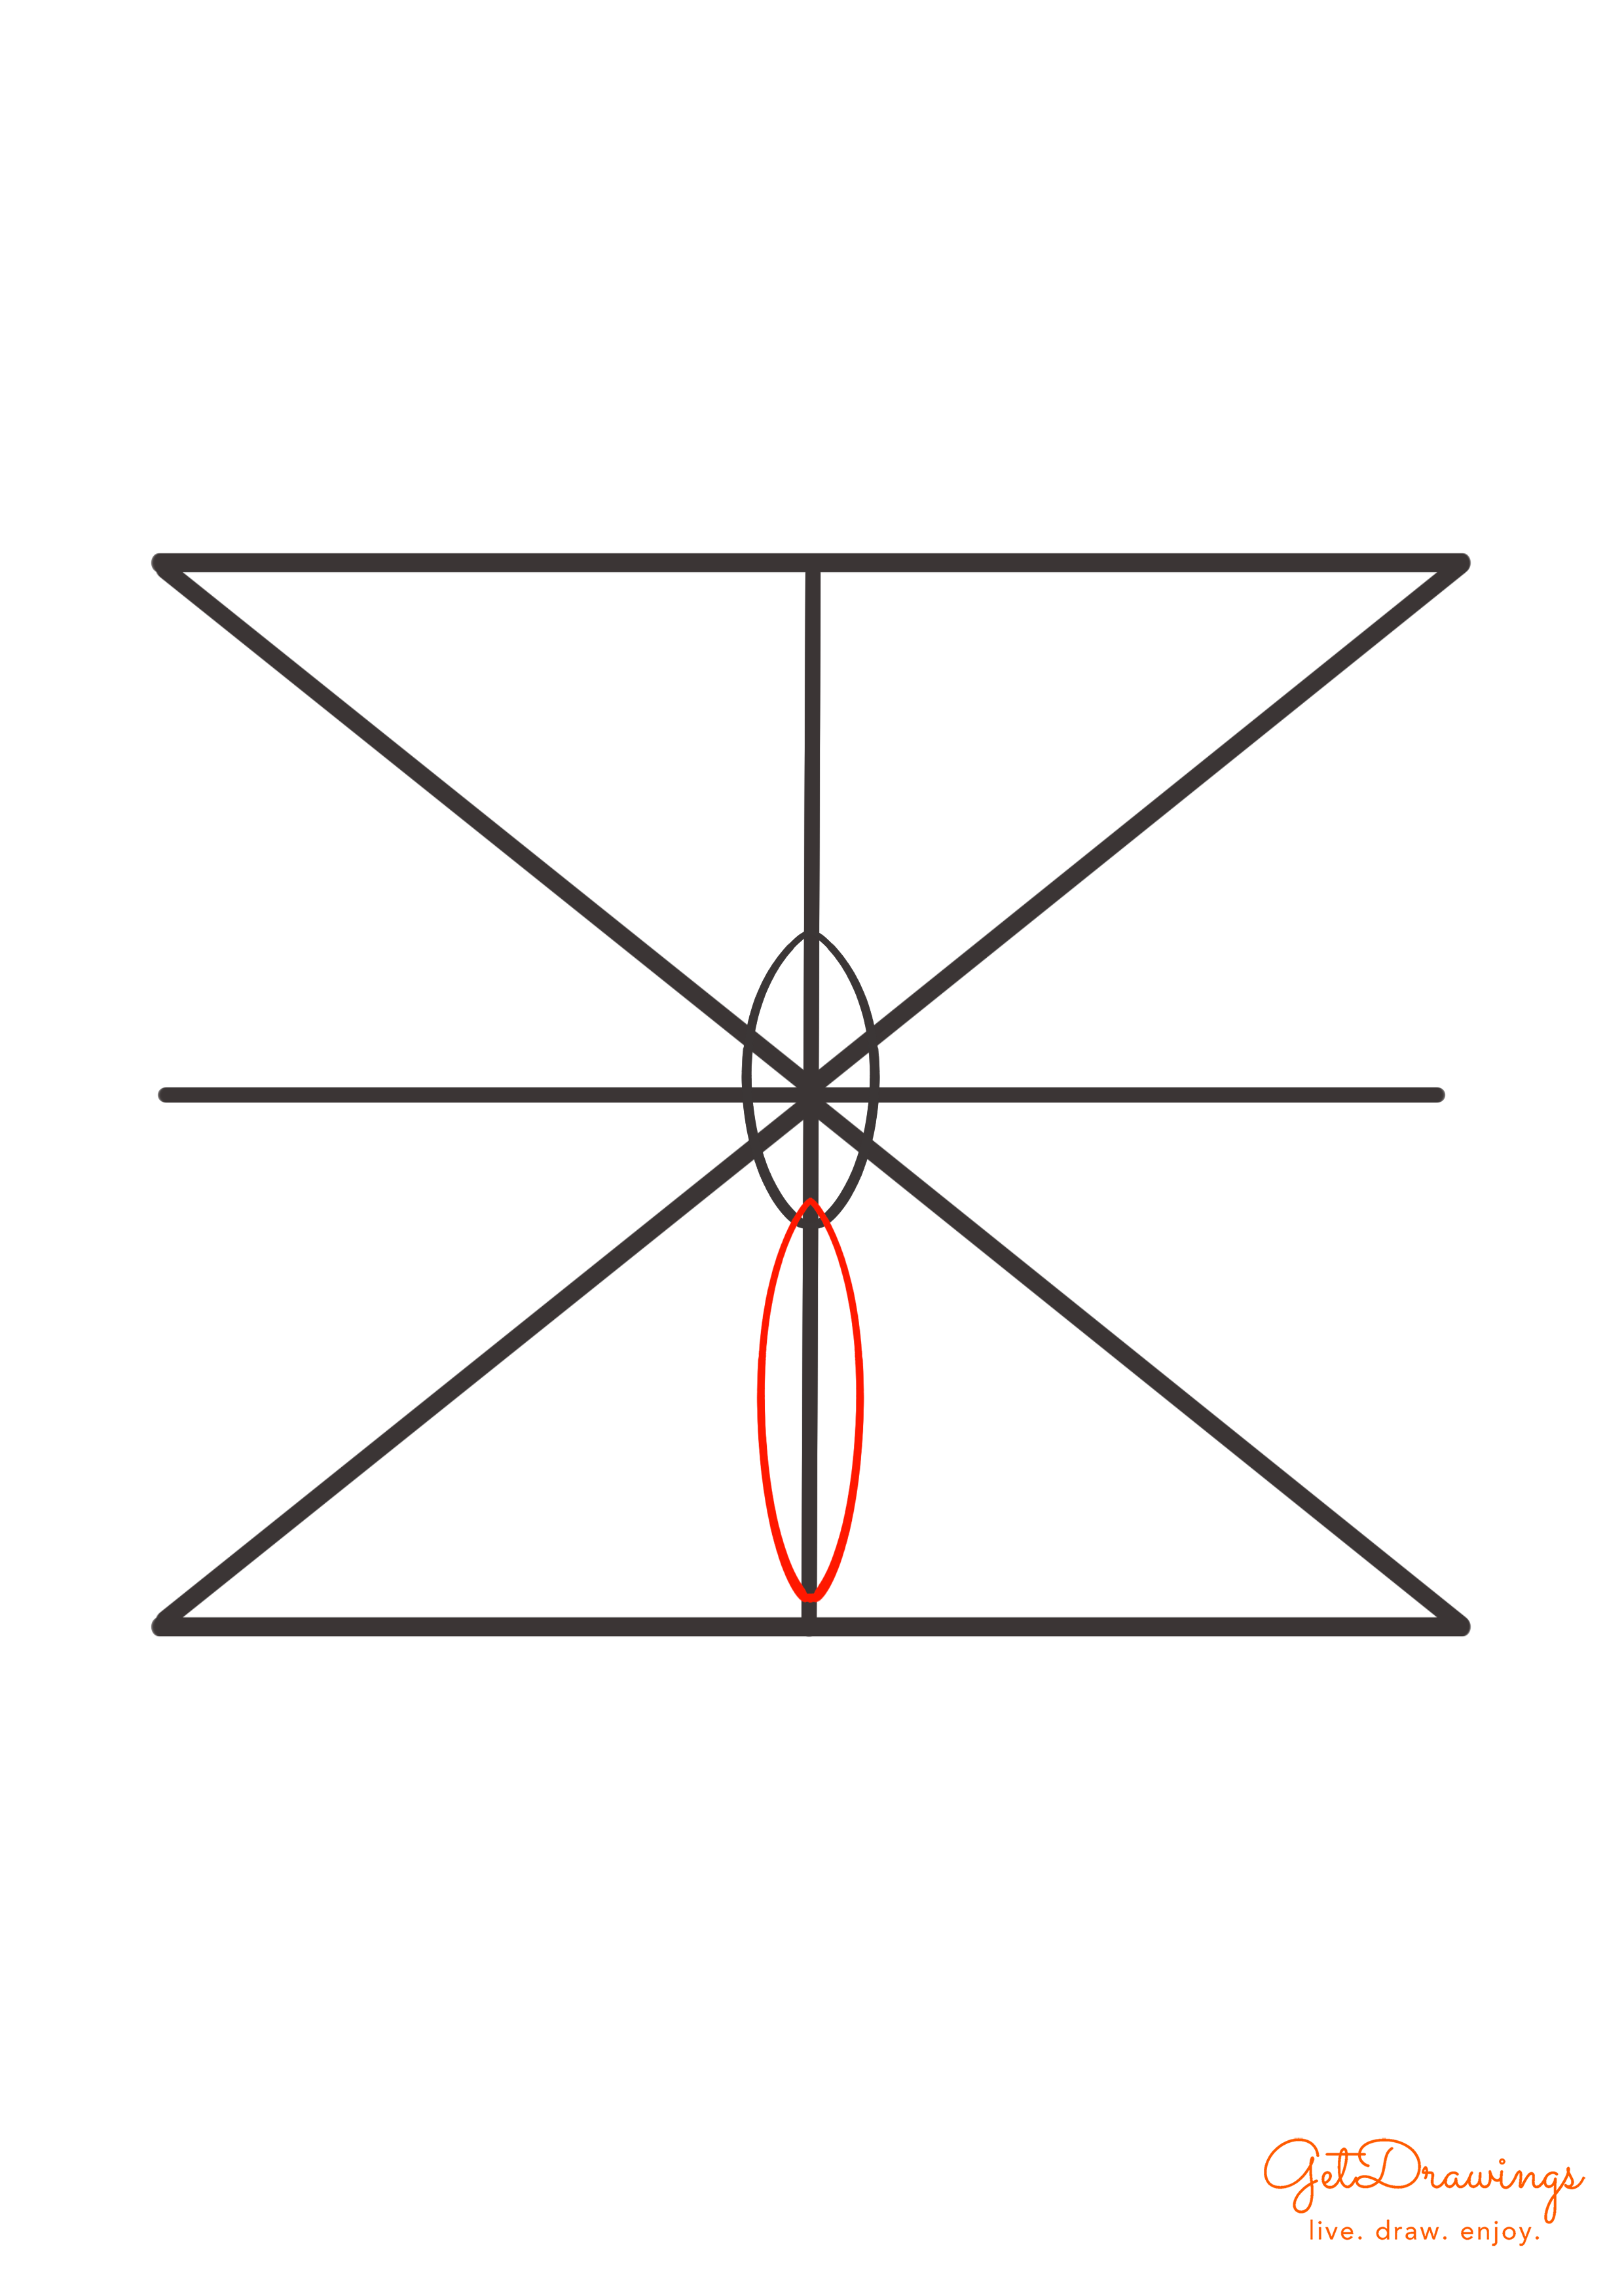
- Then, Create another thin oval below the first oval, but a bit longer for the lower body part of your butterfly

- Don't forget to create a small circle above the first oval. Since it's going to be the head of your butterfly

- And now, Create two right triangles with a rounded edge for both Butterfly's upper wings

- As for the lower wings, create a "guitar pick" shape on below the upper wings because it has a different shape than your butterfly's upper wings

- Don't forget to add the antenna! Just made two short lines above the head and ended it with two small circle

- Start to make the pattern by the first main marking that has a thin oval shape on both upper wings

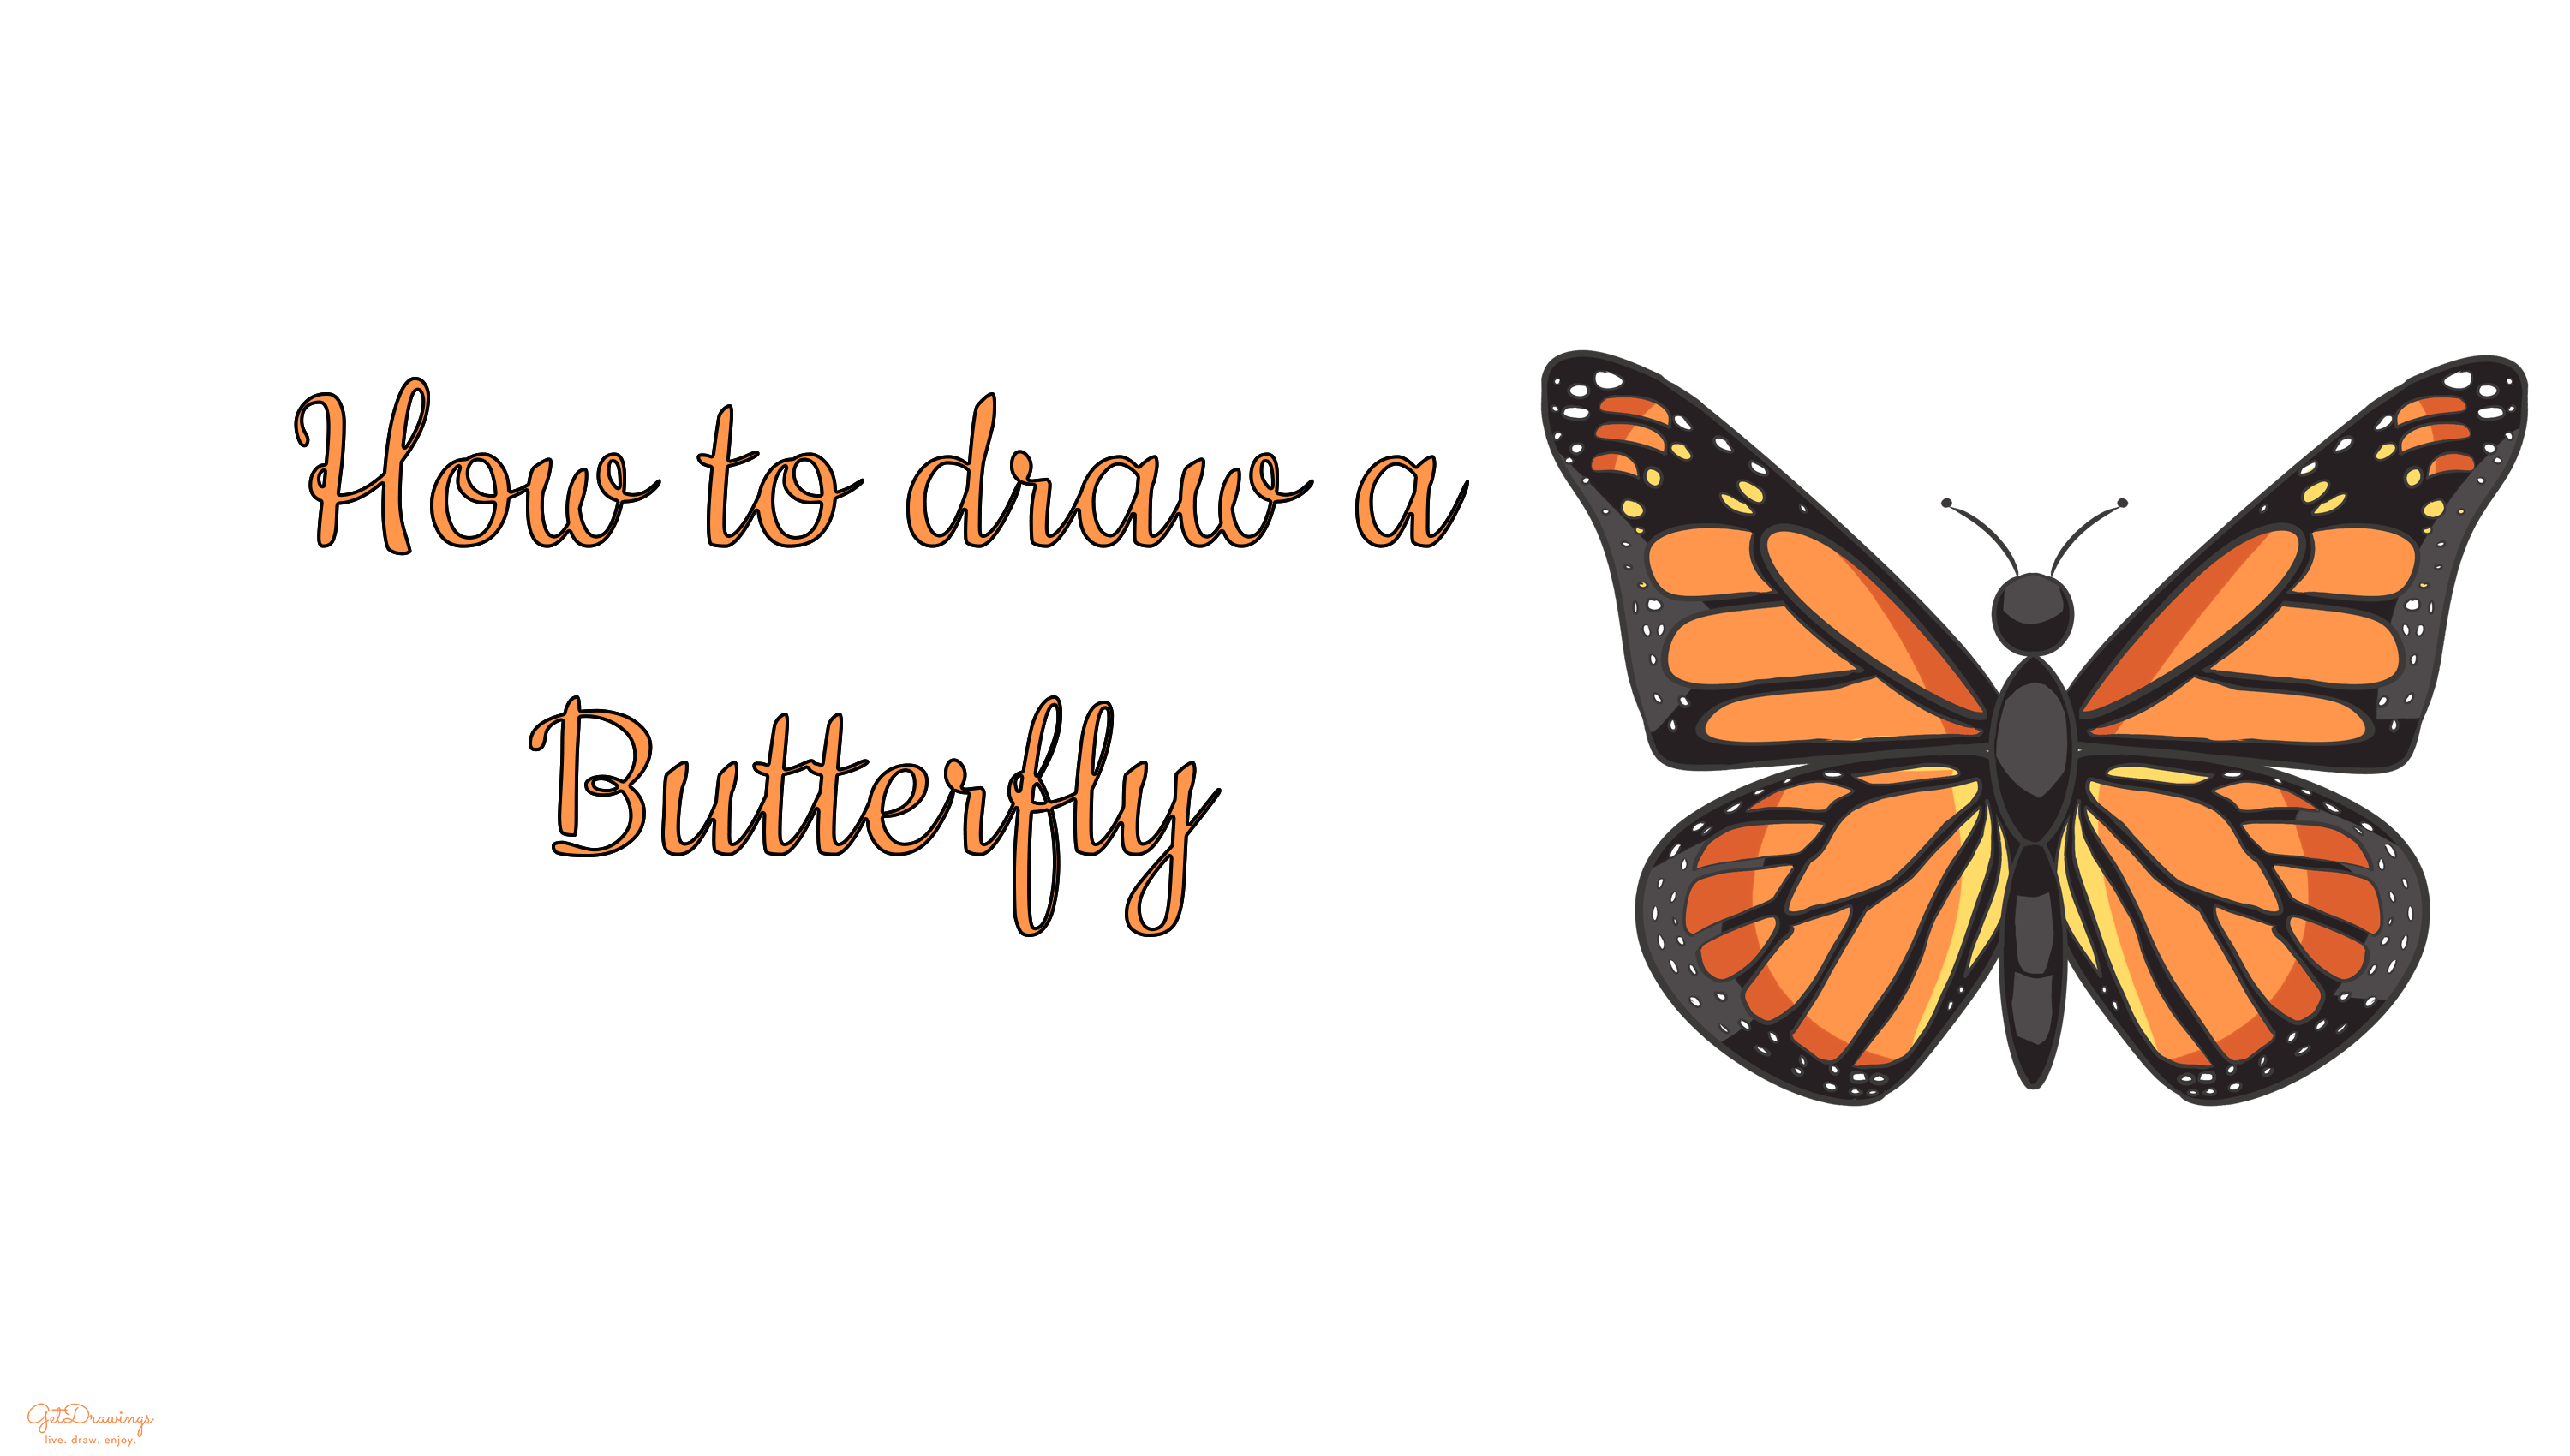
- As for the second main marking, on the lower wings, create a thin freehand "kite" shape on both wings. It doesn’t have to be symmetrical of each kite. You can see the picture for the reference.

- Continue the marking on the upper wings by making a long rectangle with curved edge and the size keeps getting longer as you draw it from top to bottom (note: you have to follow the shape of the main marking to draw the rest of the markings). It doesn’t have to be symmetrical. As long as you can imitate on the picture, you’re doing great!

- The same goes to the lower wings. If it seems hard for you, keep practicing! Since practice makes perfect

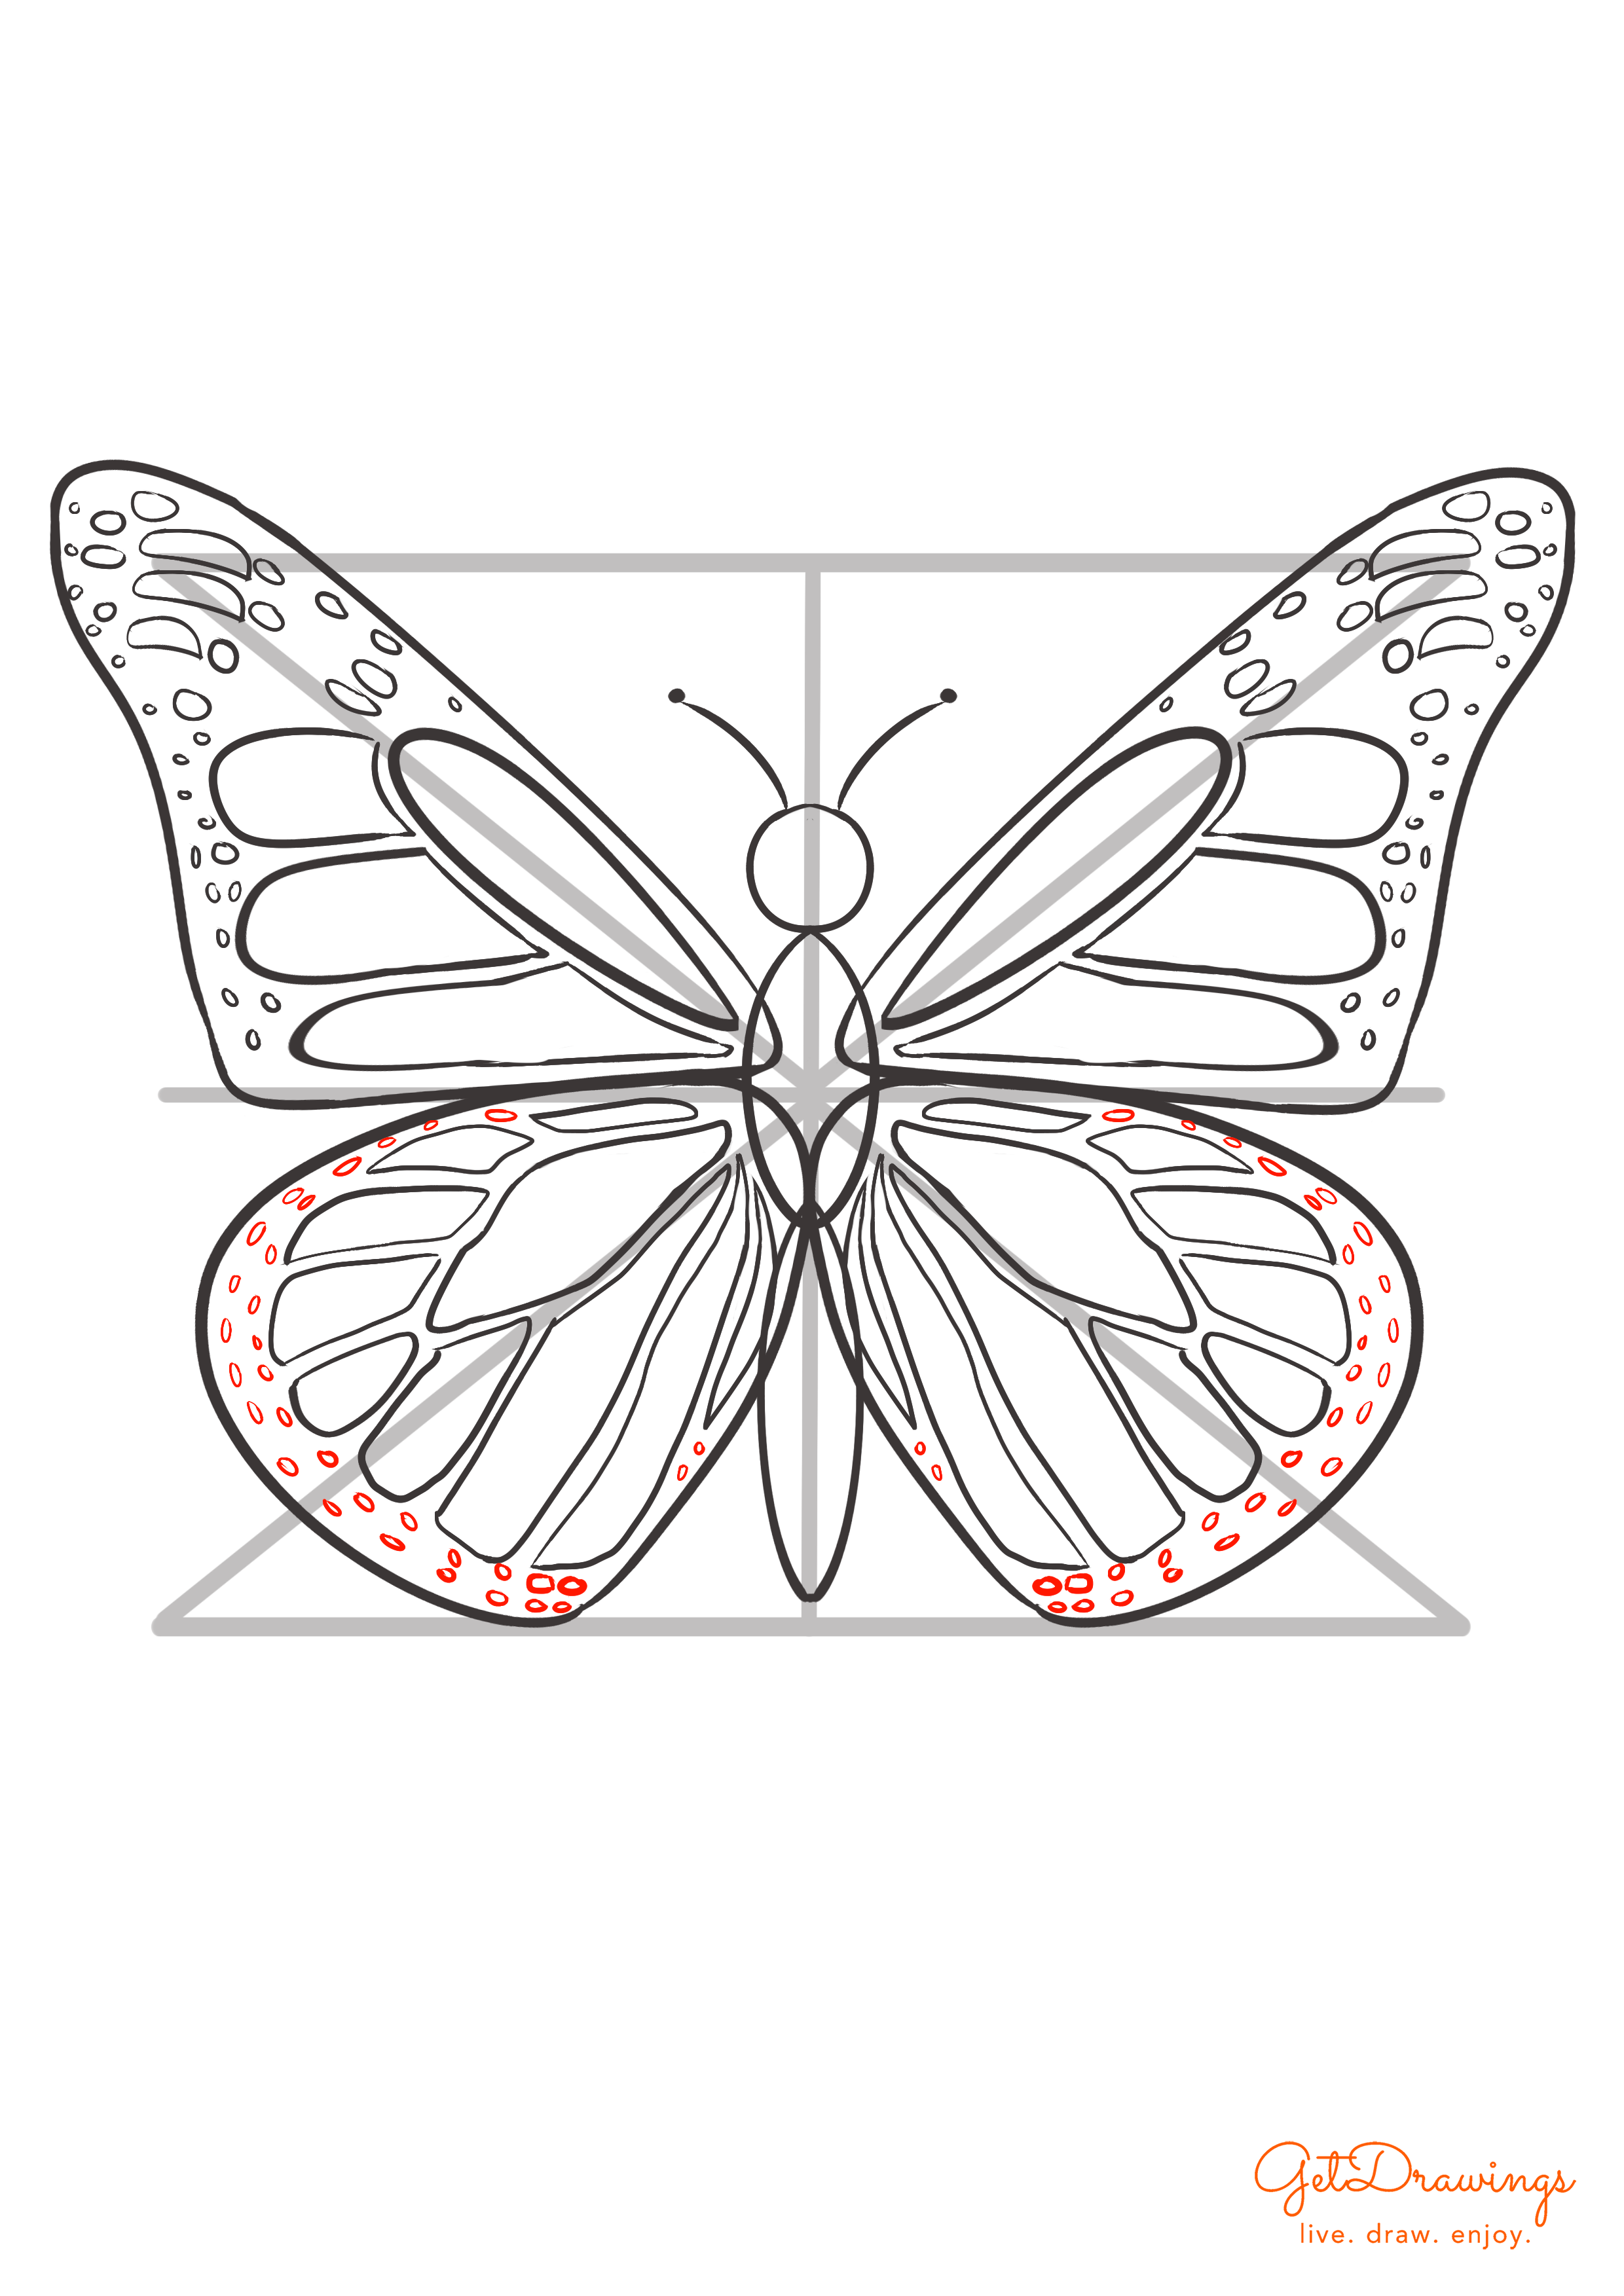
- Add tiny circle or oval to add the last marking on the edge of the wings

- Same like the 13th step But draw it on the lower wings. The marking would be a lot more than on the upper wings

- And your Butterfly is done and you can erase the guideline! Also, you can color it the way you want!

You will need to create the guideline first so you can imagine the rest of the butterfly's shape. To create marking for butterfly does indeed takes time but if you really like a butterfly, you wouldn't mind trying hard to draw a butterfly with its marking. You will need the patience to seize the beauty of this creature and when you're able to do that, you'll want to draw it more and even better!
