How to Draw Valentine’s Roses
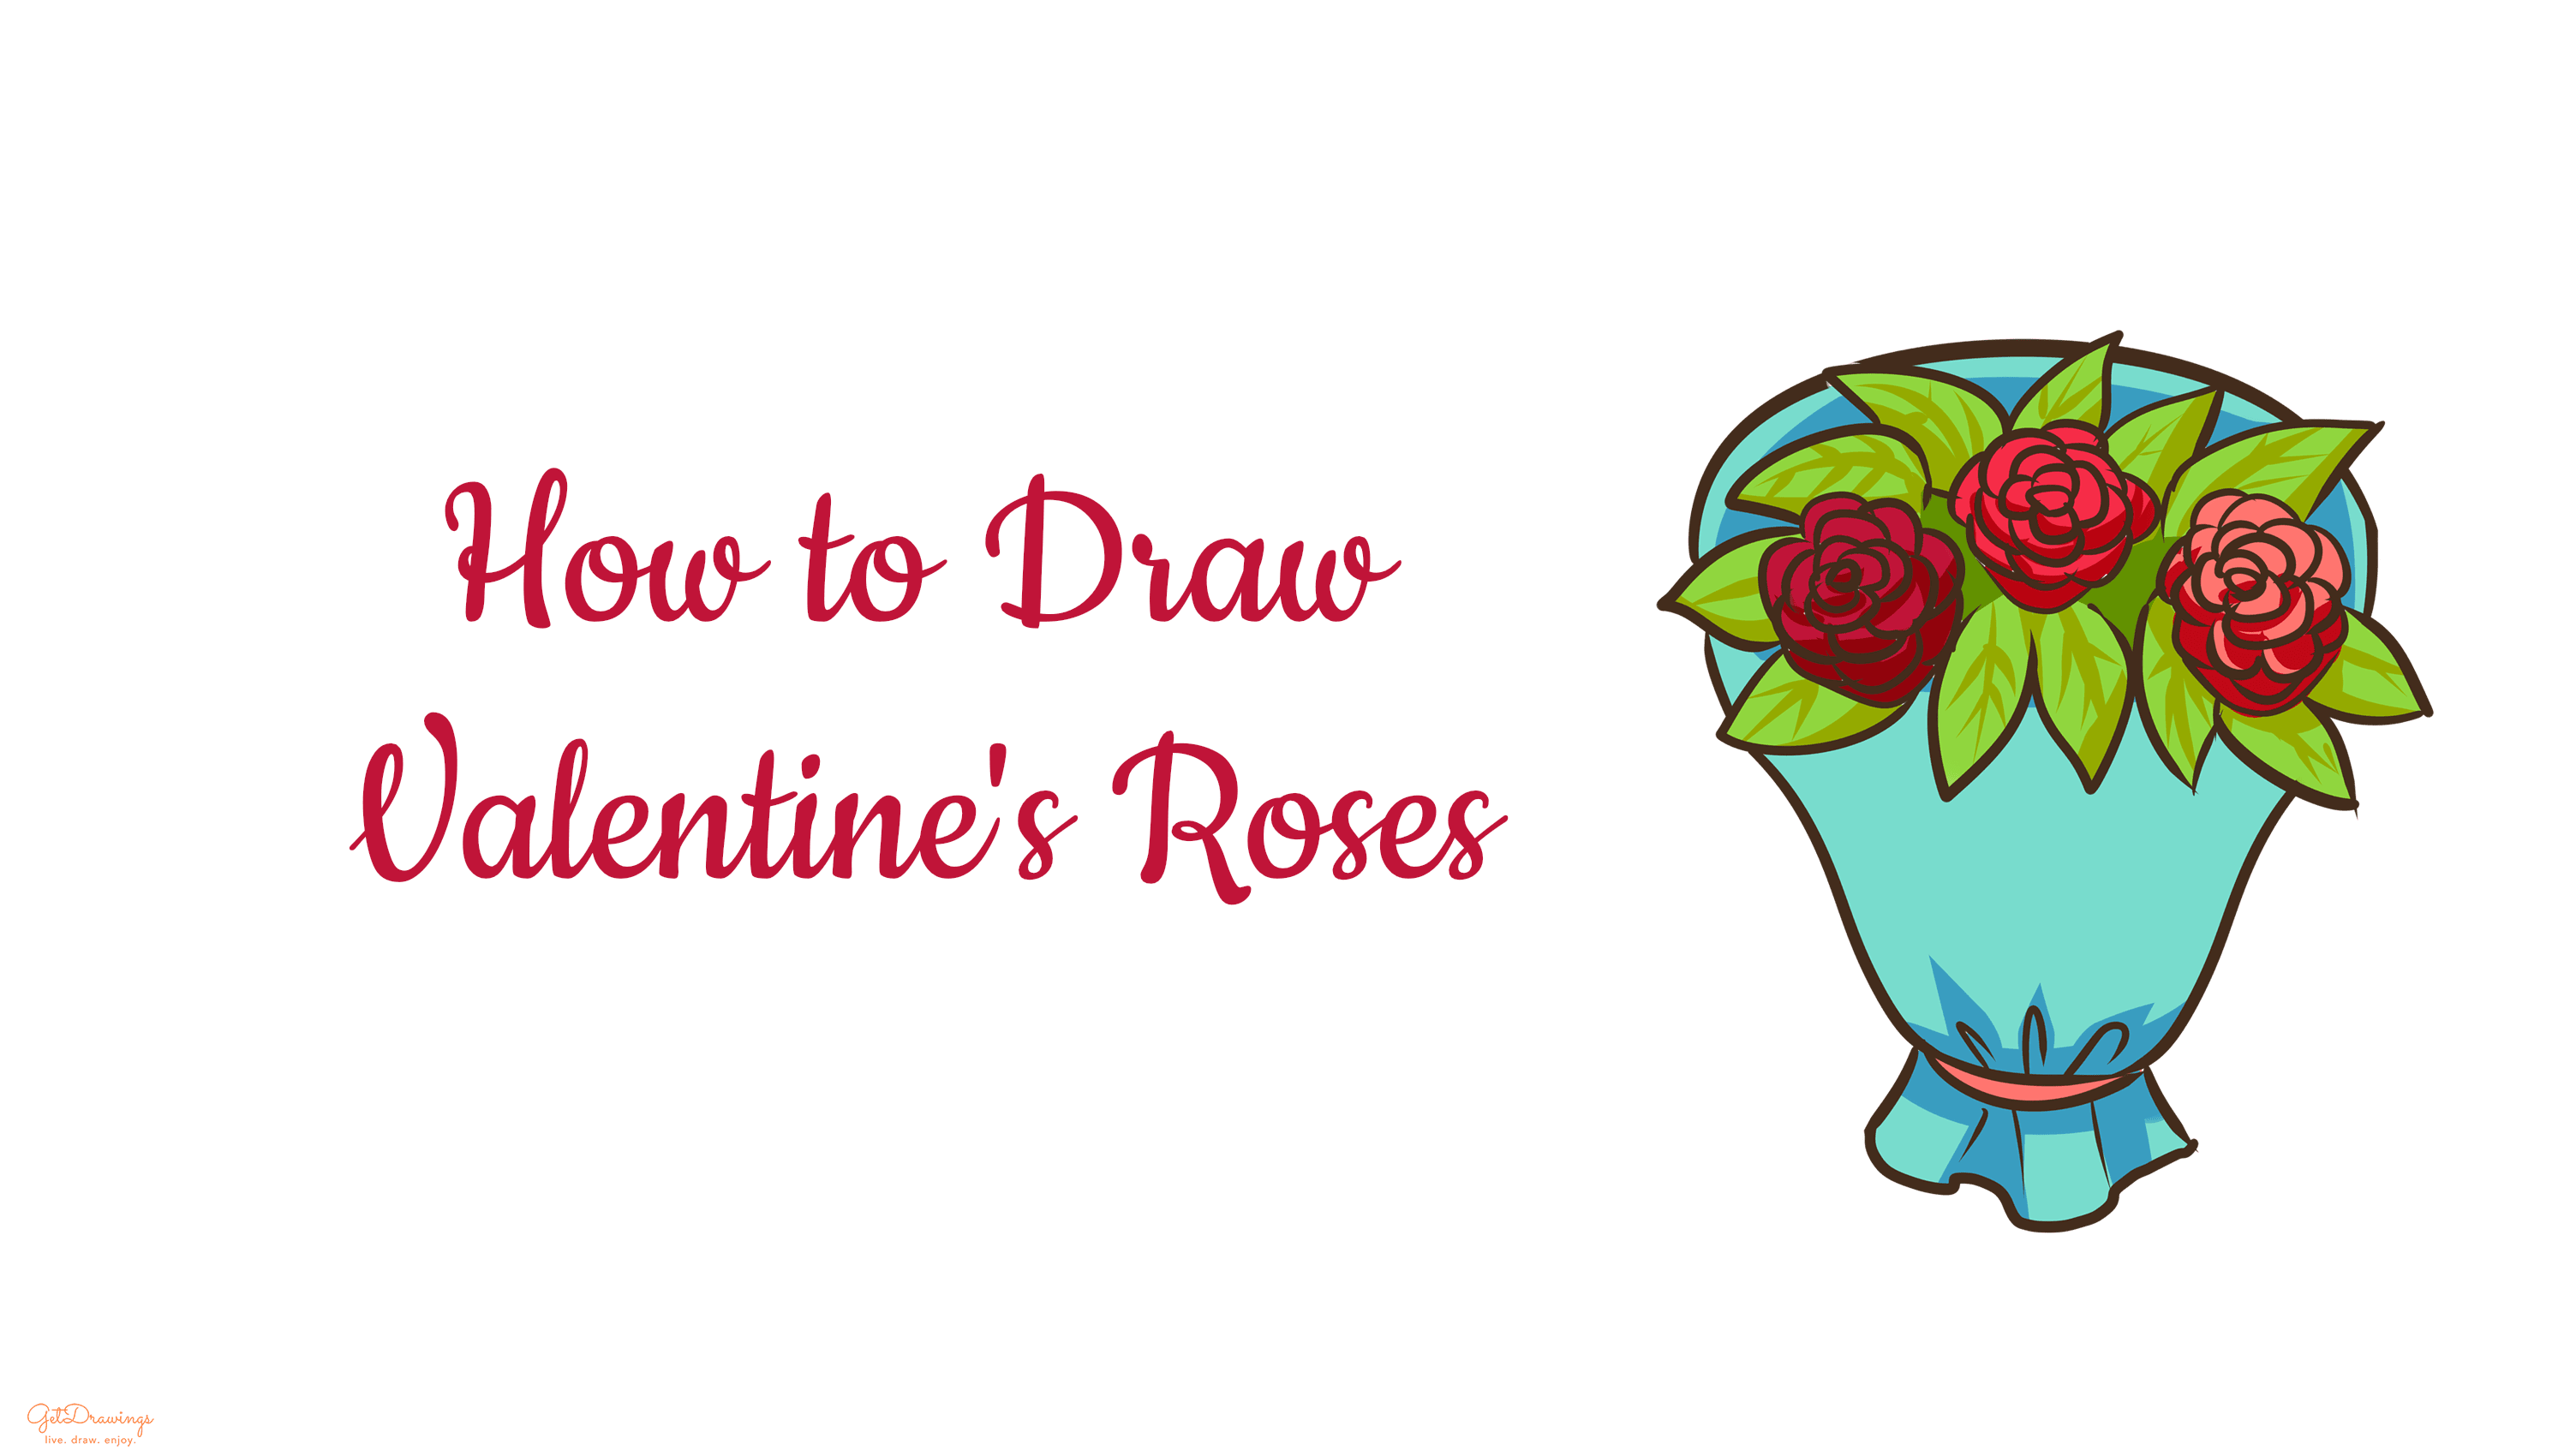
Typically, Valentine relates with any kind of gifts for loved ones. Chocolate, Gifts, or Roses. Mostly, people celebrate it with family or loved ones by giving each other gifts. The gifts are representing their affections or feeling toward one and another. But in Valentine’s it’s mostly for the love for couple, so mostly the gifts are Chocolates or Roses. Therefore, to draw Valentine’s Roses, you can follow my instructions. Prepare a paper, a pencil, and an eraser. Now we’re ready to draw!
Steps:
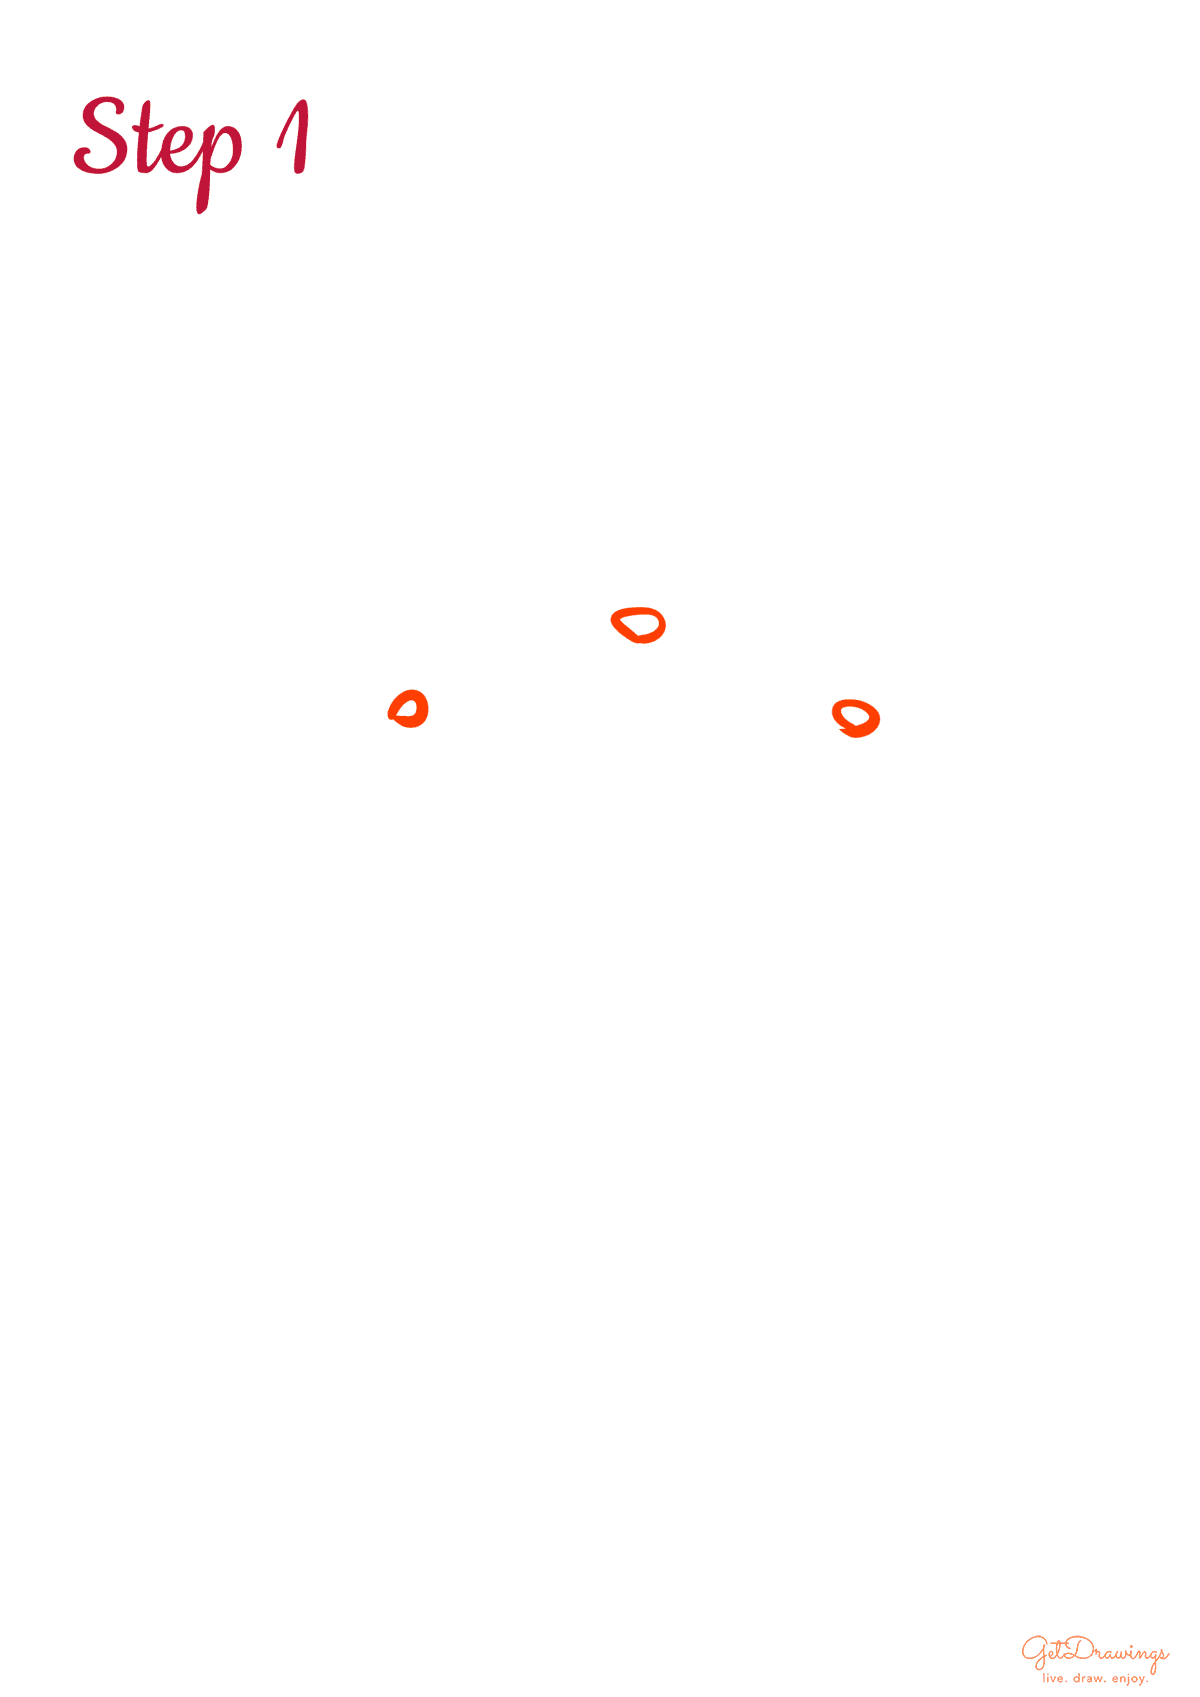
Step 1: First of all, we’ll start by drawing the guidelines. The purpose of guidelines is to help you estimate the size and to guide you in drawing the rest. Therefore, we’re going to draw from top to bottom. Therefore, we need to start drawing the rose bud by creating small ovals. We’ll be making three roses for the bouquet, therefore we’ll draw three ovals.
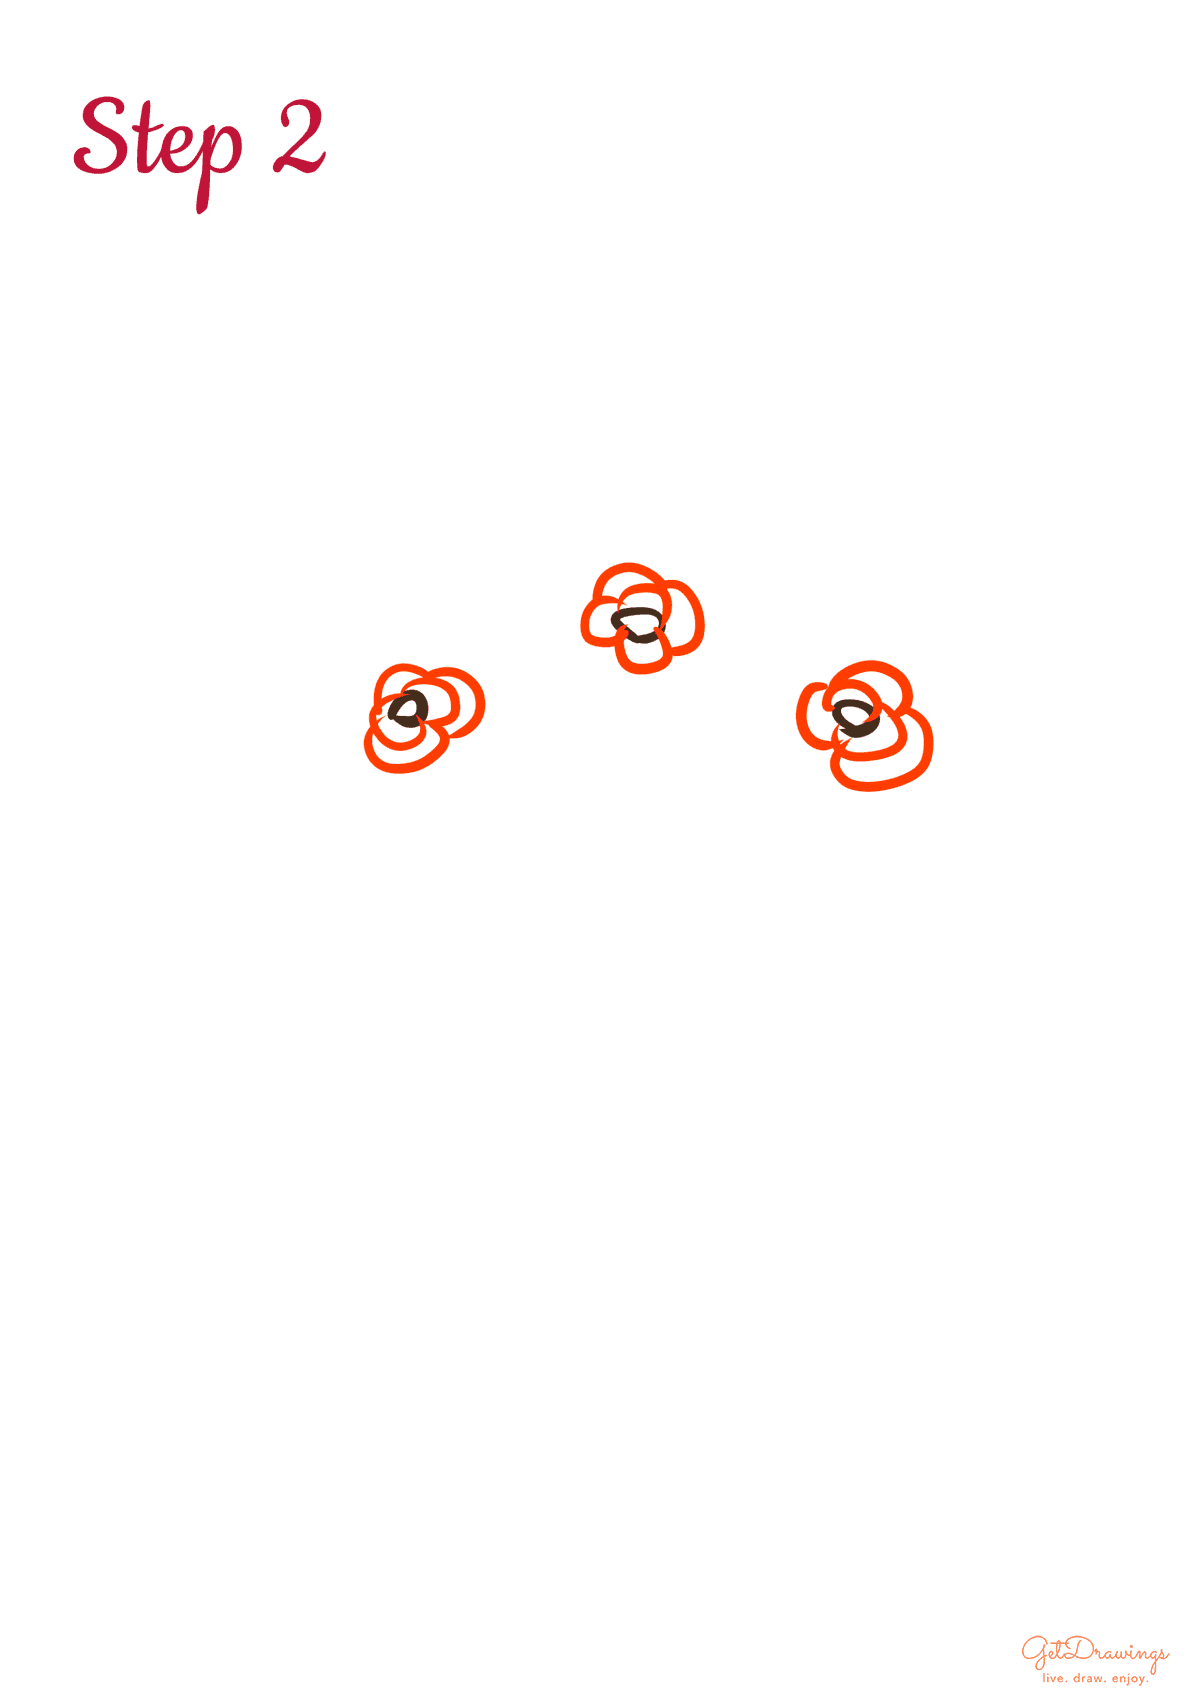
Step 2: Moving on to the next step, we’ll make the petals starting from 5 curve lines around the buds (see picture to better understand). This will be a starter to draw the roses because rose consist of many petals.
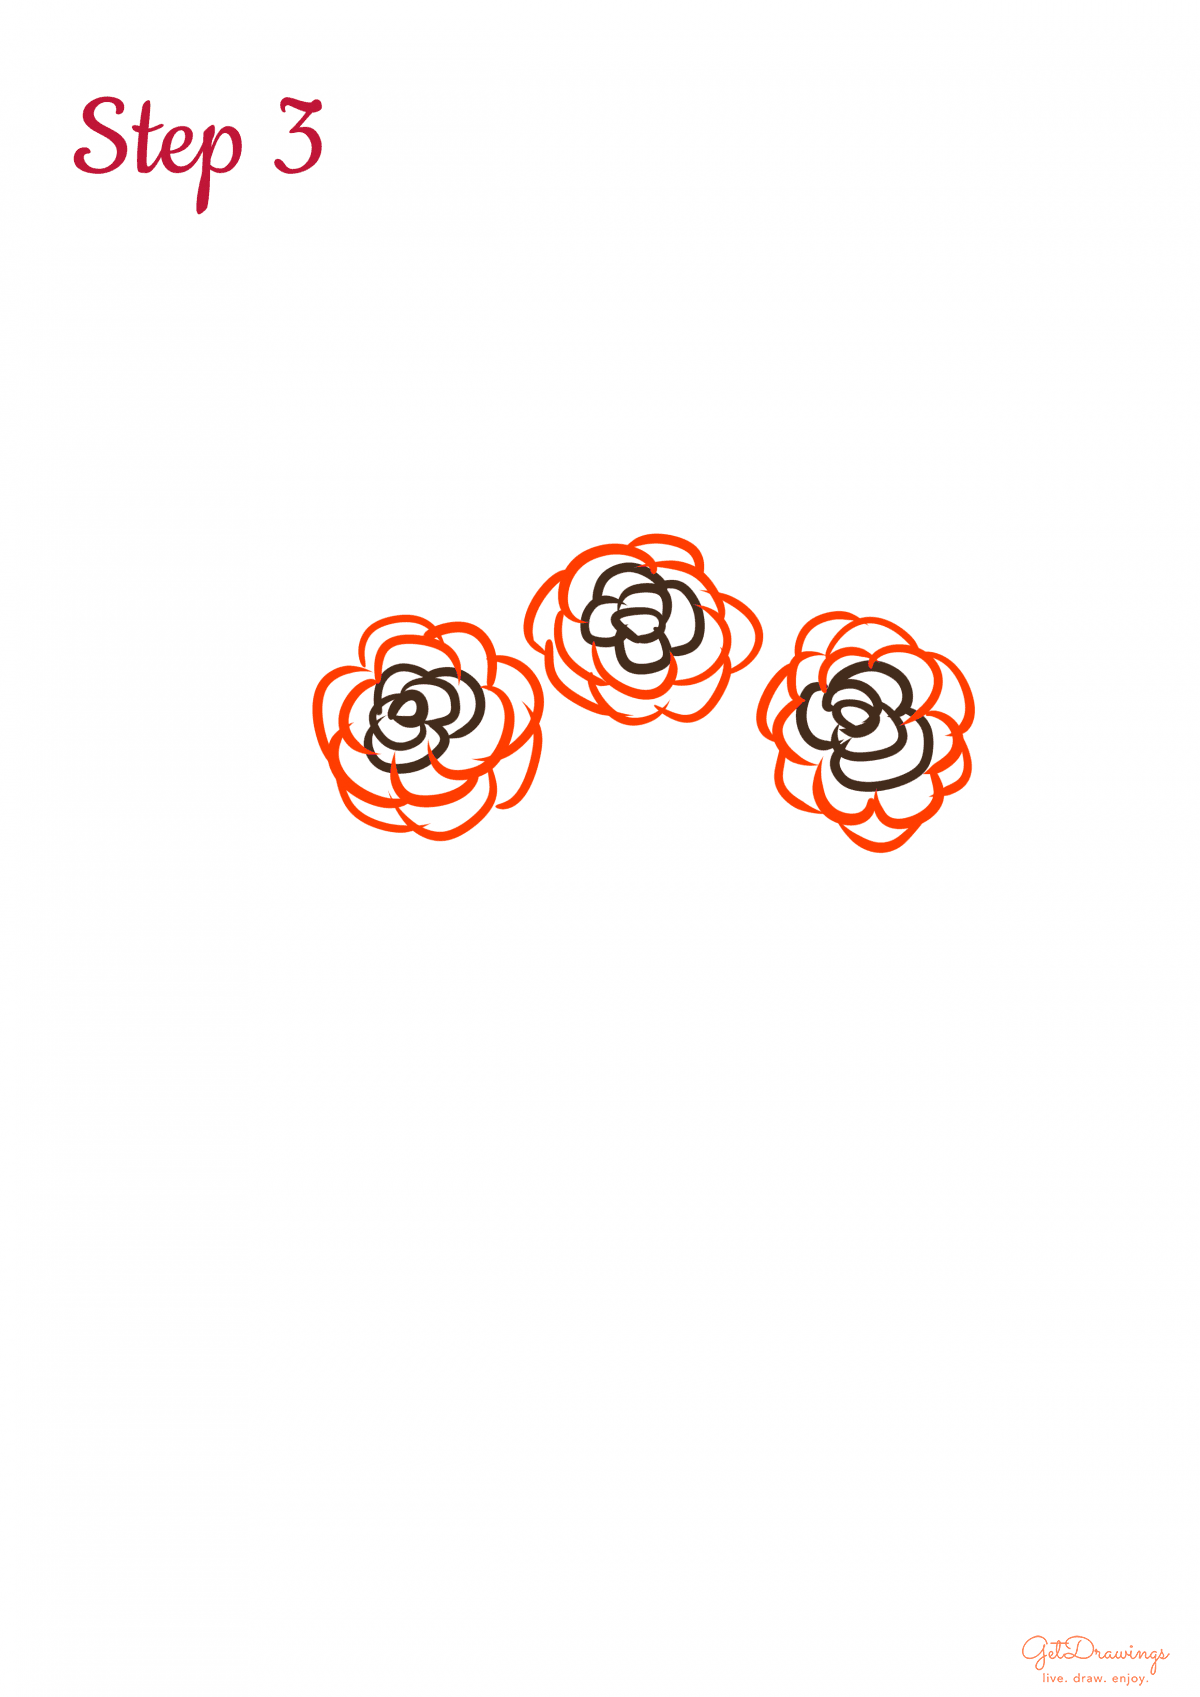
Step 3: After the previous step, we’ll continue drawing the petals around the previous step. This step must be done because rose’s petals have more than several petals. Therefore, you’ll need to create more for your roses.
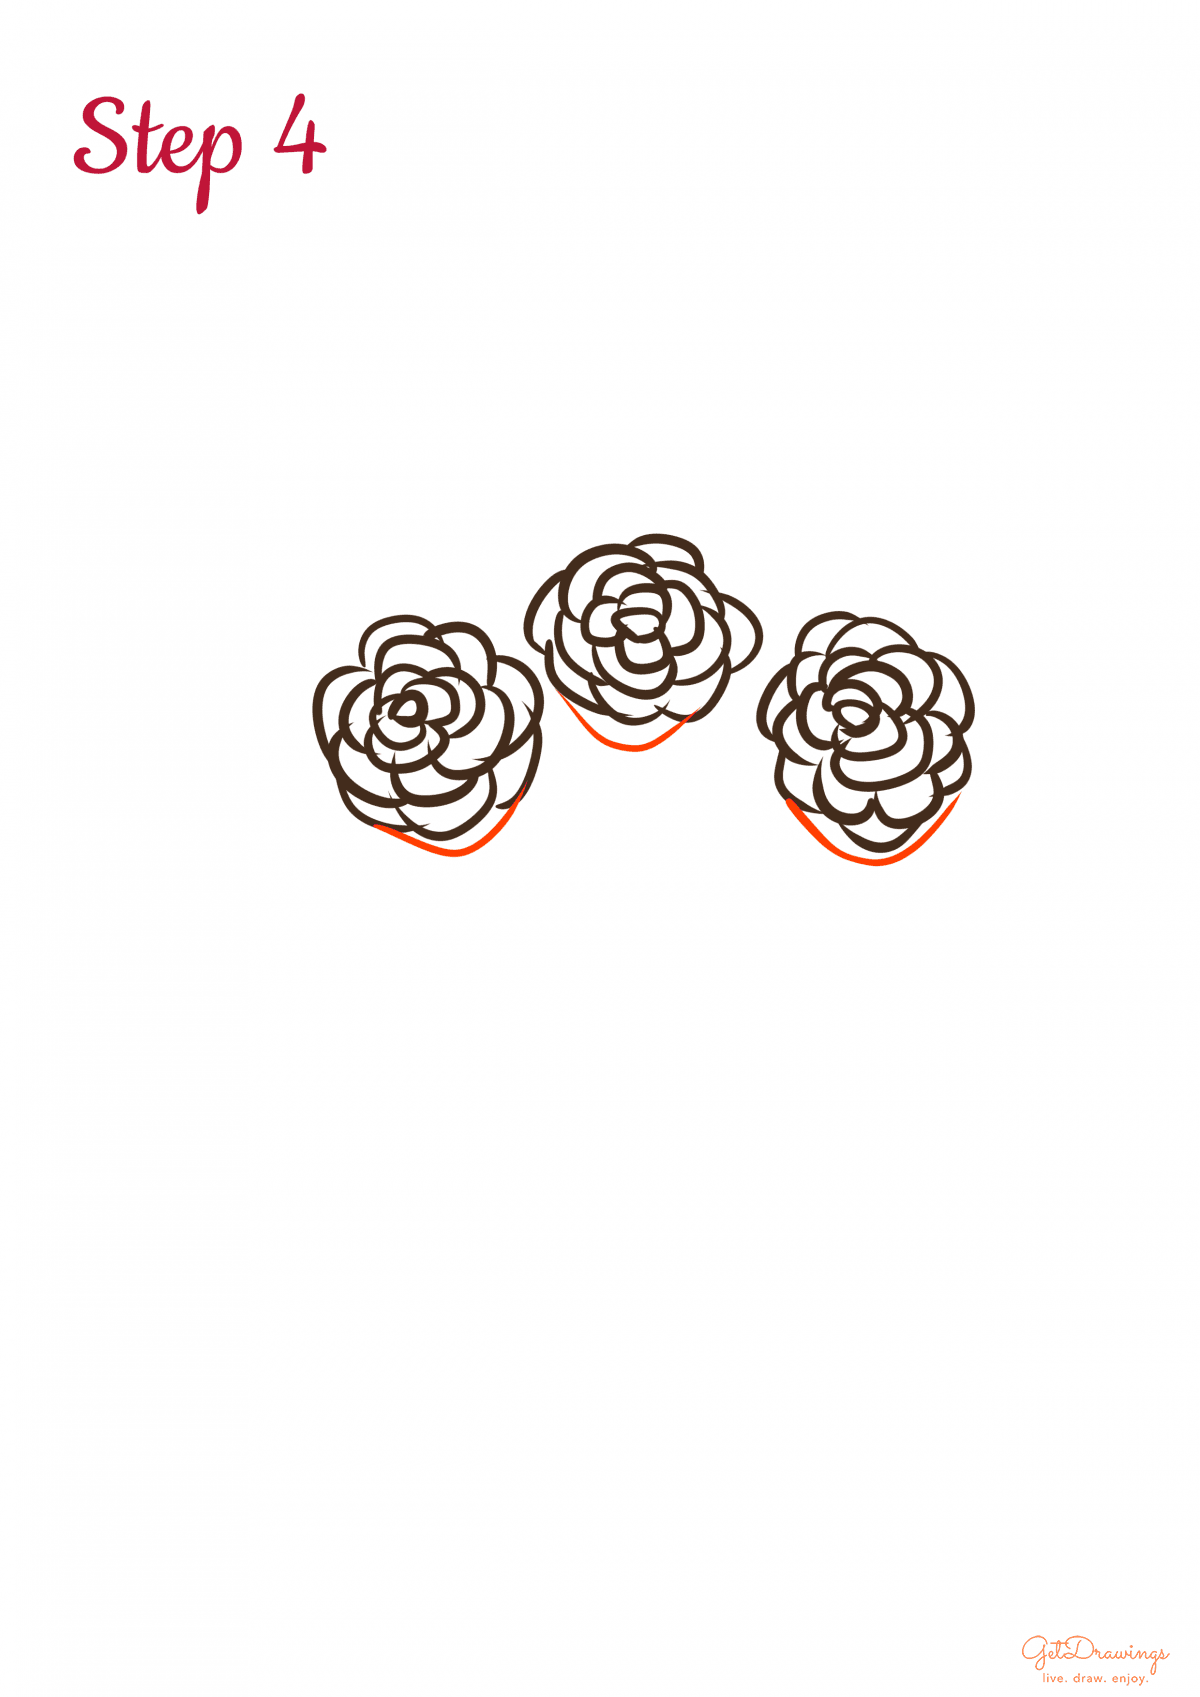
Step 4: After that, we can start drawing another curved line below the previous step (see picture) to finish making your roses.
Step 5: Now we can continue with making the leaves. Start making leaf-like shapes around the roses because we’re going to make a bouquet out of it.

Step 6: Then, to wrap the roses, create a curve line behind the leaves (see picture to better understand) and two more curve lines below the roses and the curve lines leads to center (see picture).

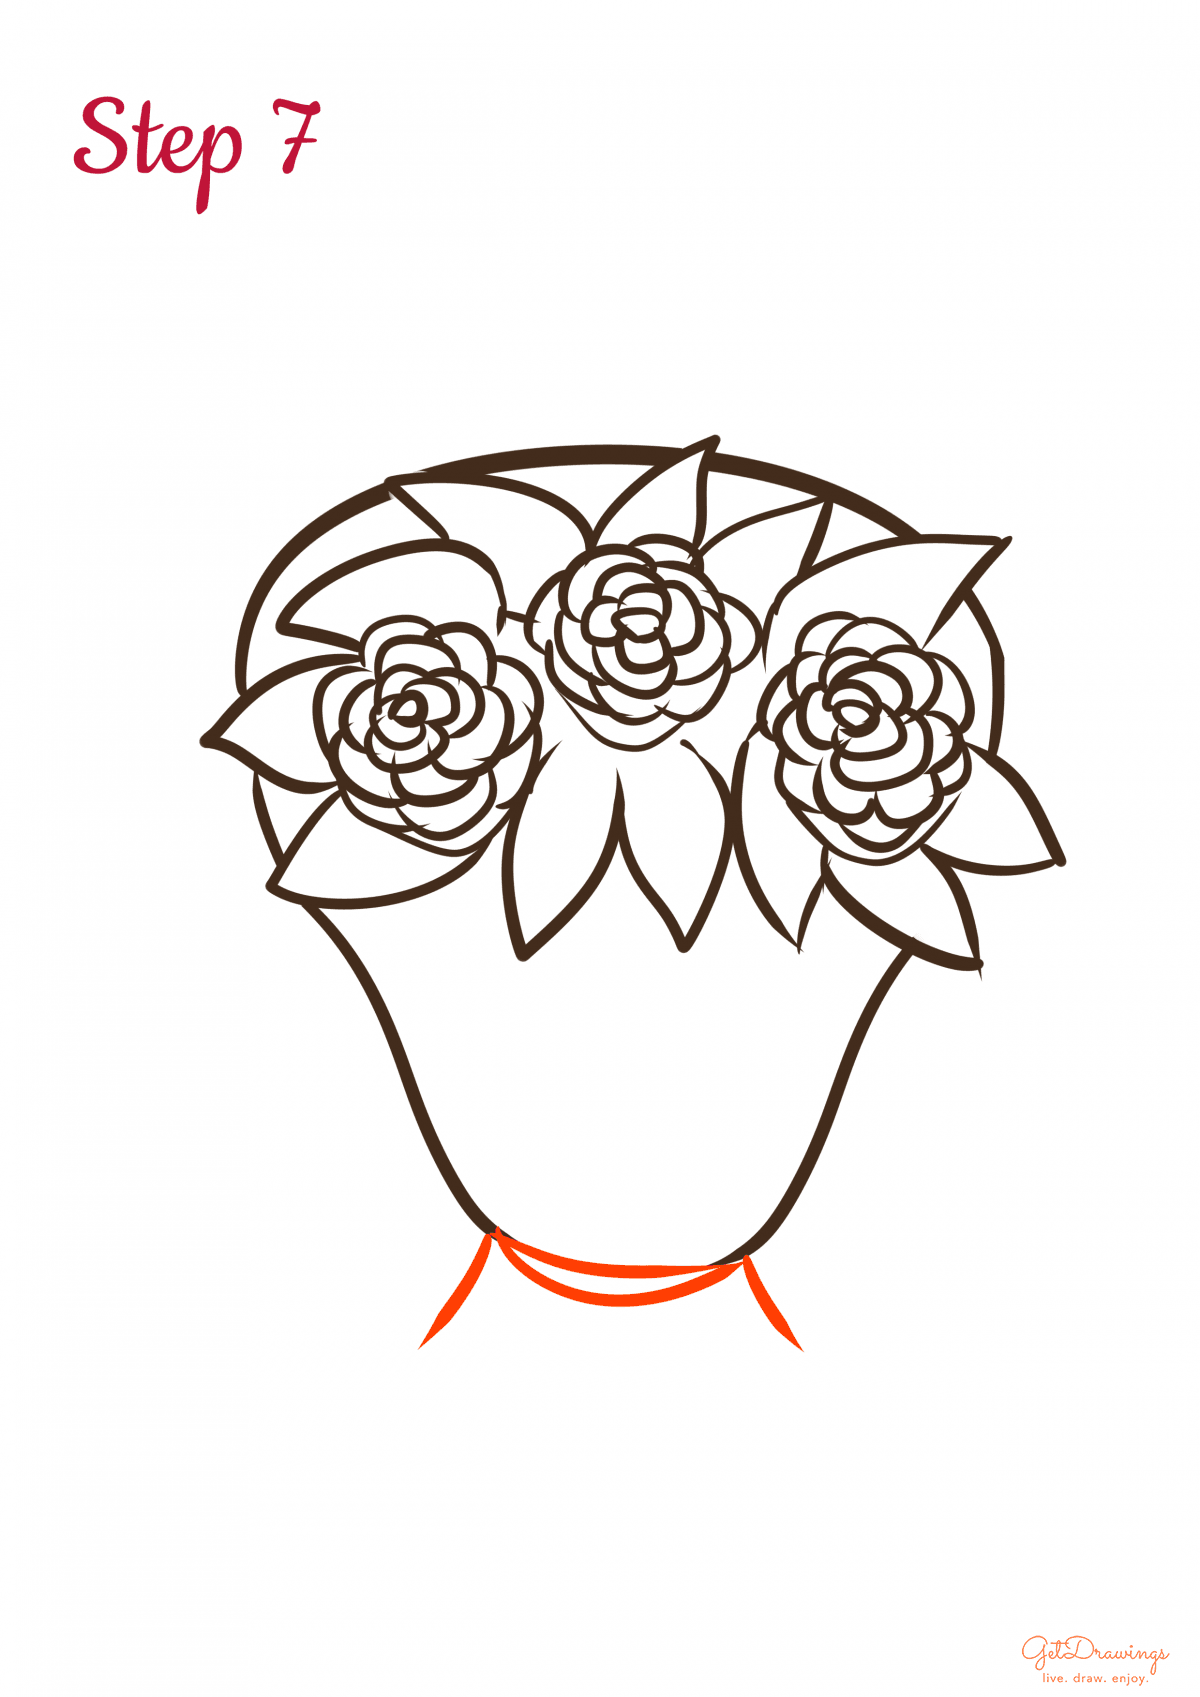
Step 7: Next, the wrapper needs to be tied, then add two curve lines that finish the previous steps to create the tie. Don’t forget, the wrapper has an end below the tie (see picture to better understand). Therefore, create two more short lines that leads to both sides.
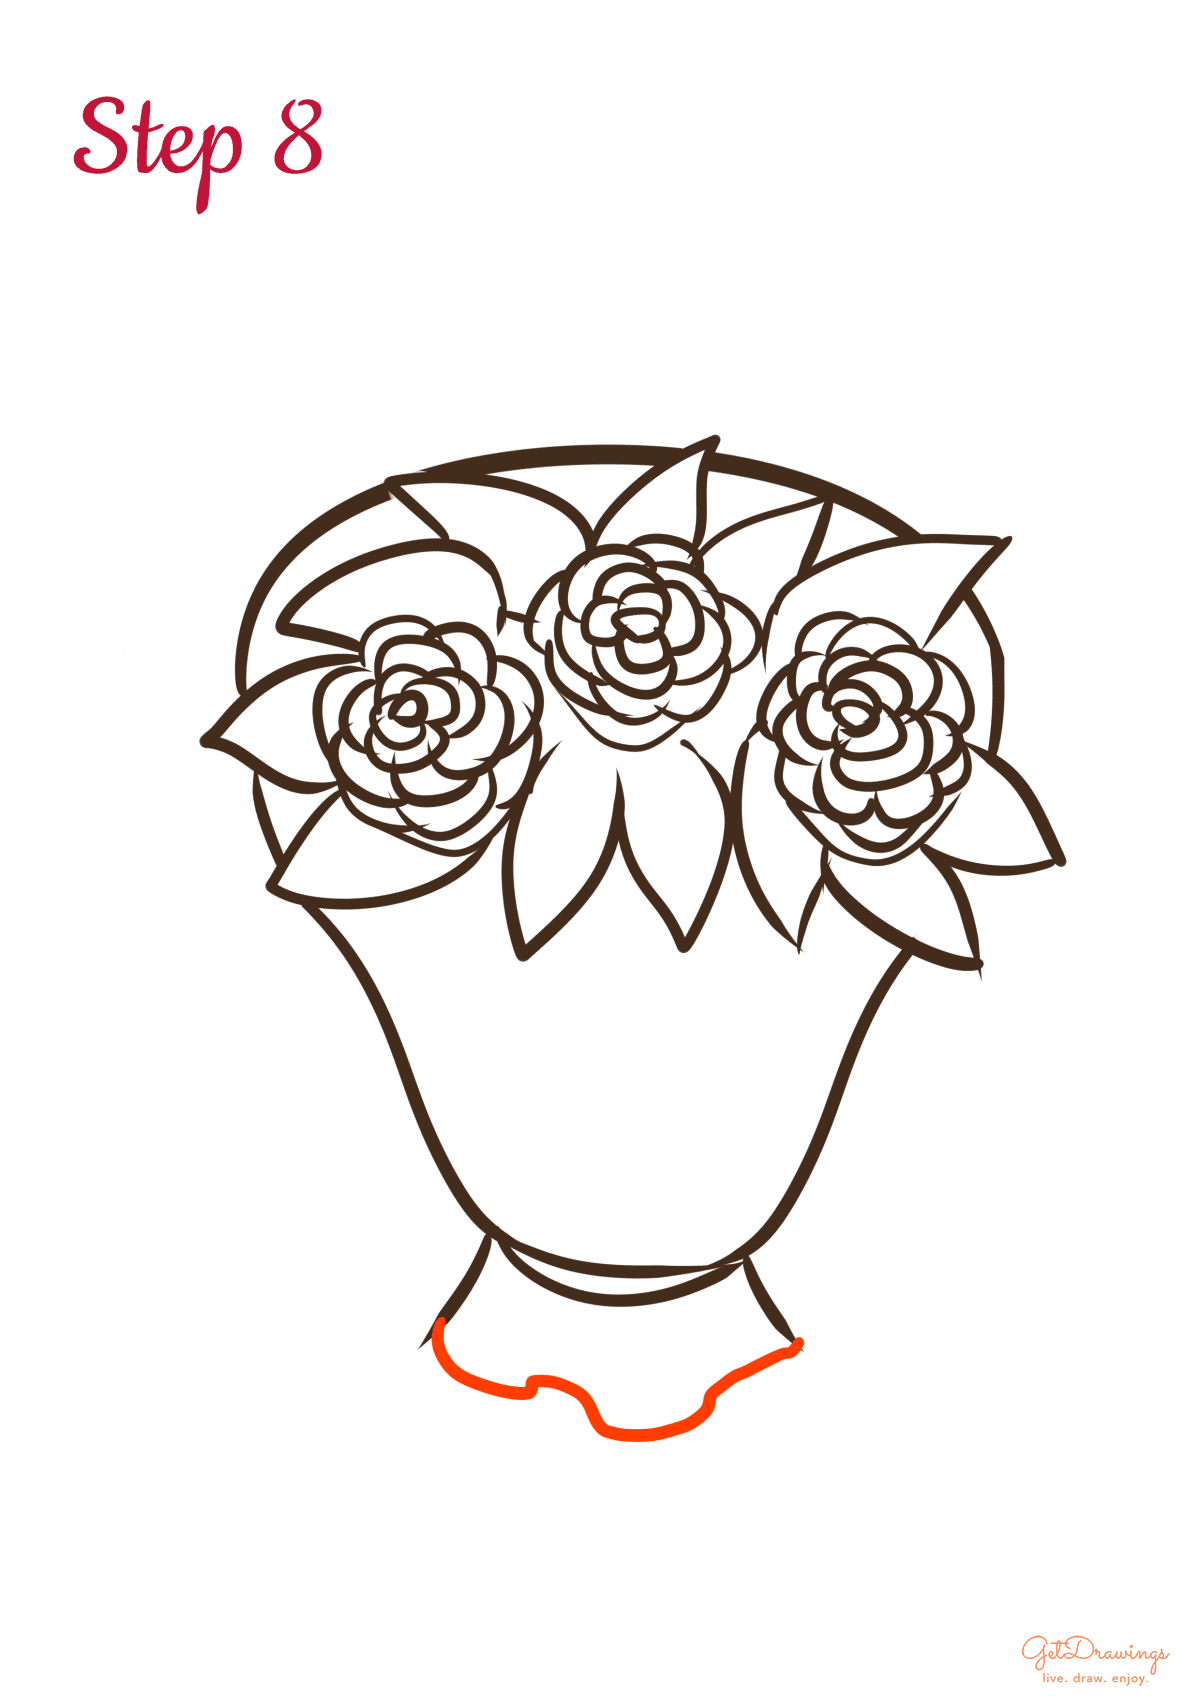
Step 8: Continuing the previous step, by finishing both curve lines that you made earlier. Create the curve line with many curves because these steps depict the wrapper being wrapped.
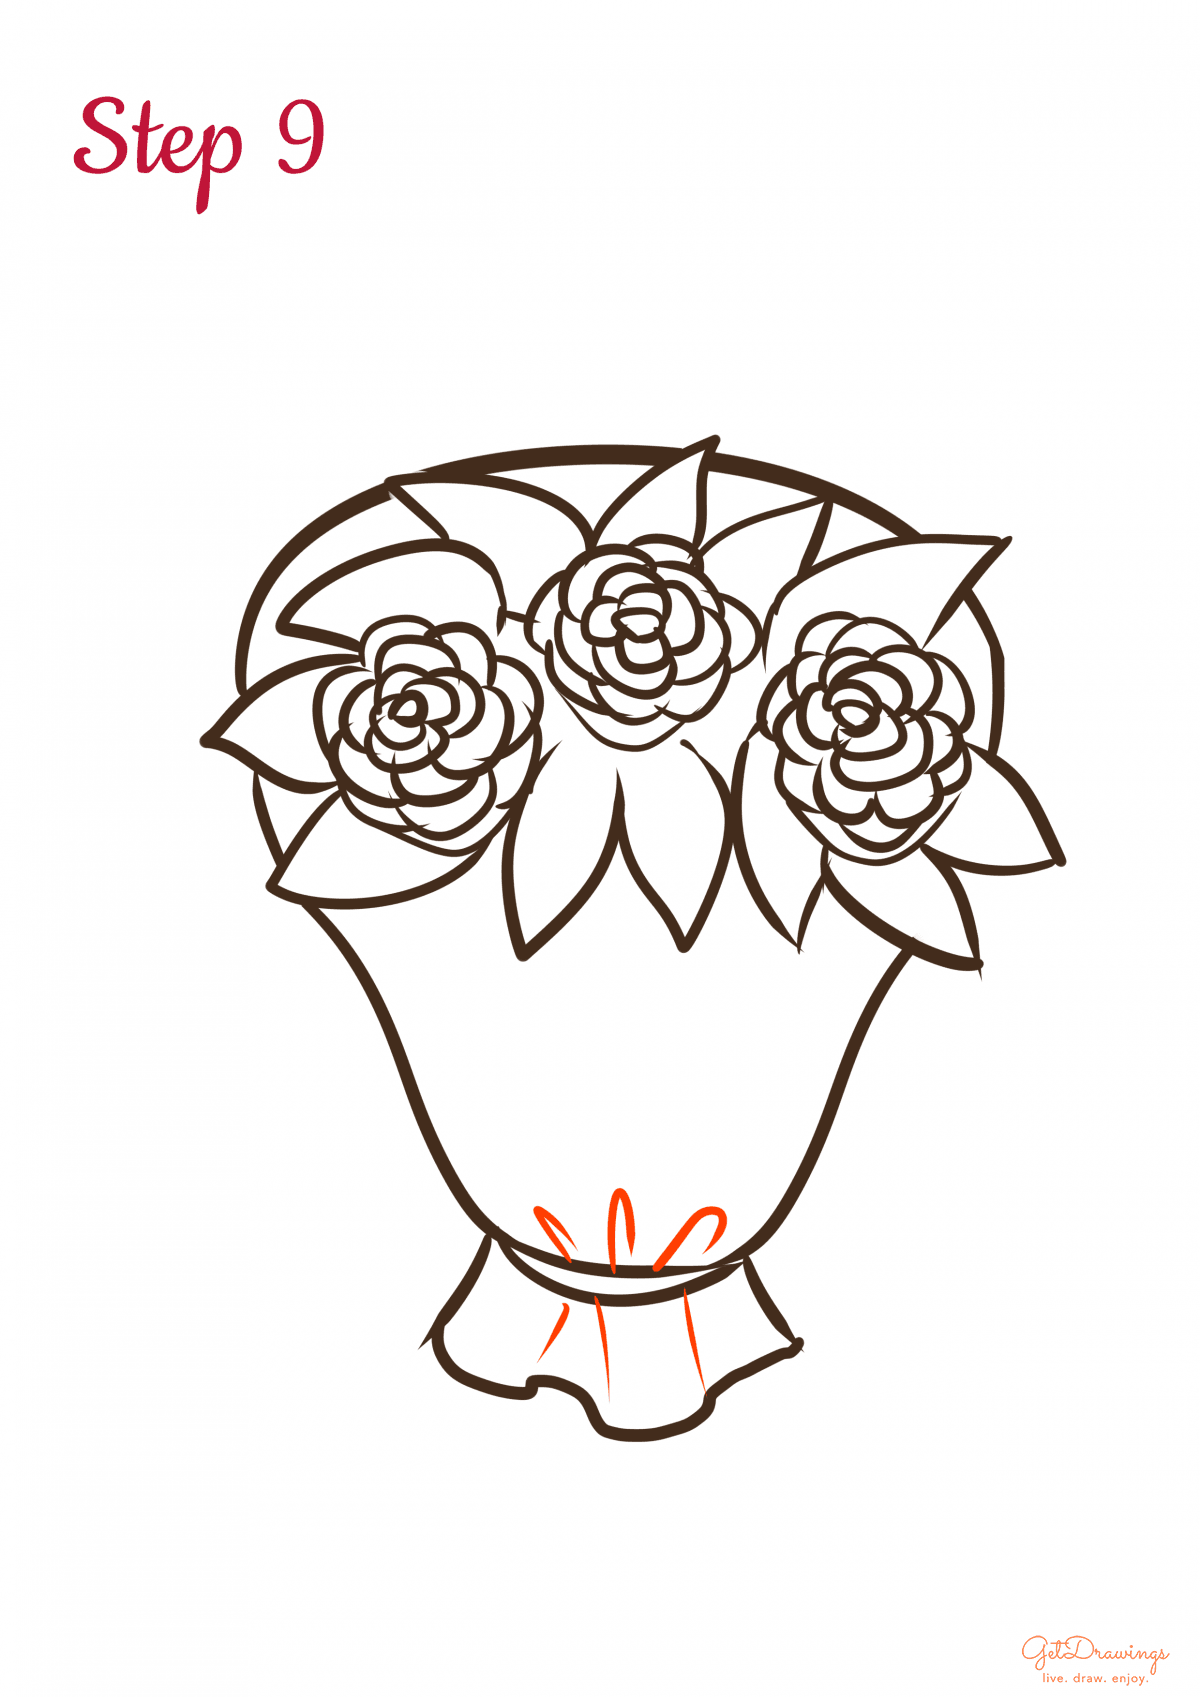
Step 9: After the previous step, add details of the wrapper getting wrapped by adding several curve lines (see picture) near to the tie.
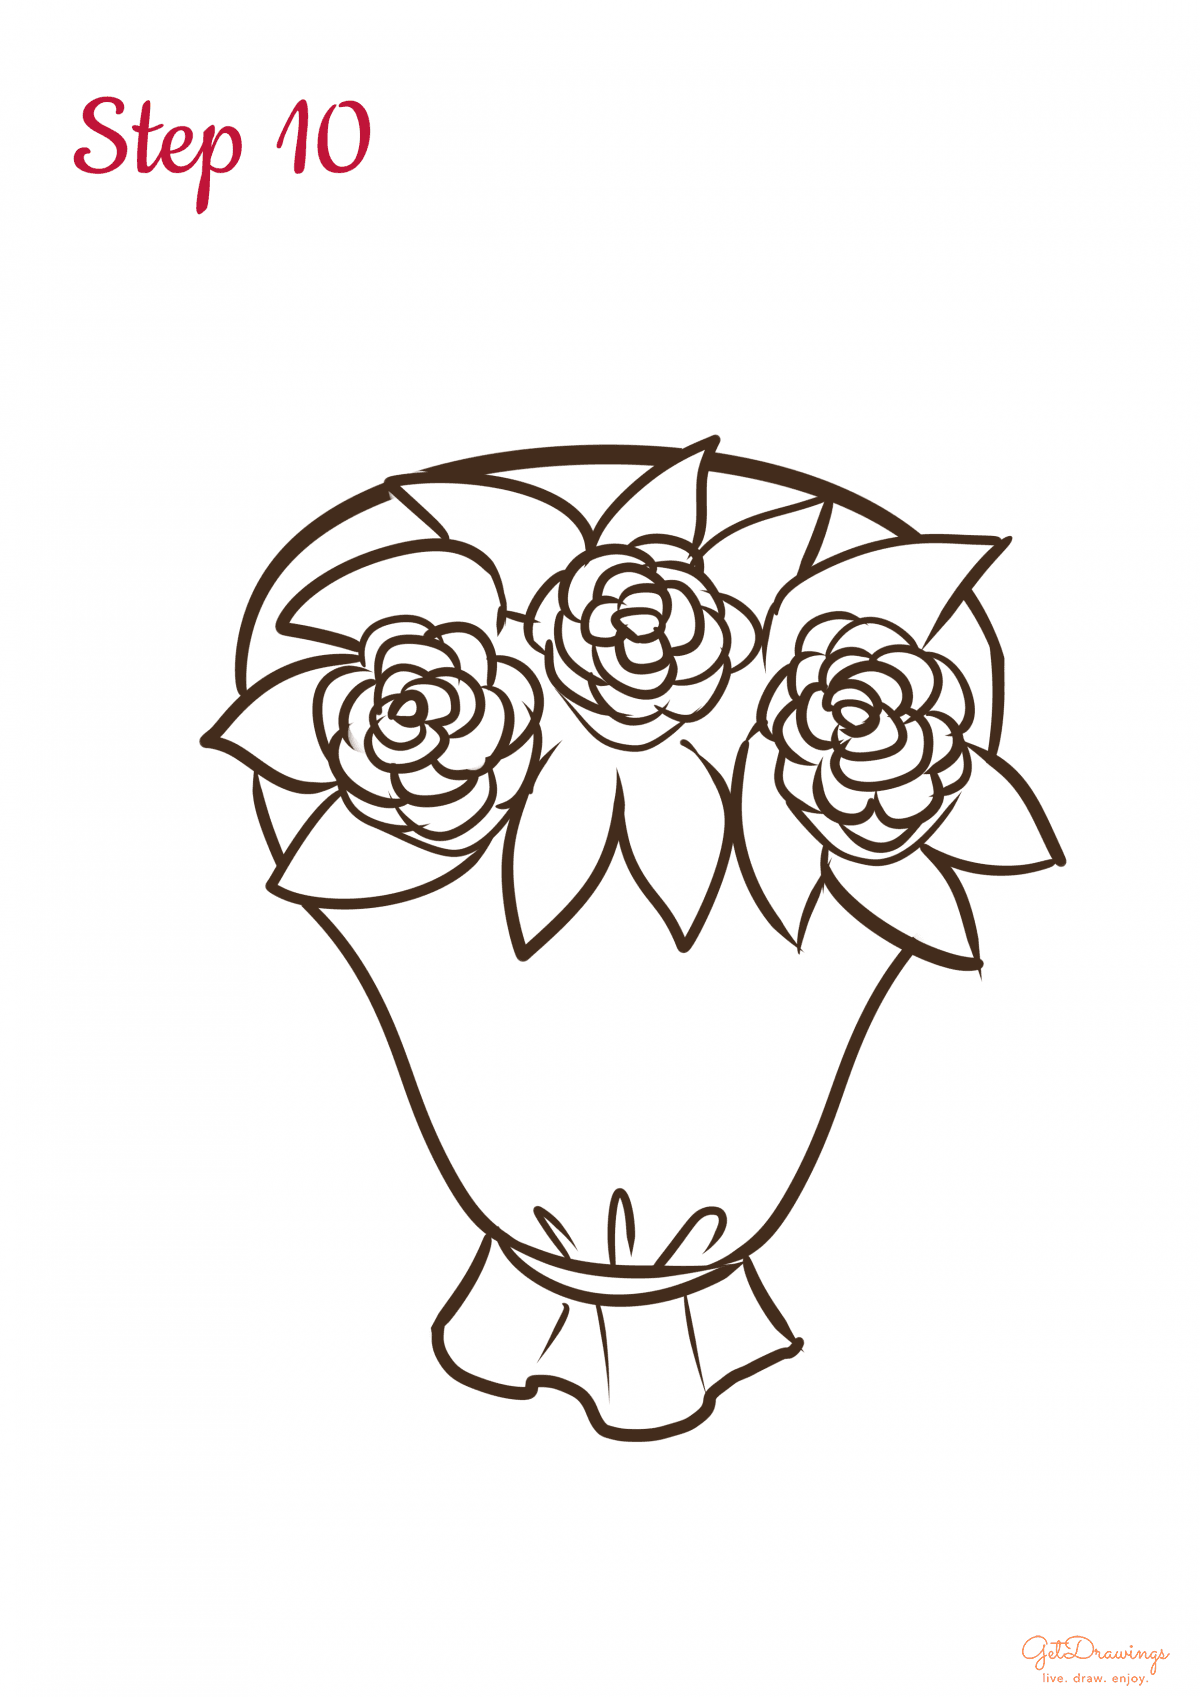
Step 10: Lastly, lines that intersecting each other need to be erased. To see your Valentine’s roses clearly, you’ll need clean lines. Voila! You’ve finished drawing Valentine’s roses!

Since you’re drawing Valentine’s roses, you need to look at the actual reference of what you’re going to draw. It is important because drawing the shapes form would be varied. You’ll need keen eyes and a lot of practice so you can make your drawing perfect. Good luck!
