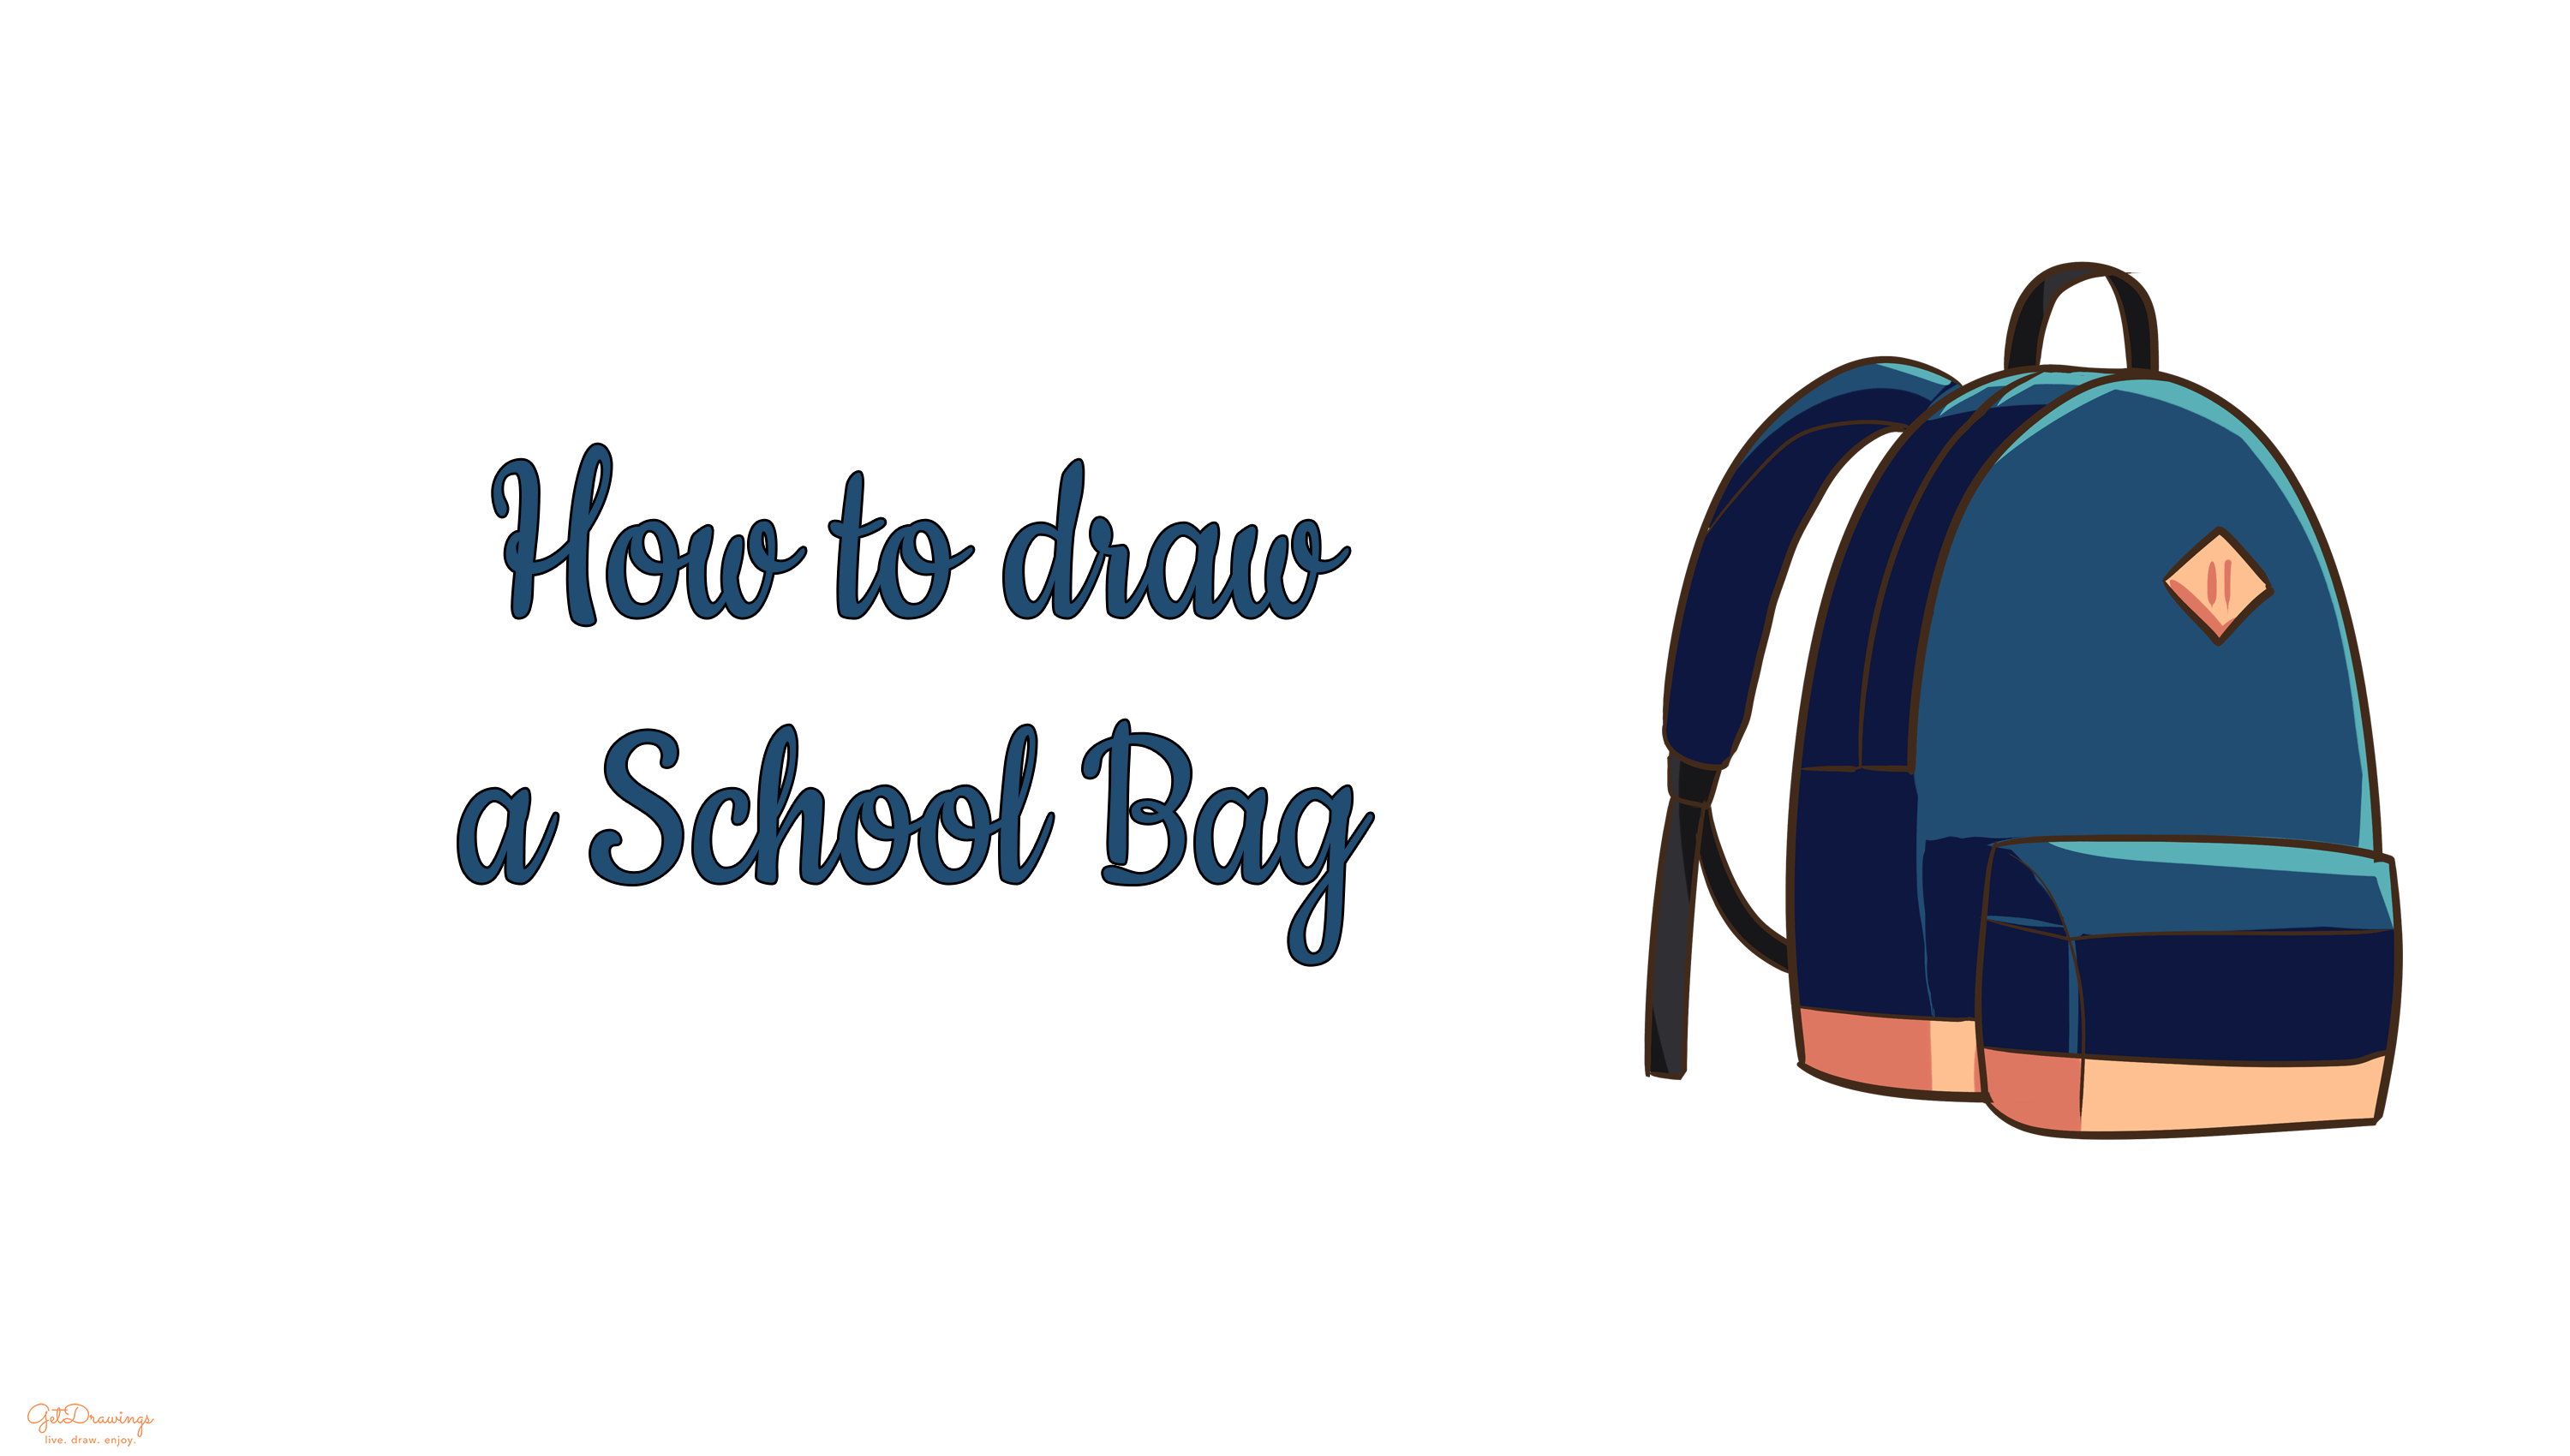
How to draw a School Bag
When you go to school, you need to bring a lot of supplies you’ll need. It could be a pen, a book, a ruler, etc. Therefore, a school bag is something you have a must. A school bag can represent each personality too. If you like a certain cartoon character, you can choose the bag with a picture of a character you like on it. Maybe if you like a certain color, the color of your bag can be chosen regarding your favorite color. It’s one of a form to express yourself aside of the function to bring school supplies. Therefore, if you want to draw a school bag of your favorite, you can follow my instructions. Prepare a paper, a pencil, and an eraser. Now we’re ready to draw!
Steps:
Step 1: First of all, we’ll start by drawing the guidelines. The purpose of guidelines is to help you estimate the size of the bag and to guide you in drawing the rest. Therefore, we’ll draw a vertical rectangle with curvy edges on top of it on your paper to make a guideline for a school bag.

Step 2: Moving on to the next step. We add the bag’s front pocket. Starting from the lower right part of the previous step, make a smaller horizontal and curvy edges rectangle. This will be the guideline for the front pocket.

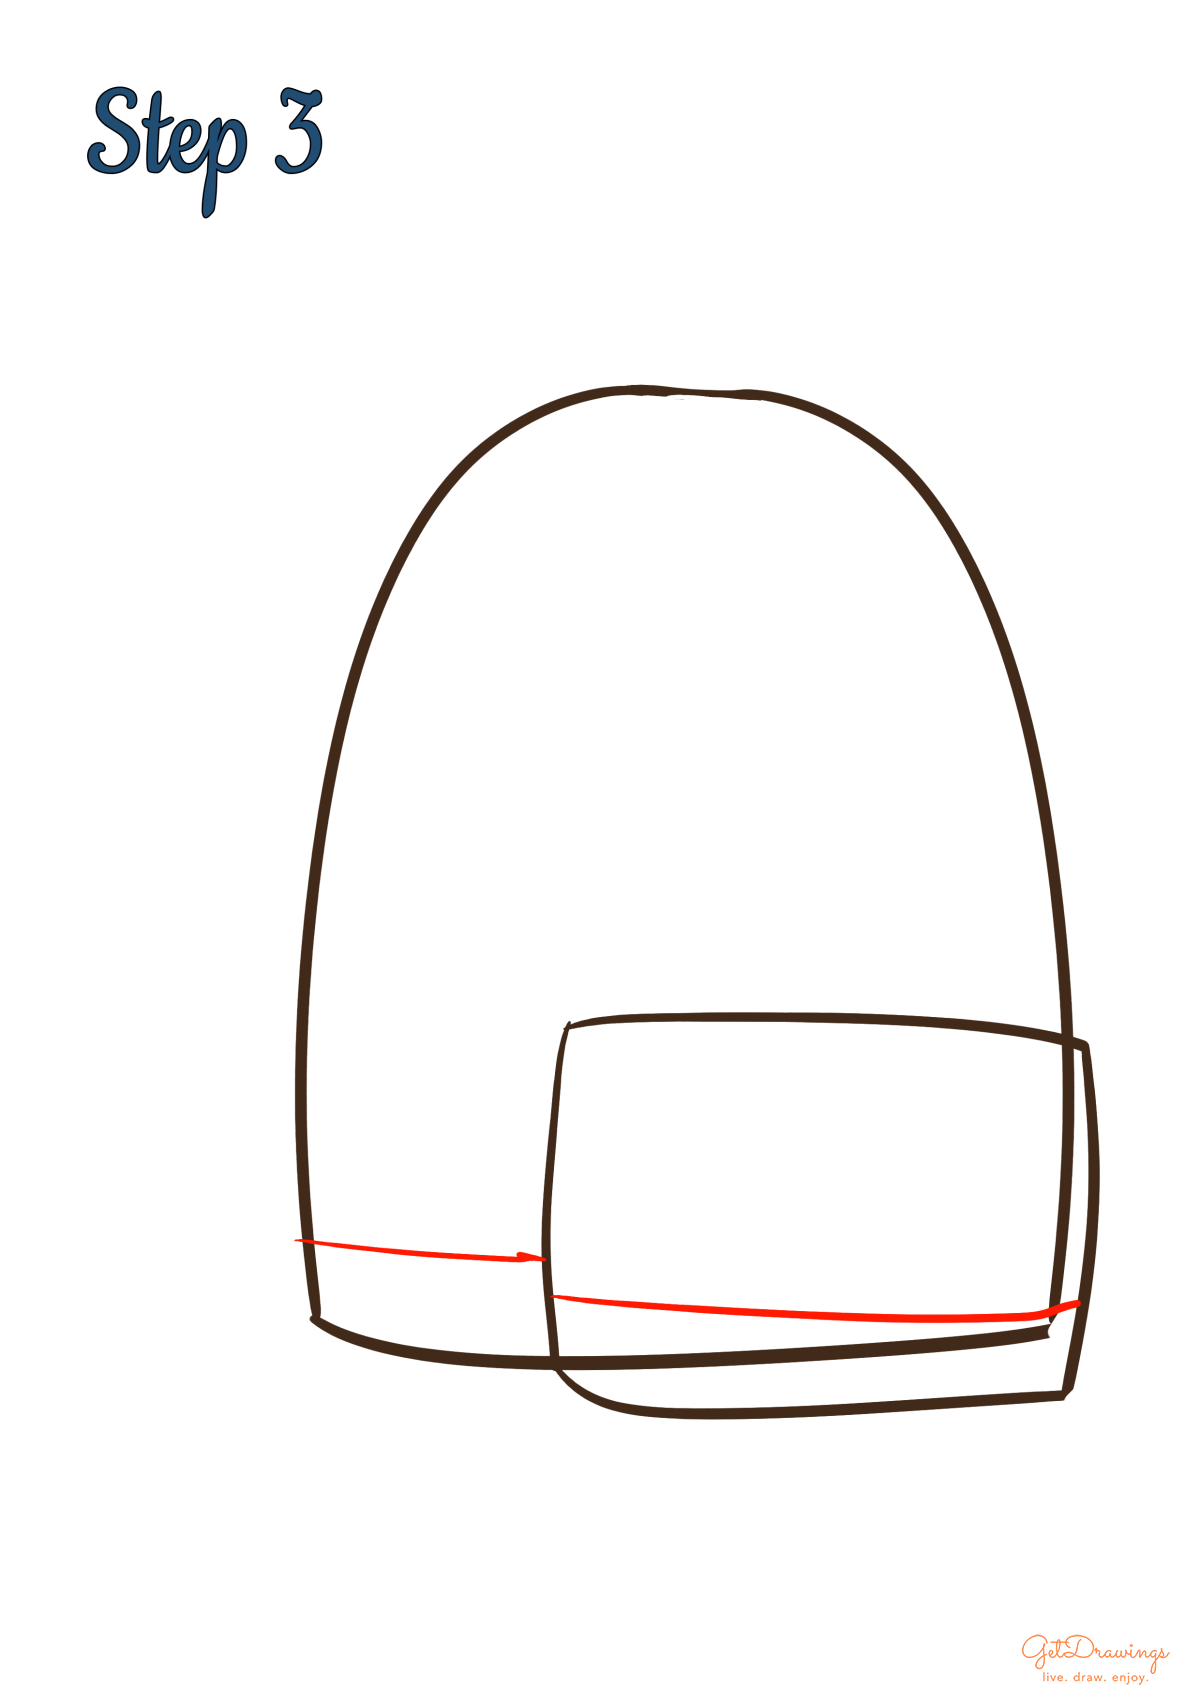
Step 3: After the previous step, we’ll continue drawing the detail of the bag. Now draw a straight line on both lower parts of the bag and front pocket (see picture to better understand).
Step 4: The guideline of your school bag was almost done, therefore we’ll continue to draw the guideline of the zip by creating a curve line from the top of the bag to its center (see picture).

Step 5: In finishing the previous step, this is the last part of the zip. Therefore create another curve lines for next to it and end it with a short horizontal straight line (see picture to better understand). Also, to make the front pocket looks 3d-like, add a horizontal straight line inside of the front pocket.

Step 6: Then, I’ll add the last detail for the bag. Usually, there’s a characteristic for several brands of a bag that we can recognize. This time, I’ll add a small diamond with curvy edges on top of the front pocket. Also, create a vertical curve line (see picture) that intersect with the previous horizontal straight line inside the front pocket. This is to continue making the front pocket more 3d-like.

Step 7: After finishing the main part of the bag, we’ll continue with its top handle. You need to draw two curvy lines on top of the bag just like on the picture

Step 8: Moving on to the shoulder strap! Start by making the outer line of the strap, create a curve line that ends below the line that you start (see picture to better understand). Then, you can draw another curvy line inside the previous curve line that you create.

Step 9: Next, we can move on to continue the strap. Create a small curvy rectangle below the strap. And add two long straight lines and finish it with a horizontal straight line.

Step 10: Lastly, end the strap by creating two curvy lines from the previous small rectangle that you create. Voila! You’ve finished drawing a Schoolbag!


When drawing a school bag, the most important part is to look at the reference. How’s the actual shape of the bag, the detail, each part, etc. This is important because most of the form won’t be smooth or symmetrical. Even if it’s symmetrical, the form will still be uneven. Therefore it’s important, especially drawing the guideline. You’ll need keen eyes and a lot of practice so you can make your drawing perfect. Good luck!
