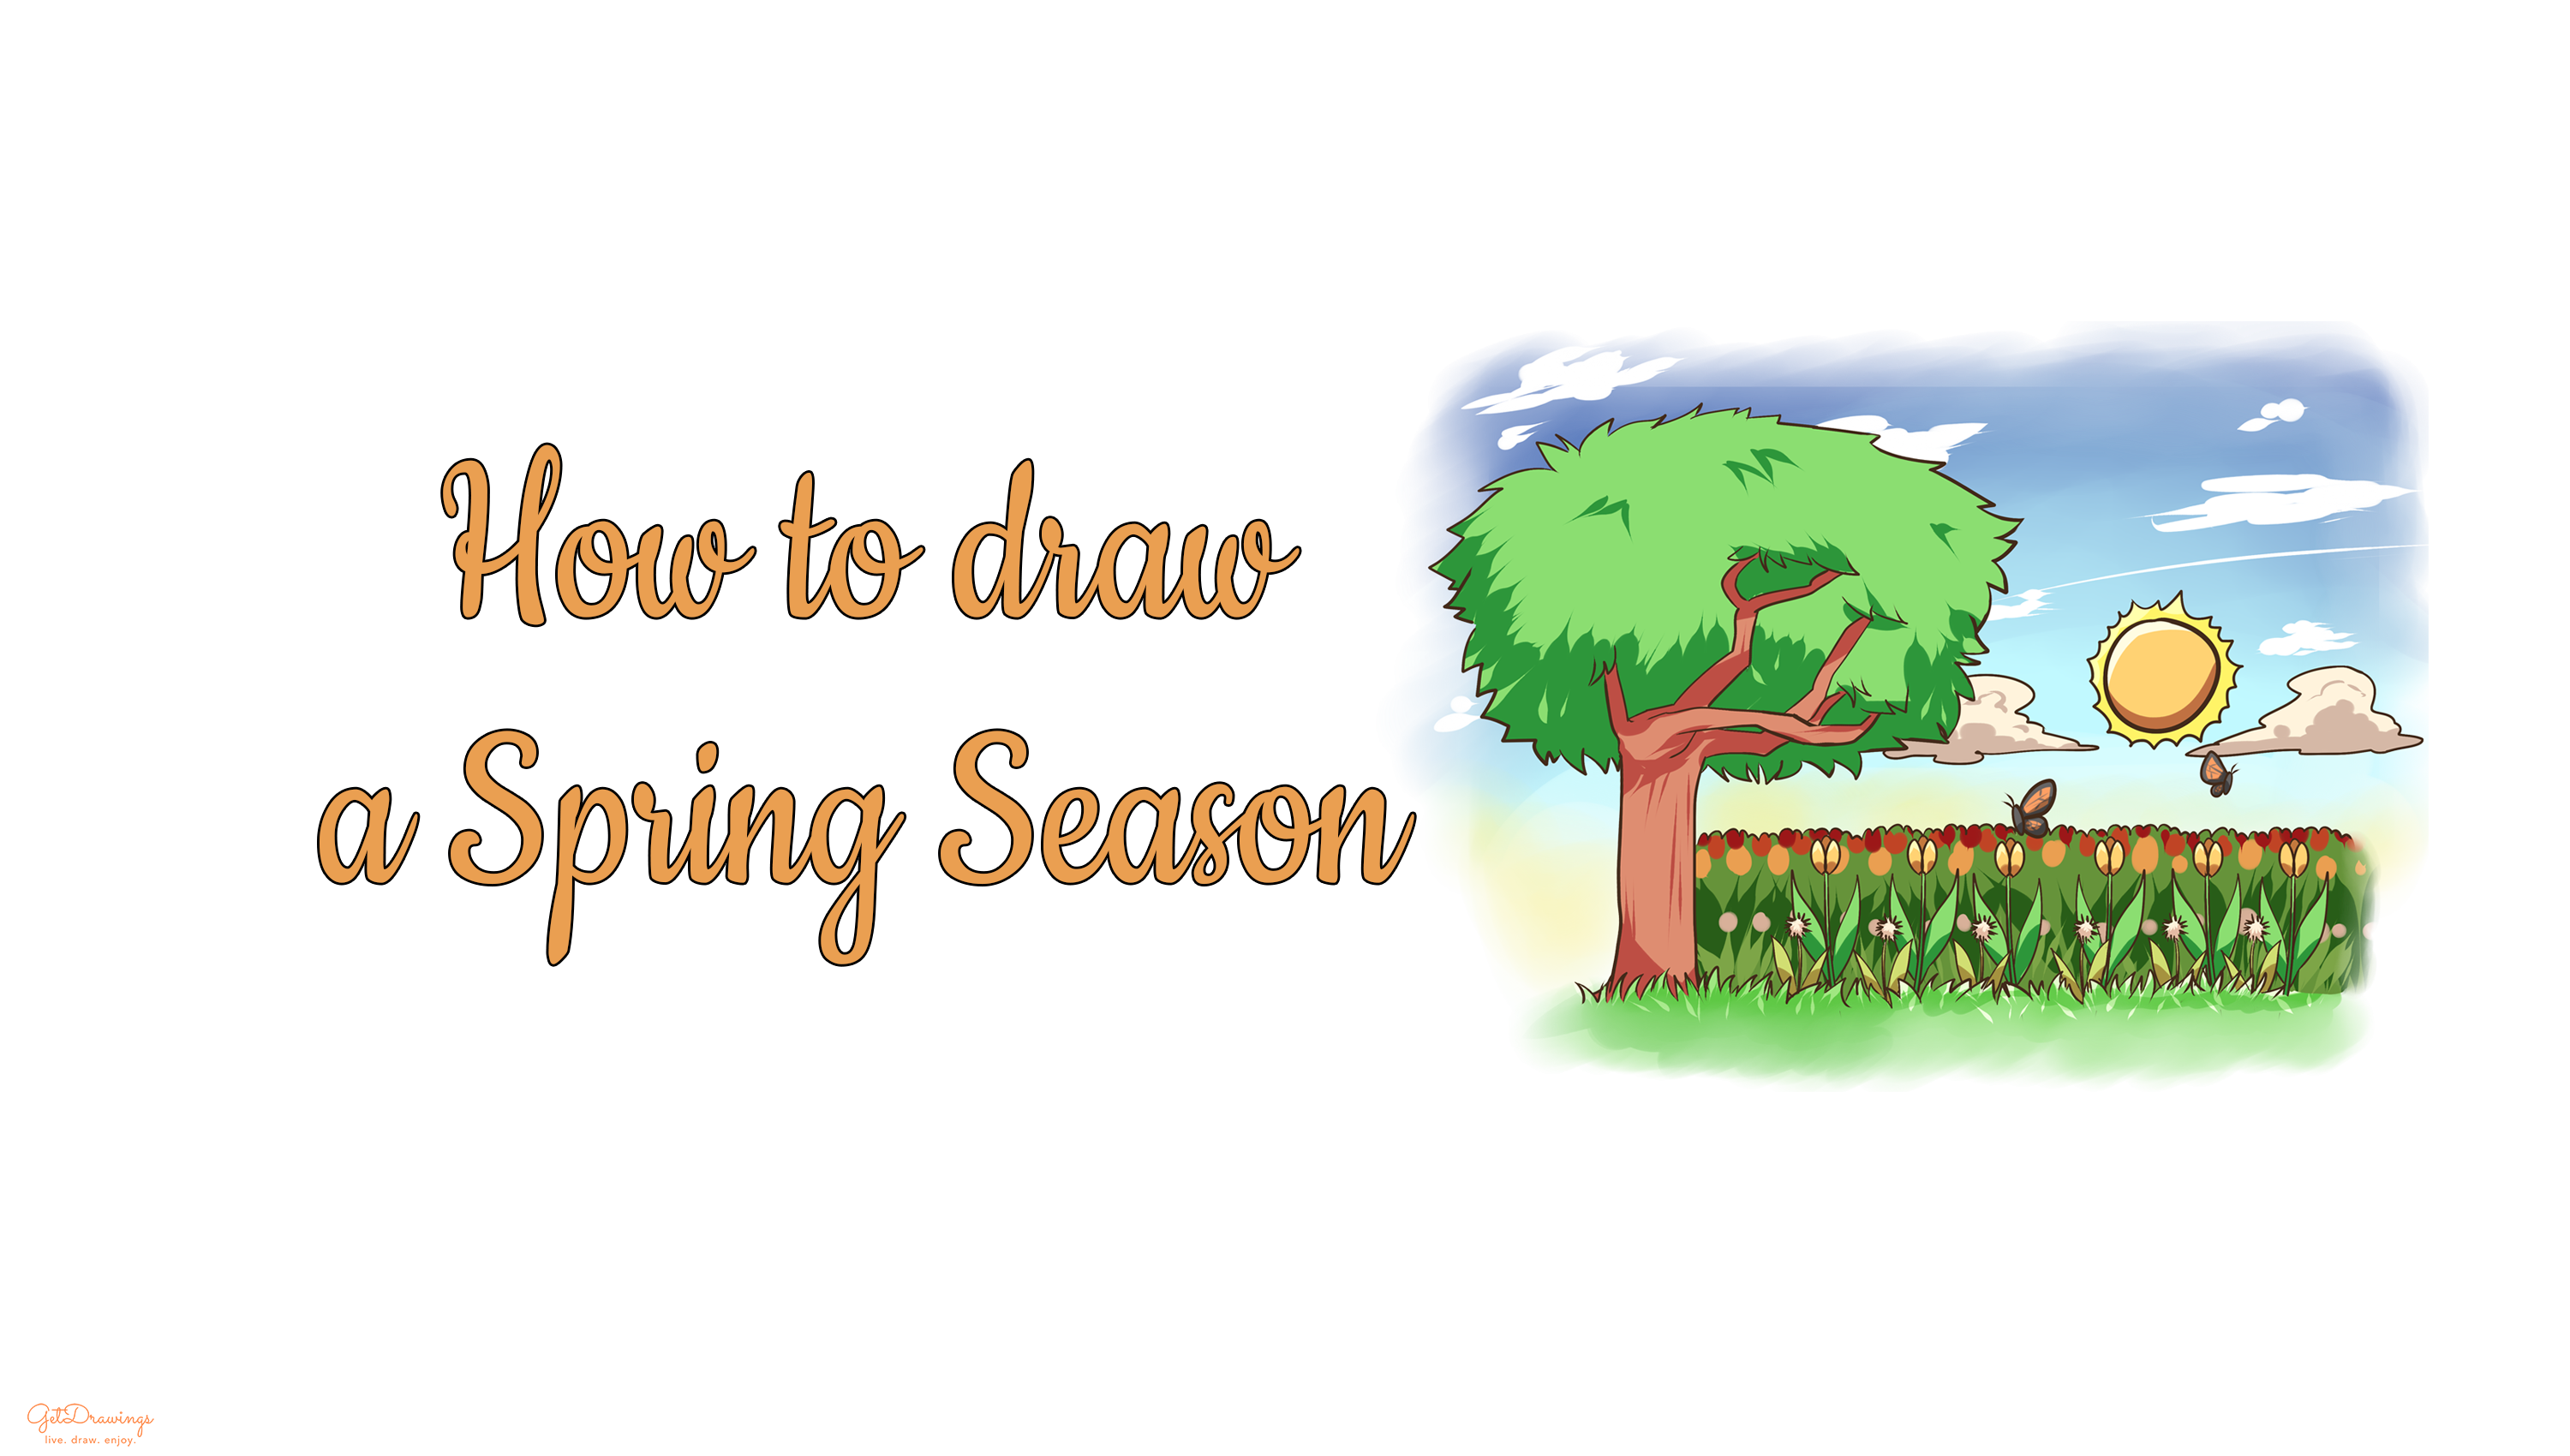
How to draw a Spring Season?
Who doesn’t like blooming flowers in Spring? Everything grows after the Winter season ends. Everything looks beautiful since we can start to see flower buds blooming in this season. When you see a flower bed in the garden you really want to take a picture of the beauty life can give to us. It made a soothing feeling when we can enjoy every single thing in the Spring season. Therefore, if you really want to portray the beauty of Spring season, you can follow these steps and prepare several things beforehand. You’ll need paper, a pencil and an eraser. Now you’re ready to draw!
Steps:
Step 1: Firstly, we’ll start drawing a tree by drawing its tree trunk. Create two vertical curve lines and make the left-hand side slightly longer than the right-hand side one. The lines also have to be uneven. Then, continue with the top end of the roots by drawing two short lines below the previous lines.

Step 2: Secondly, from the previous tree trunk steps, we can move to the upper part of the tree which is the branch. You can draw uneven curve lines (see picture to better understand) to divide the branches.

Step 3: Moving on to the next step which is the foliage. You can make it by simply draw several uneven spiky lines (see picture) that heading to the ground. Create the foliage around the upper part of the tree. Also to cover the end of branches with several spikes. This will make the foliage covering the branches.

Step 4: Then we can move to the grass part. In this step, you’ll have to draw a horizontal line of uneven spikes. Don’t make the spiky part too stiff, making it heading to a different direction to make it look dynamic.

Step 5: After drawing the base of the scenery, we’re going to start drawing plants. The plants we’re going to draw is Dandelion. By drawing from the top of it which is the specialized seeds that usually float when the wind blows. Start to create several short lines that resemble a circle above the grass. Leave a short space below it for the rest of it. You can make the dandelion as much as you want, but in this tutorial, I’ll only draw 6 of it

Step 6: The next step is drawing the stem and the leaves. You’ll have to draw short curvy lines since it’s thin. Then to make the leaves, draw several curve lines that resemble leave like on both sides of the stem.

Step 7: On to the next flower, which is to draw Tulips. We’ll also start to draw from the top by drawing its petal first. Create two narrow ovals that are next to each other and add a narrow curve in the upper middle of it. This will be drawn above the Dandelions.

Step 8: Same with the last two previous steps to make the stem and the leaves. But this time, make it longer. It has to be longer to make the Tulips visible above the Dandelions.

Step 9: After the previous step, we can draw a silhouette of the flower bed. This is to make an illusion as if you’re drawing a lot of flowers. It’s a silhouette to make the previous flowers more visible. You can make it by drawing several curvy horizontal lines with the same height as the Tulips.

Step 10: When you see a flower in Spring season, it also attracts insects that are relevant for the flower to spread its seeds. It’s none other than Butterflies. We’ll be drawing butterflies starting from its body and antennae. Draw a small narrow oval slanting to either left or right. Then, you can add two tiny straight lines on top of it. This time I’m going to draw two butterflies above the flower bed.

Step 11: After you’ve done with the previous step, we can continue to the butterfly’s wings. You can start by on top of the narrow oval by drawing a big curve with another smaller curve below it. This also applies to the rest of the butterflies.

Step 12: Now you’re finished with the previous step, we can continue on to the next step. The next step would be drawing the sun. Starting with a giant circle with the same height as the tree branches.

Step 13: To make the sun is shining brightly, we can draw several curves that resemble spikes around the circle. Also, try to make the spikes uneven to make it more dynamic.

Step 14: Other than the sun, there are also clouds around the sun. We can draw it by making several curve lines (see picture to better understand) that shapes like a mountain above the flower bed. I’ll be making two clouds next to the sun.

Step 15: Lastly, if there’s a line that intersecting each other, this is the time to erase it. Voila! You’ve finished drawing scenery of Spring season!


When drawing a scenery, the most important part is to look at reference. How’s the actual shape of the tree, the flowers, the butterfly, etc. This is important because living things’ form won’t be smooth or symmetrical. Even if it’s symmetrical, the form will still be uneven. Therefore it’s important, especially drawing tree branches and the trunk. You’ll need keen eyes and a lot of practice so you can make your drawing perfect. Good luck!


