
How to Draw a Traditional Japanese Clothing
In East Asia, there are a lot of thing that can represent each of the nation’s culture. It could be their language, behavior, or even clothing. One of the most well-known traditional clothing in East Asia are “Kimono”. It’s a traditional Japanese clothing that are often worn for important festivals, public holiday, or formal occasions which is wedding or funeral. But this time, I’ll show you the common Kimono that were worn during festivals. It has various color or even pattern that one kimono have. Therefore, if you want to draw a traditional Japanese Clothing, you can follow my instructions. Prepare a paper, a pencil, and an eraser. Now we’re ready to draw!
Steps:
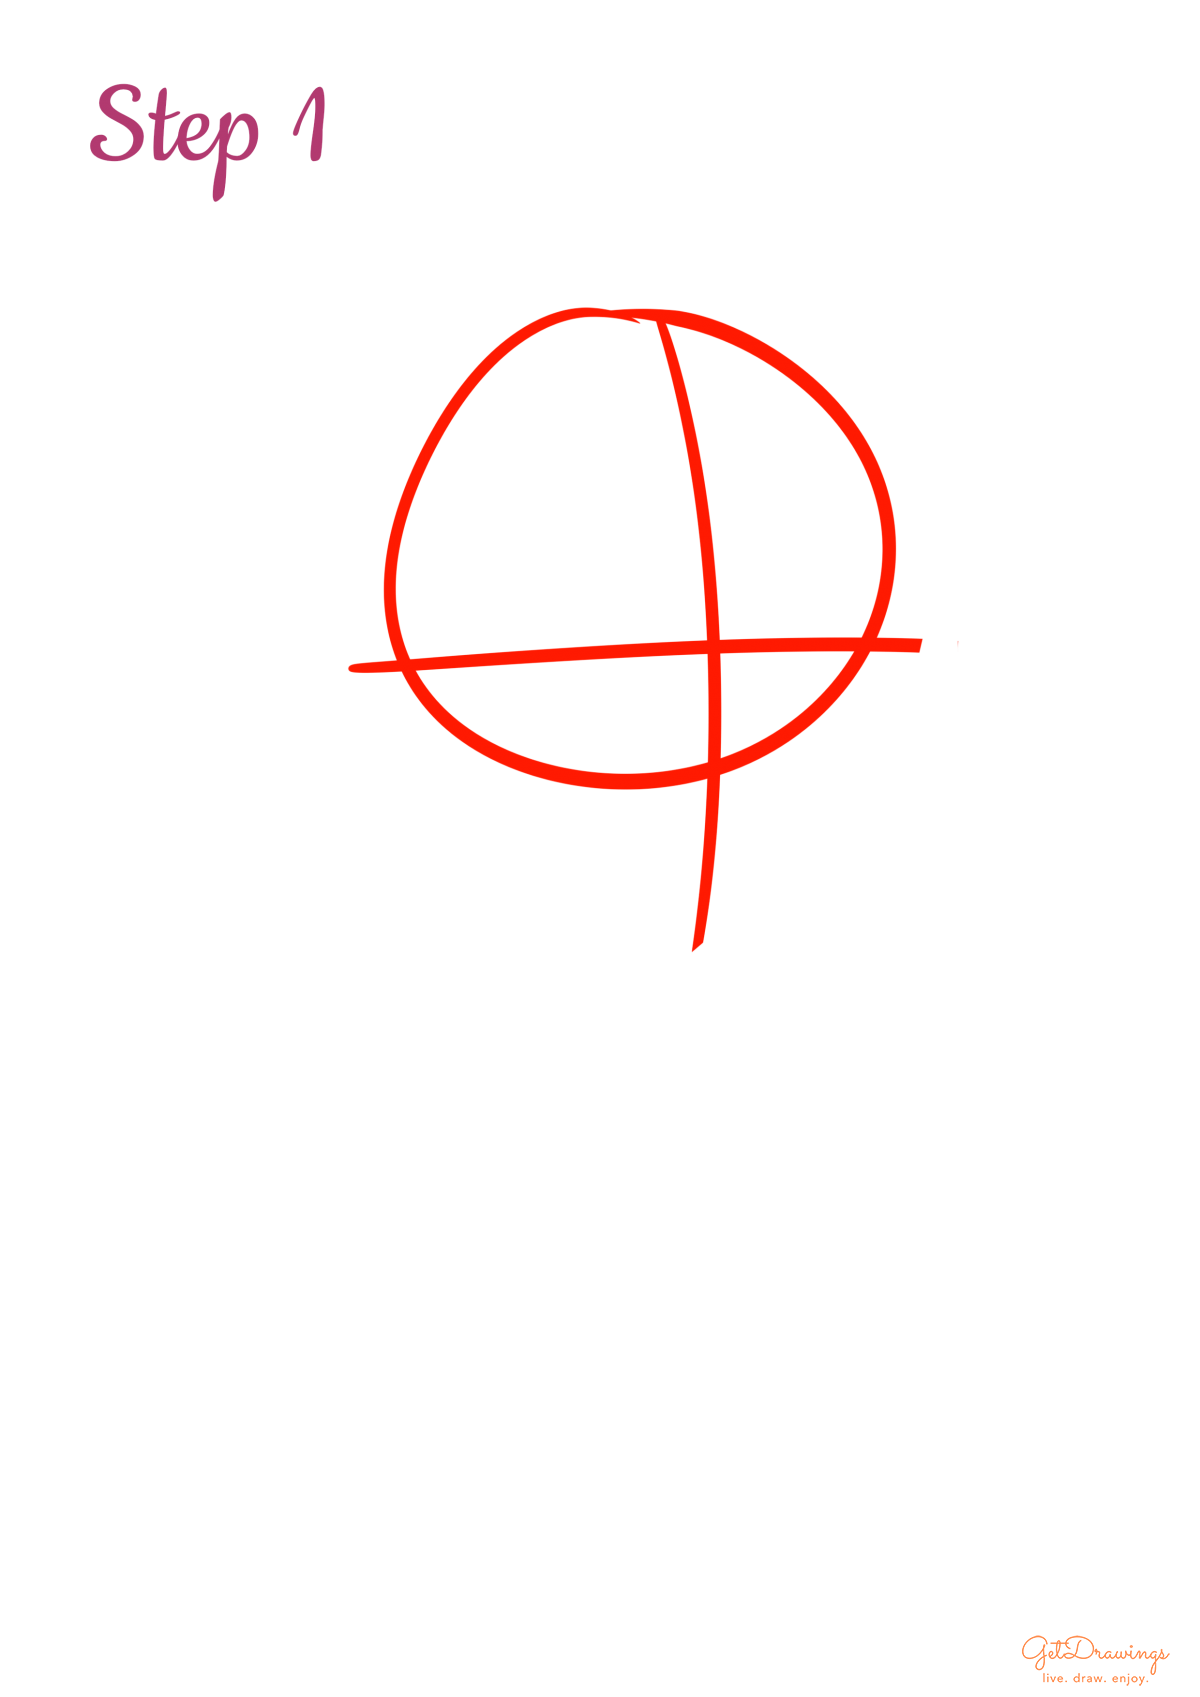
Step 1: First of all, we’ll start by drawing the guidelines. The purpose of guidelines is to help you estimate the size of the bag and to guide you in drawing the rest. Therefore, we’re going to draw from top to bottom. Therefore, we need to start drawing a circle at first with two straight lines that crossed each other inside the circle. This will be the head guideline. Don’t forget to leave a space below it for the rest of the body.
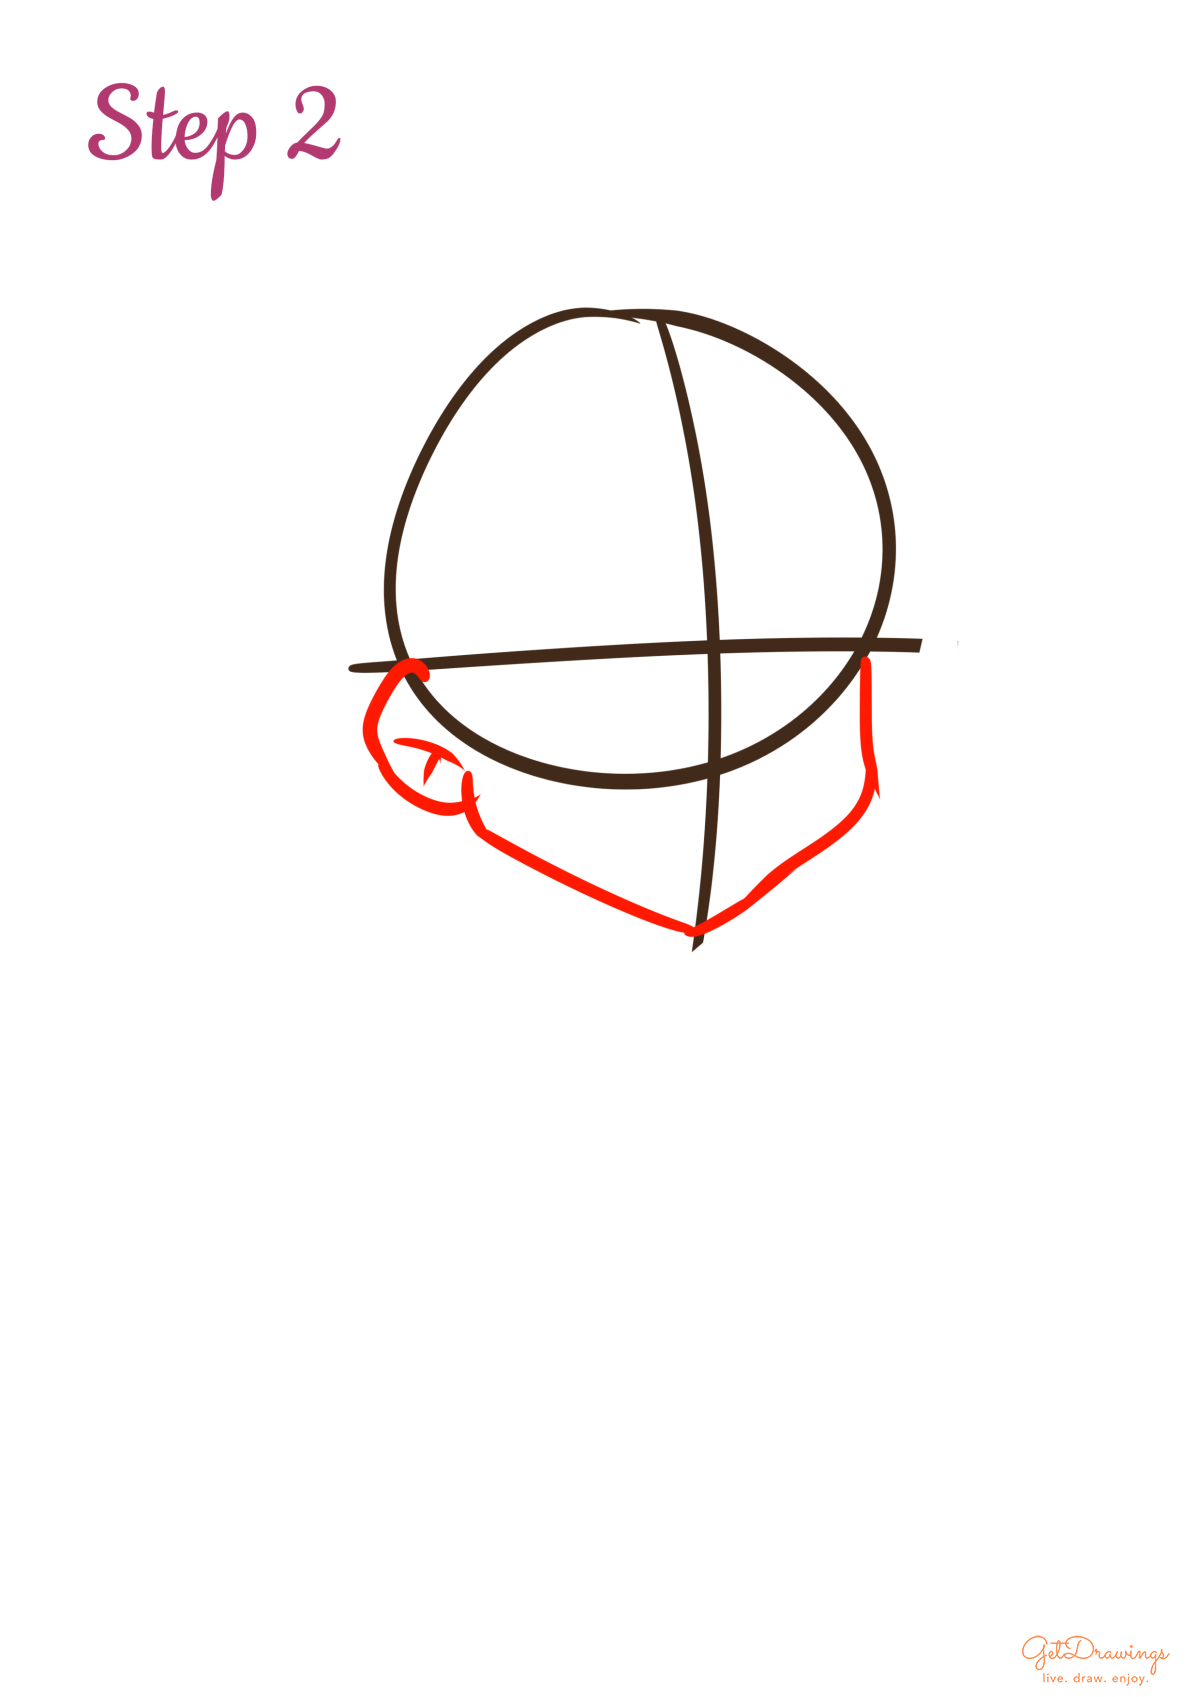
Step 2: Moving on to the next step. To make the cheeks and the chin, you can start from the right-hand side of the head guideline to create a curved line and end it with another smaller curve line to create an ear (See picture to better understand). Then add two short straight lines (See picture) to give a depth inside the ear.
Step 3: After the previous step, we’ll continue drawing the detail of the face. Now create its eyes by adding two arches above the horizontal line of the guideline and end it with a short straight line to make eyelashes. Also, for the side-lower lashes, draw several short straight lines below it. Lastly, add two ovals below the arches for the cornea. Add a curved line below the center of the eyes for its nose. Don’t forget to add her mouth by adding two straight lines touching each other (see picture to better understand).

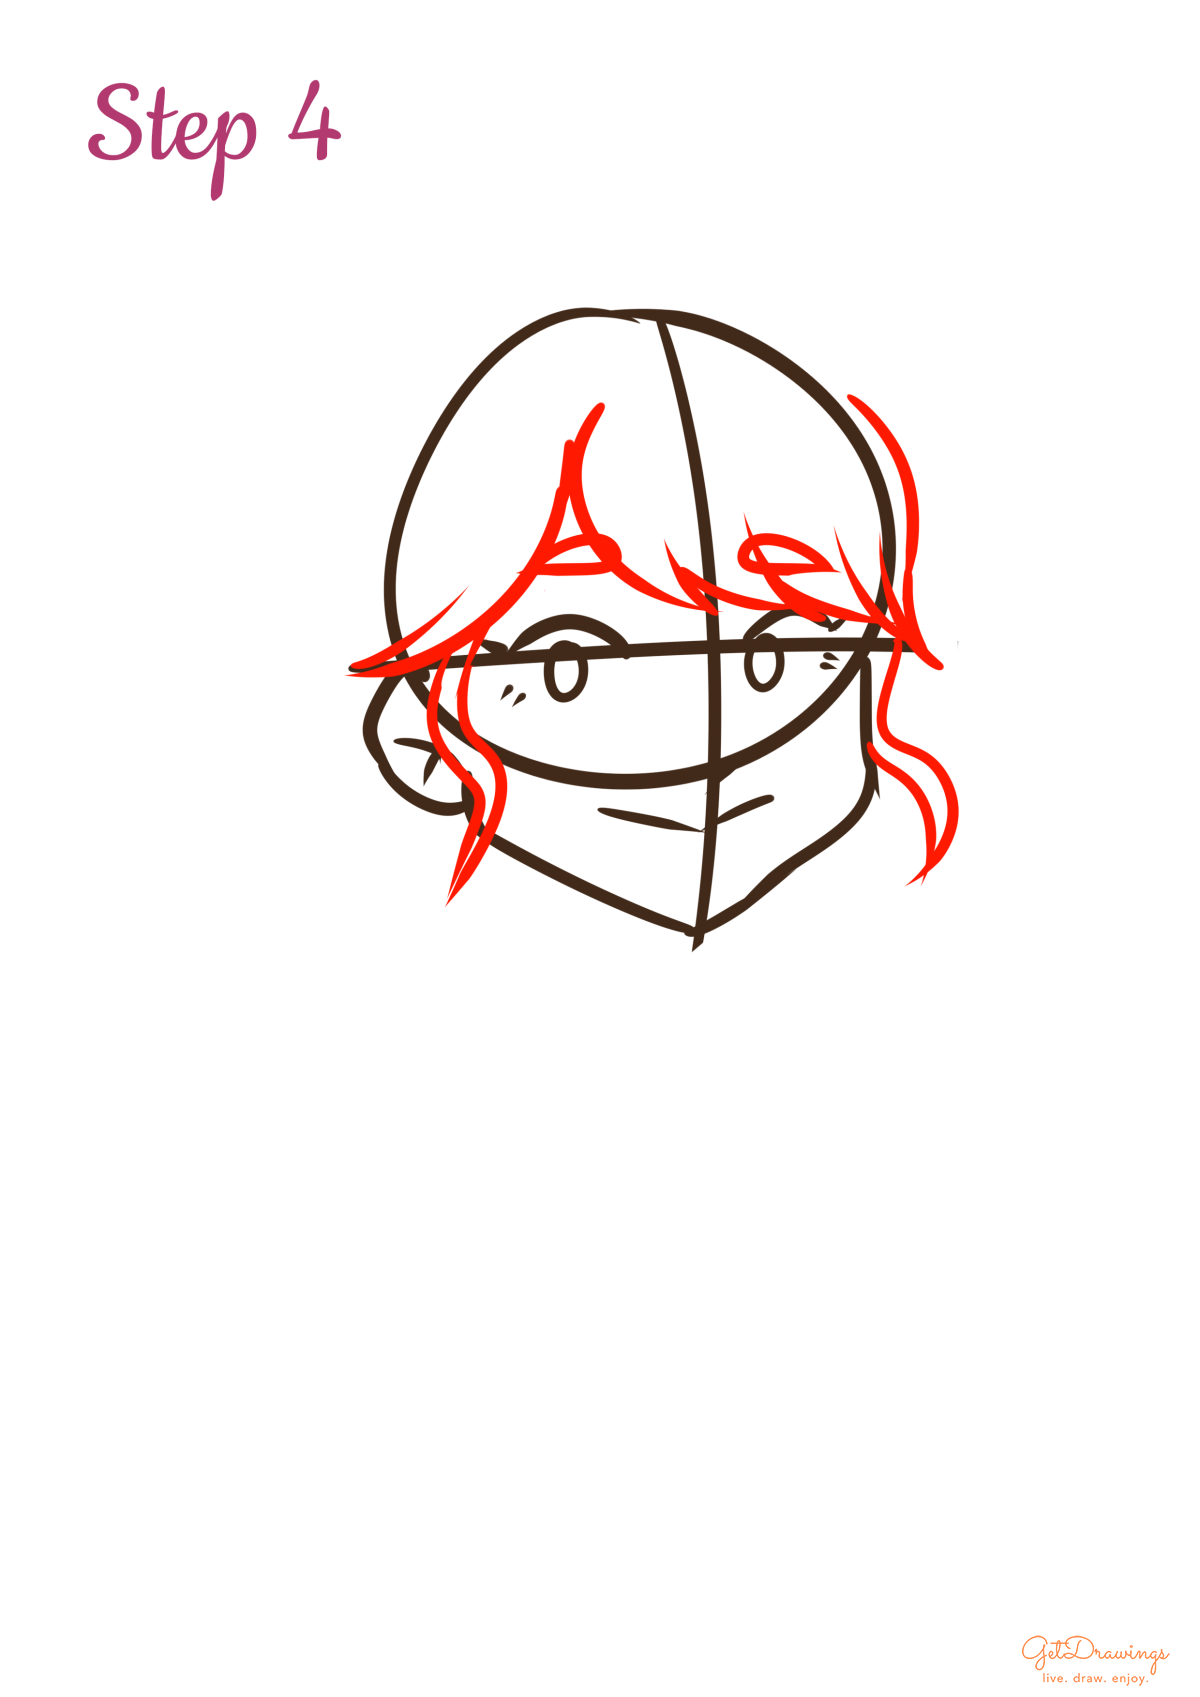
Step 4: Lastly, add two leaf-like above the eyes to make its eyebrows for the final touch of making the girl’s face. Therefore, we’ll continue to draw the guideline of the fringe by adding several curve lines (see picture). Don’t forget to add two additional curly hair on the next to the face by creating curve lines with the similar size next to each other.
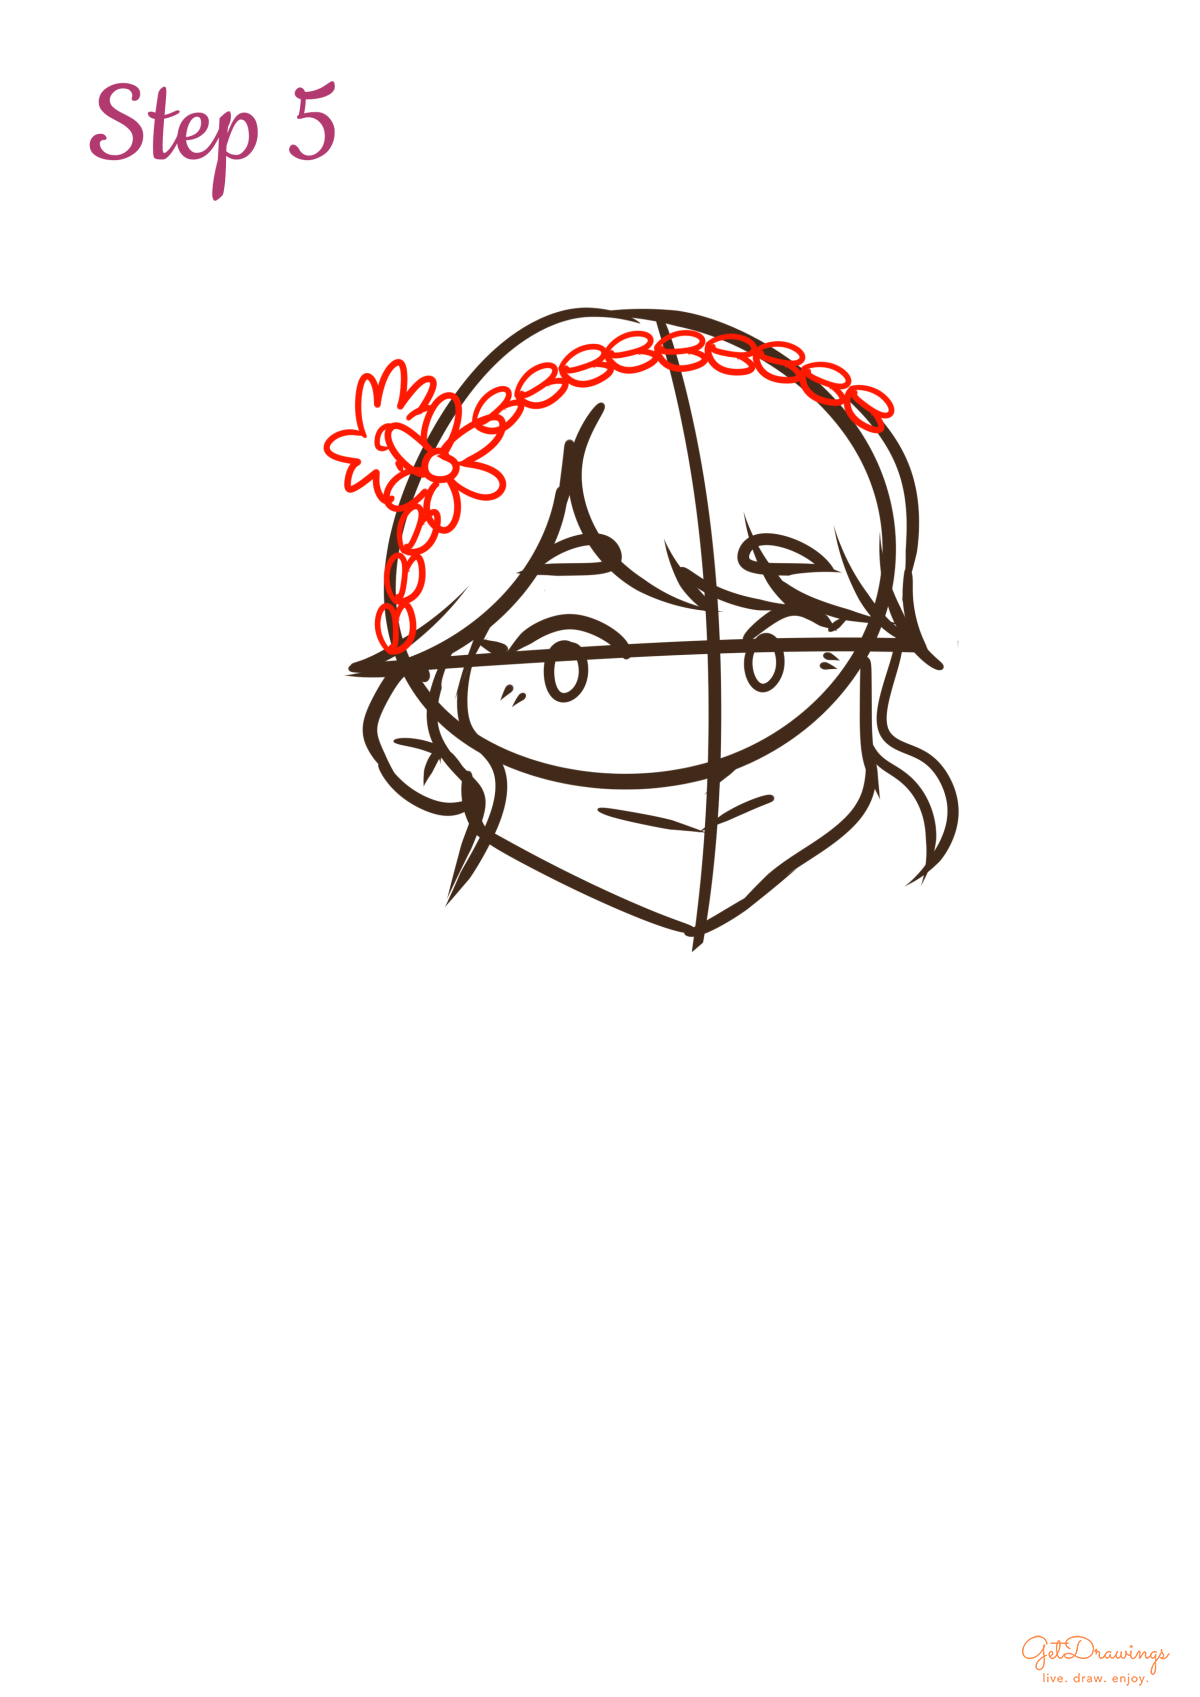
Step 5: In most event, girls that worn Kimono on festivals tend to do a different hairstyle than they used to. We’ll be drawing the details for the hair and create a braid with flowers on top of the head. Starting from the braid, create several coffee-bean-like chains (see picture to better understand) on top of the head, but create two flowers in the middle of the braids. You can create a flower by firstly making a circle on the center, then add several curves around it to create the flower petals.
Step 6: Then, finish the hair by creating a spiky curvy hair on top of the previous step. Then we can move on to the neck by adding a reverted triangle below the chin.

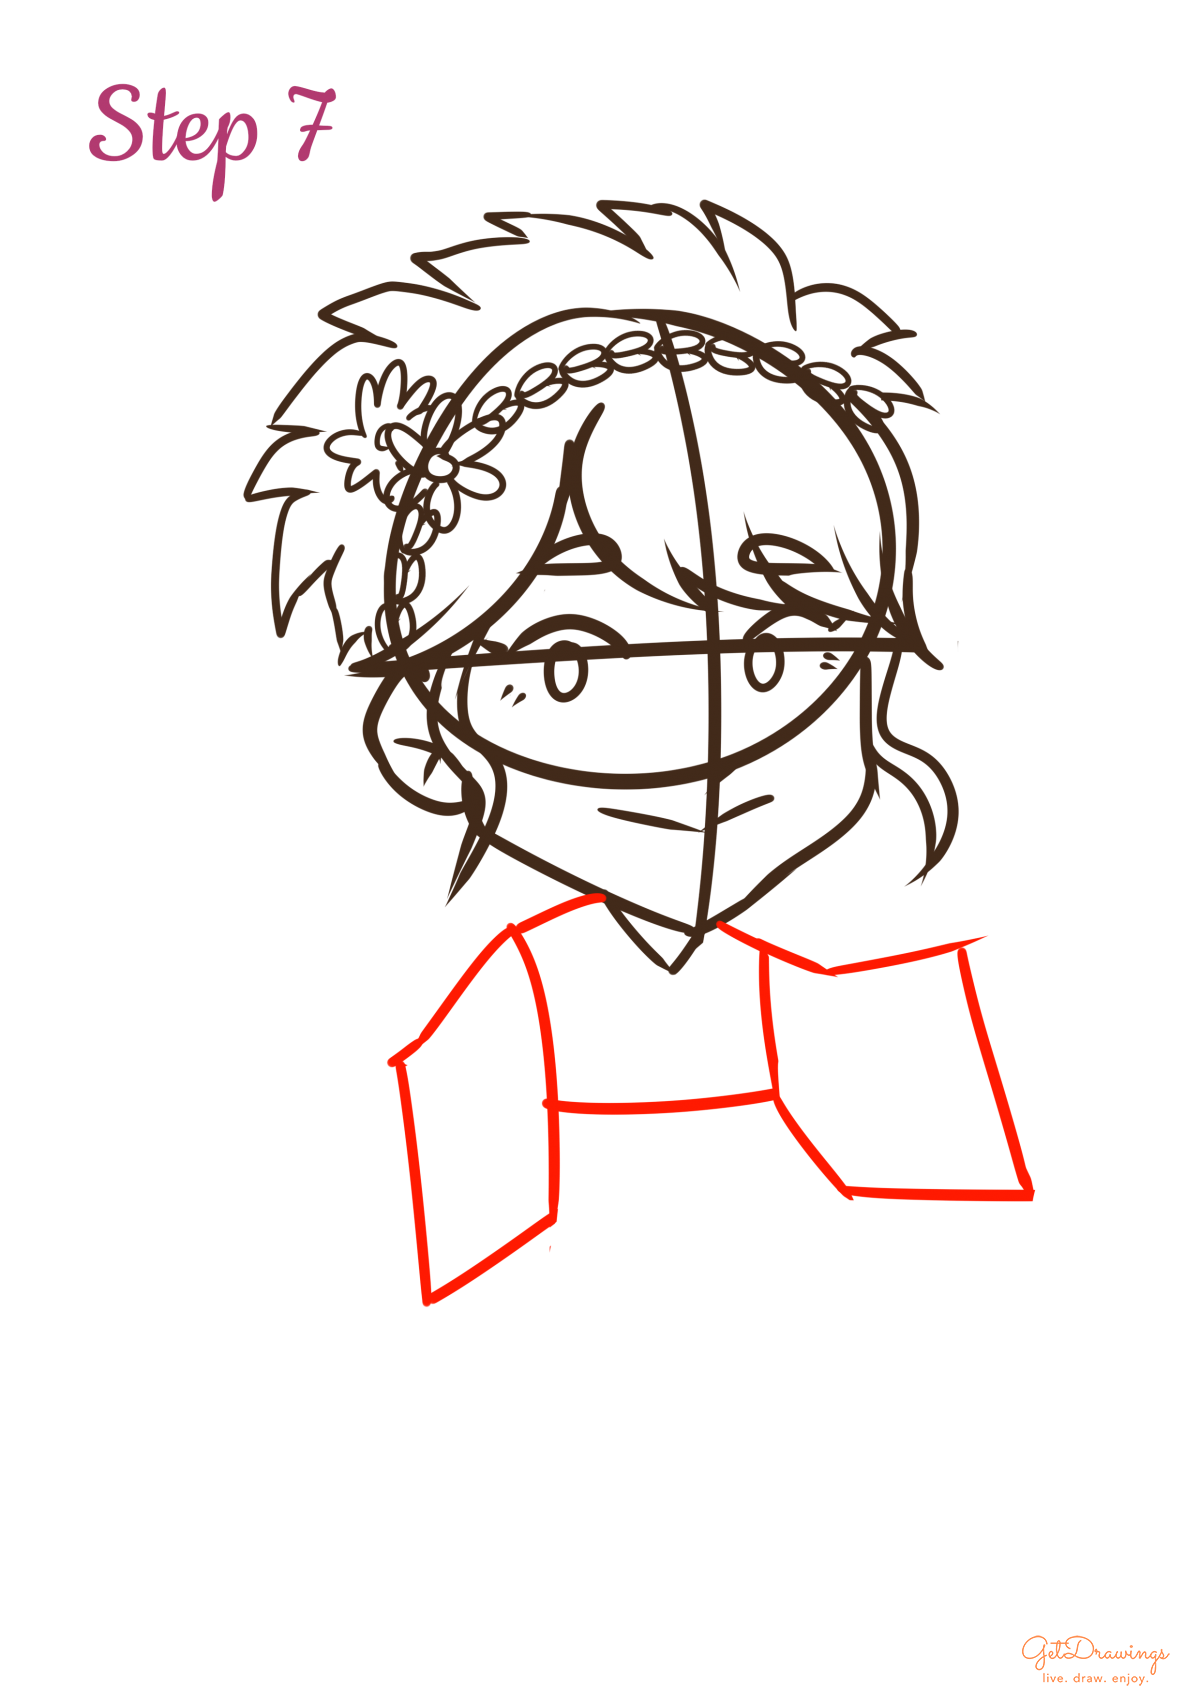
Step 7: Moving on to the Kimono! Start by making the base of the body which is an uneven rectangle-like shape (see picture). Since you don’t want to make the neck looks rigid, therefore, make the line on top of the rectangle a little bit lower (see picture to better understand). As for the left-hand side of the sleeve, create an uneven parallelogram. Lastly on to the right-hand side of the sleeve, create a shape that consist of several straight lines (see picture). Why you have to make these shapes uneven? It’s because you want to show how Kimono fabric is often soft and has a floppy texture.
Step 8: Next, we can move on to continue adding detail to the Kimono. Draw two long straight lines below the lower V-neck of the Kimono to create layer. Lastly finish the detail by adding a shorter straight line in the middle of the previous line that you’ve drawn. Moving on to the next step, add a narrow rectangle-like shape below the body guideline. Then add a horizontal line in the middle of it and draw two small circles for the details. Then create a shape that consist of several straight lines that creates the skirt part of Kimono (see picture to better understand).

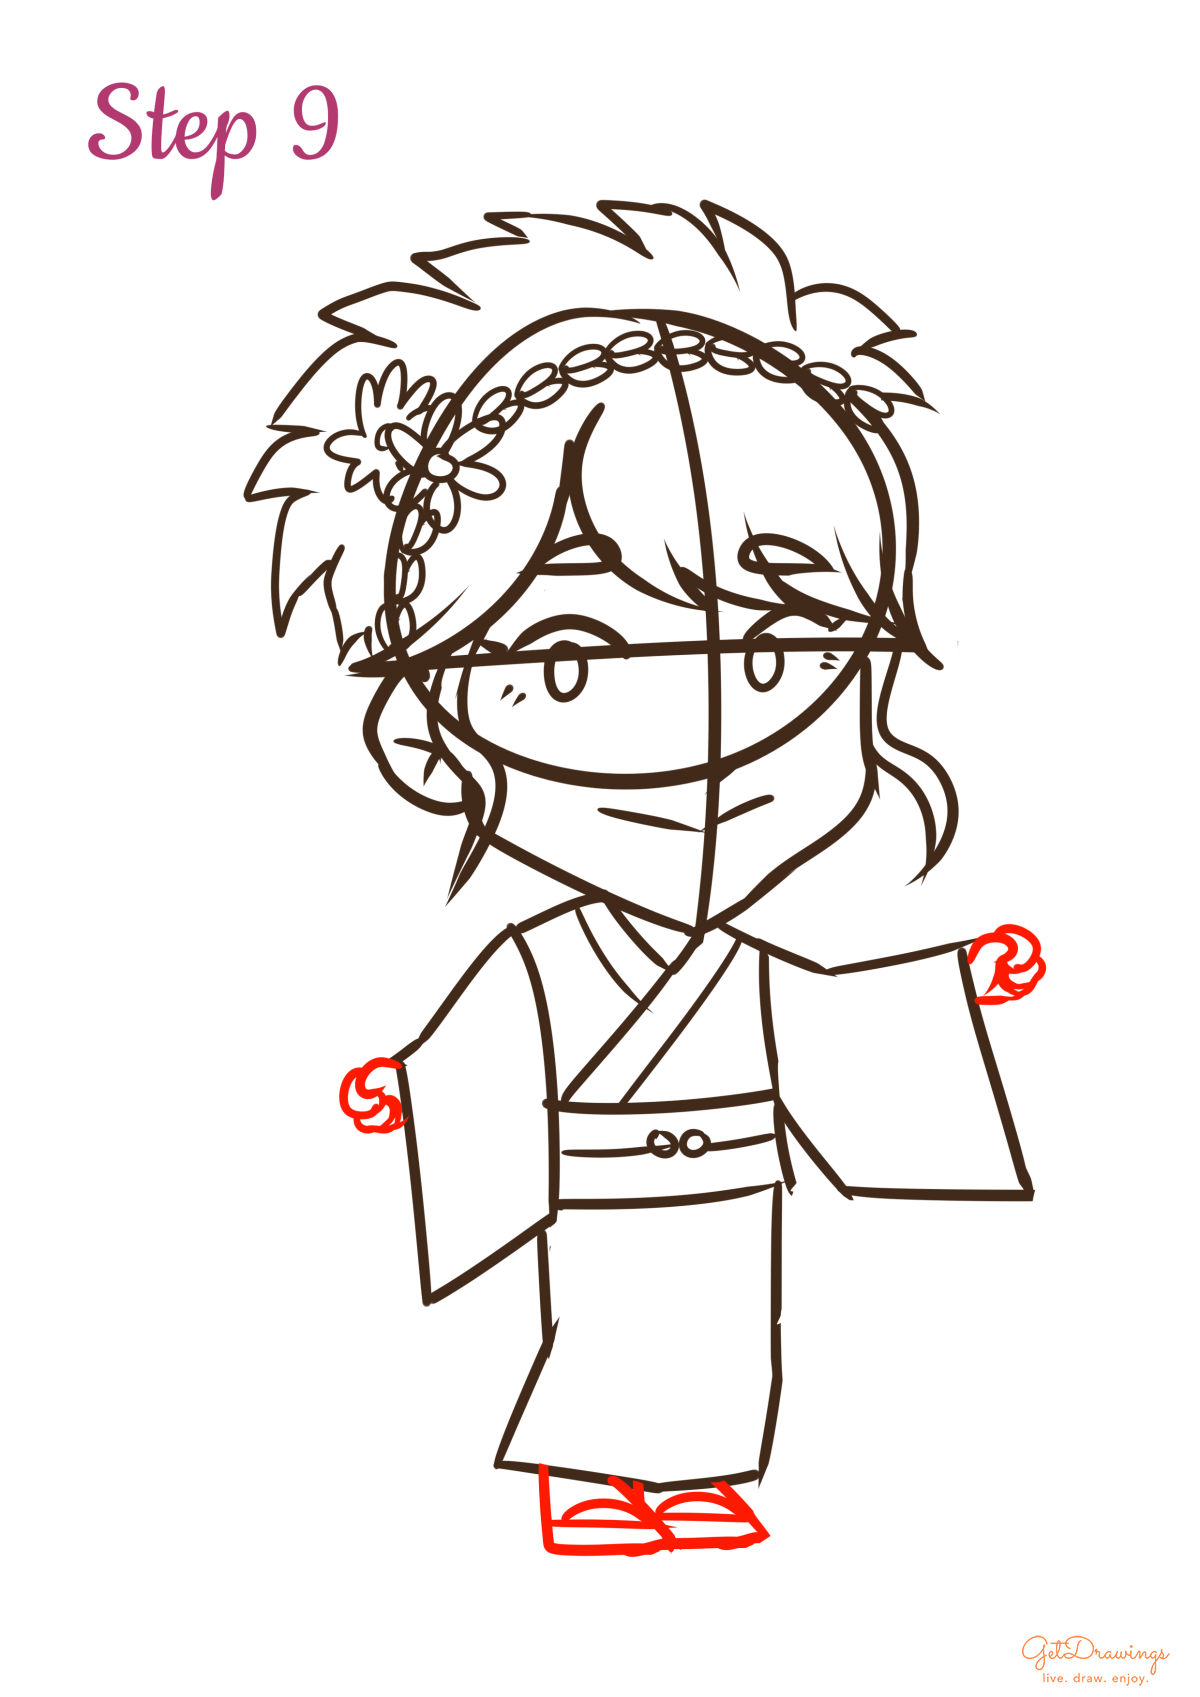
Step 9: Now, you can start drawing the hands by creating several curve lines that creates fists. Then for the sandals, create two right triangles and add horizontal lines in the middle of it to separate the heels. After that, add the strap by creating two curve lines.
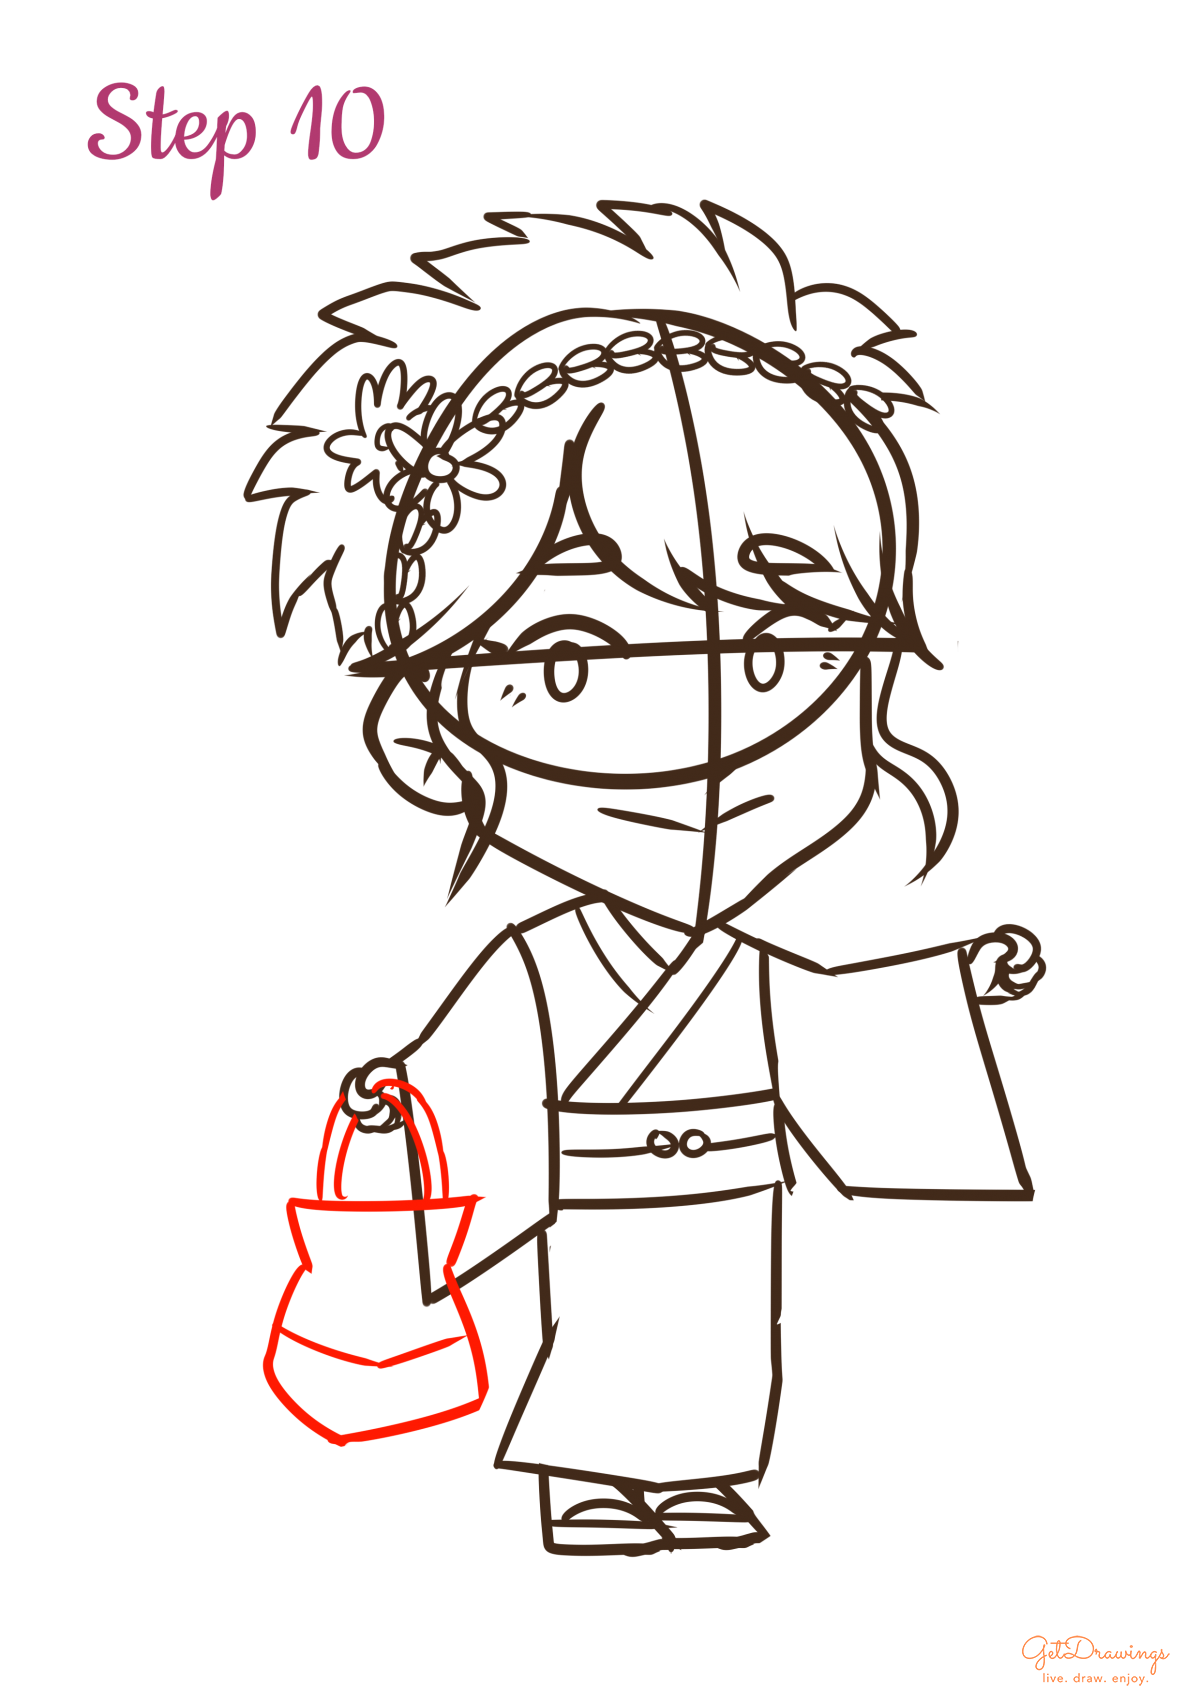
Step 10: Lastly, Make the small bag for the girl with Kimono! They usually tend to bring a small bag with them since Kimono doesn’t have any pockets to bring some items with them. You can start creating its bag by starting from the curve lines to create its strap as if it was held by the left-hand side of the hand. You can make the bag as if you’re creating a clam-like shape. Then create lines in between it to create a pattern for the bag.
Step 11: Now we can finish it by erasing the guidelines and Voila! The Traditional Japanese Clothing is done!


When drawing a traditional Japanese clothing or Kimono, the most important part is to look at the reference. How’s the actual shape of the Kimono, the detail, each part, etc. This is important because most of the form won’t be smooth or symmetrical. Even if it’s symmetrical, the form will still be uneven. Therefore, it’s important especially drawing the guideline. You’ll need keen eyes and a lot of practice so you can make your drawing perfect. Good luck!


Drawing hacks
Drawing hacks

9 Artists You Need to Follow on Instagram

Drawing Ideas - an Inspiring List of Things to Draw

The Best Drawing Books Every Artist Needs
