
LIMITED OFFER: Save 15% off Shutterstock Images - GETDRAWINGS15 coupon
Imagine when you’re sick, what will you do when that happens? You’re definitely asking help from a Doctor. They can help you by examining your condition, decide what prescription for your sickness, and lastly explaining what you should eat or drink to get better. They know a lot of sicknesses as well as the cure. Therefore, you might as well want to draw for them if you want to give an appreciation for them. You’ll need to prepare a paper, a pencil, and an eraser. Now you’re ready to draw!
Steps:
Step 1: First of all, we’re going to start from top to bottom. Starting from its head, you can draw a circle at first. Then, add two lines consist of two straight lines that crossed each other inside the circle. This would be the head guideline for your doctor. Please keep in mind to leave a big space below it to reserve space for its body.

Step 2: Next, continue the head guideline by adding several curves starting from the left straight line (see picture) to add cheeks and chin.

Step 3: Then, moving on from the previous step, add two curve lines and add two lines inside each of it (See picture for better understand) to create its ear with the depth. Make both for left and right.

Step 4: Continue to another feature on its head by creating the eyes. Draw two curve lines right on top of the straight guideline and add an oval below both of the curve lines.

Step 5: After that, create two leaf-like shapes on top of the previous step for its eyebrow. Also, don’t forget to add a small curve line below the center of the eyes for its nose. Next, add an upside down parallelogram and draw two short straight lines inside of it to make the doctor grinning.

Step 6: Now we can move on to the top of the head. Start with the sideburns, add several short lines inside the head next to the ears

Step 7: Moving on to the next step. Now you’re going to draw the doctor’s head mirror. Start by making a circle in the center of the forehead with another smaller circle inside of it. Then, create the head mirror’s band by adding several long curve line alongside with smaller curve line (See picture to better understand)

Step 8: We can now continue with the hair by start drawing from the left. You can make a spiky part of the hair on the left-hand side of the head and finish it with a curve line on the right-hand side of the head. This shows his hair is brushed to the left-hand side.

Step 9: Next is an additional object which is glasses. You can draw it with several short lines and create a rectangle-like shape for the glasses’ frame (see picture). Also, we’re going to start drawing the body by creating the shoulder first. Therefore, add two short straight lines below the head just like on the picture

Step 10: Then, you can draw a rectangle-like shape for the guideline of the body part. But on the lower part of the rectangle, you’ll need to add a triangle-like shape. The body part will be wearing a lab coat, therefore this shape will be the base for the lab coat

Step 11: As for the arms, add several long straight lines and shorter lines (see picture to better understand). Make him looks like waving his hand on the right-hand side and putting his hand on to the pocket coat. Don’t forget to add small narrow rectangles to show the pockets on the lab coat and the cuff.

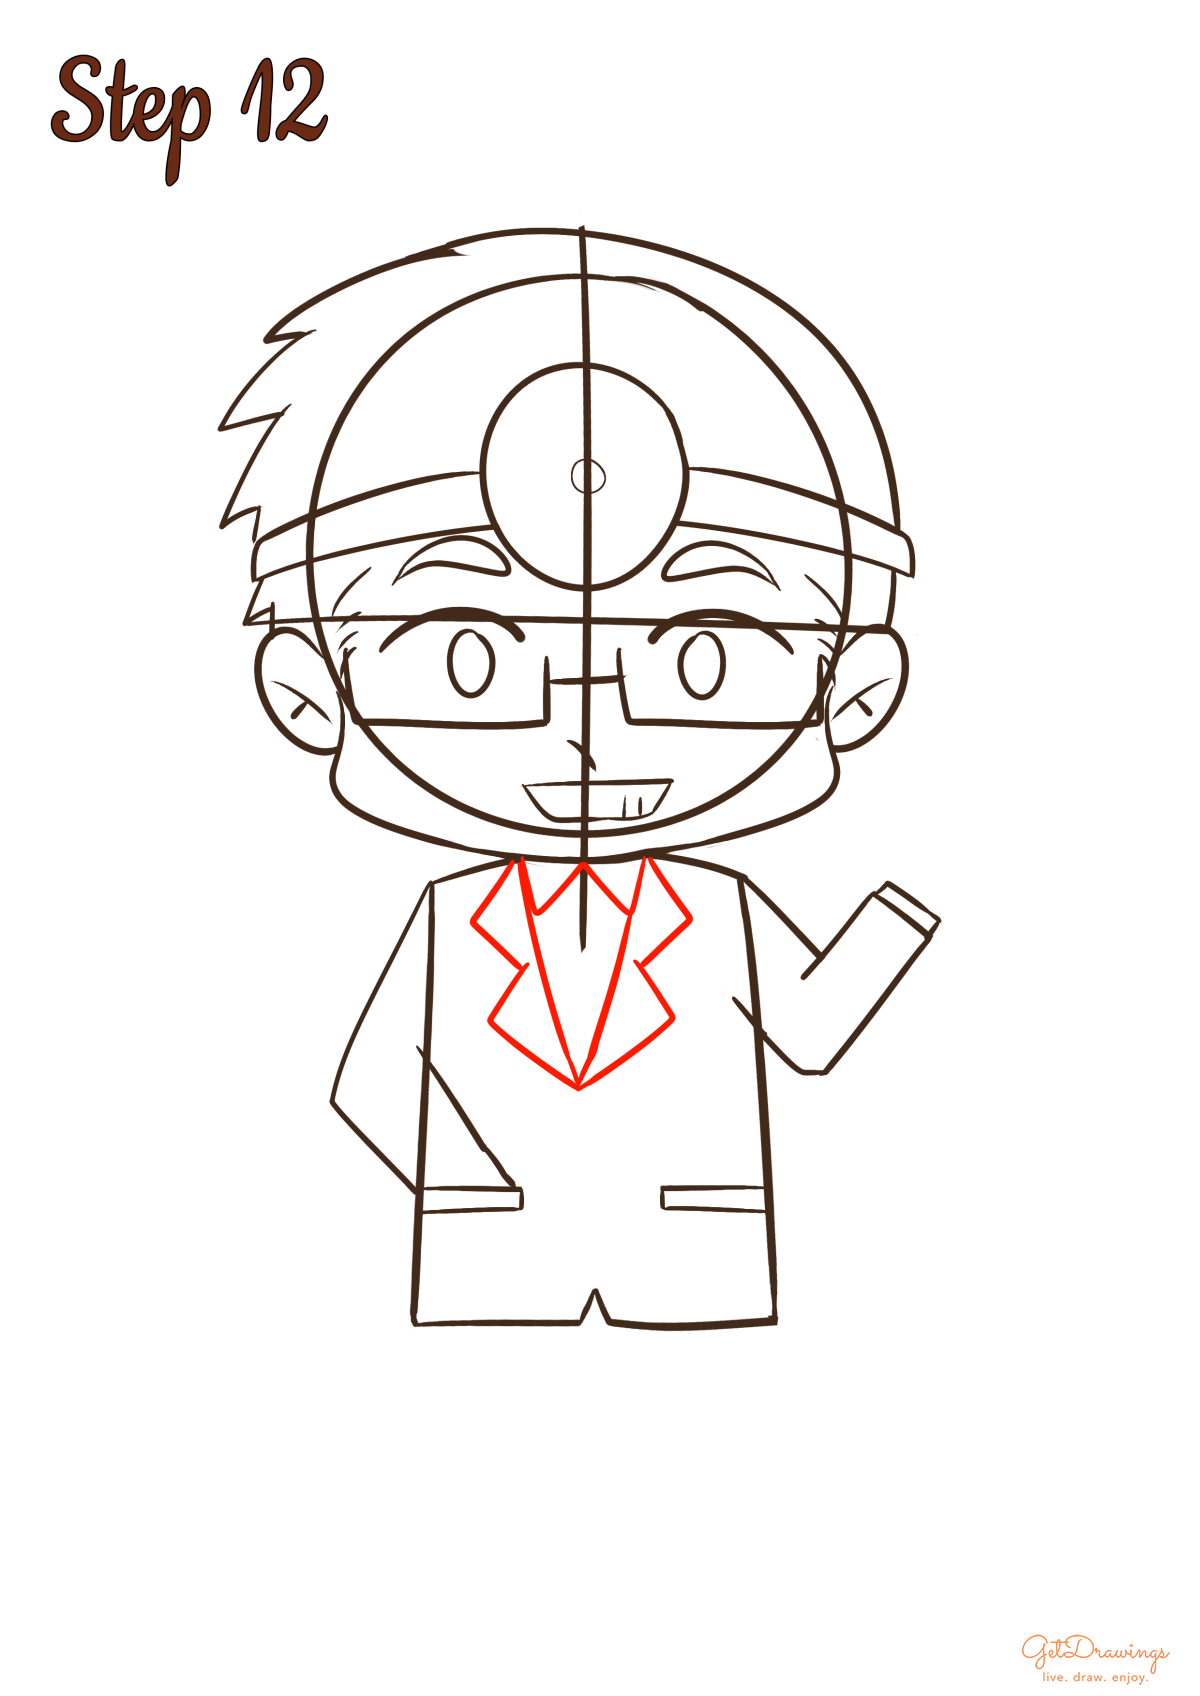
Step 12: Now we can move on to the next step. To draw collars for the shirt and the coat, you’ll need to draw several triangle-shape like inside the body guideline (see picture)
Step 13: Continue to the next detail would be the tie and the hand. Draw a small rectangle-like shape below the collar and add two straight lines below it. As for the hand, you can create several small curve lines (see picture to better understand) that resemble a hand.

Step 14: After the previous step, we can add the pants by adding several long and shorter straight lines below the body guidelines (see picture)

Step 15: For the last part, create the shoes by drawing two trapezium-like shapes below the pants.

Step 16: Now you can remove the guideline and Voila! You’ve finished drawing a Doctor!


The most important part of drawing a Doctor is the details. So in order to draw the Pilot, you need to be extra careful to what things that need to be drawn, whether it’s the head mirror, the coat, the tie, and many more. It won’t be hard if you have keen eyes. But after all, practice makes perfect so it won’t be hard if you keep drawing it.


