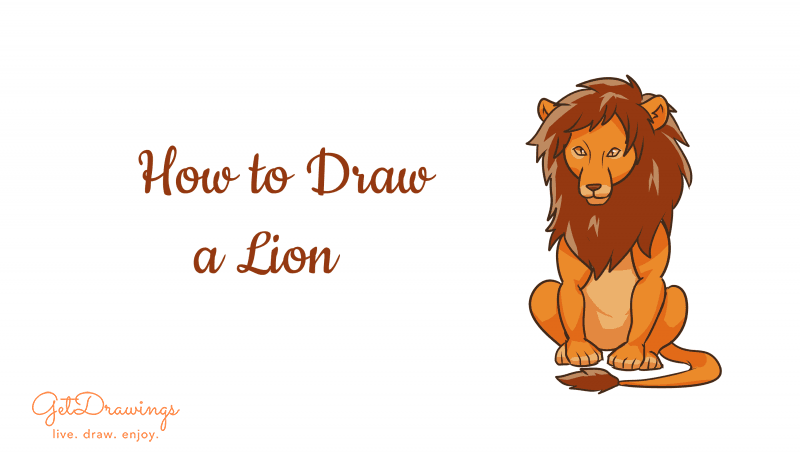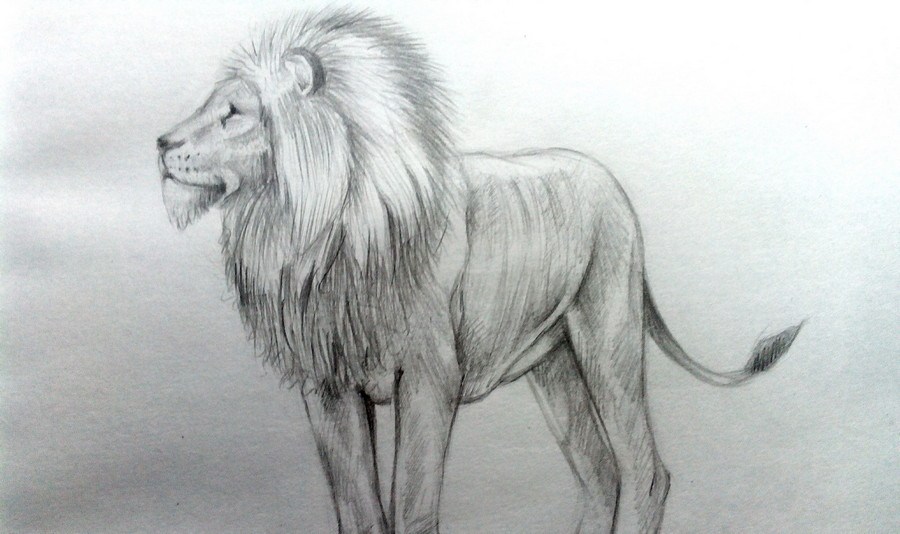
How to draw a Lion with a pencil?
Lion is considered the king of animals for its strength, agility, proud posture and majestic gaze. How to draw a lion in full growth? Easy and interesting! In this step-by-step tutorial, we will draw a lion that will stand sideways with its head turned to the left. Two paws of the lion will be on the dais, and two on a flat surface. The tutorial is divided into several steps, each of which is accompanied by a drawing and a detailed description, which will make it easier for newbies to draw a lion.
Tools and materials:
1. White sheet of paper.
2. Eraser.
3. A solid simple pencil.
4. A soft simple pencil.
Steps of the work:
Step 1. Draw with a solid simple pencil arbitrarily smooth circle:
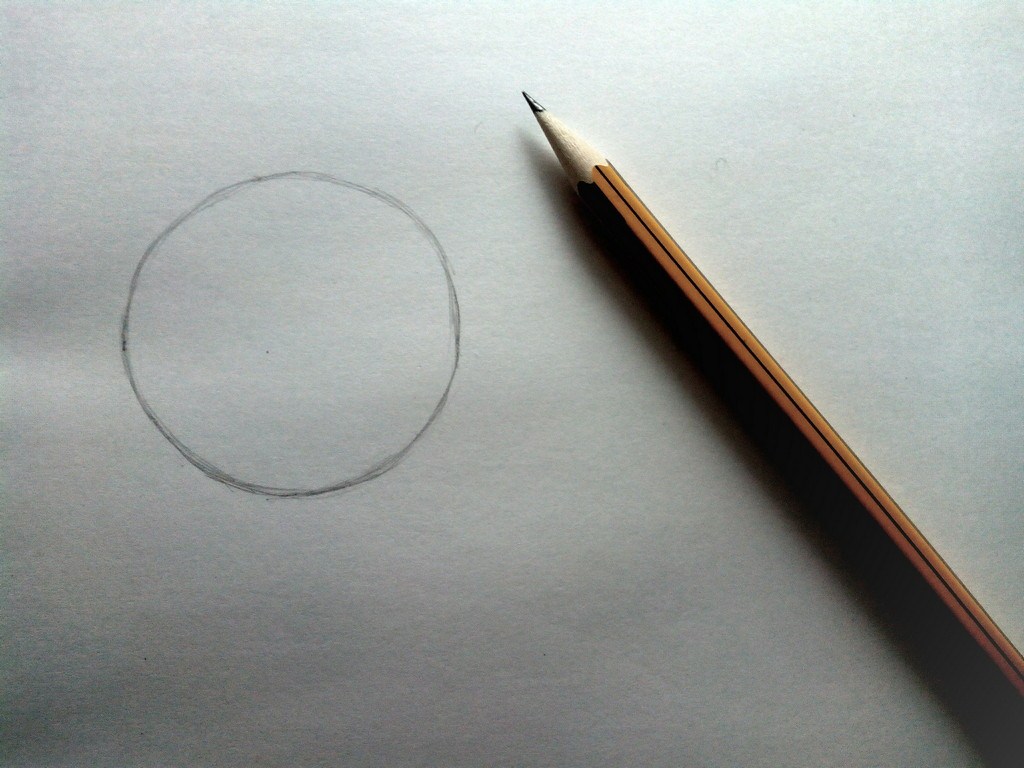
Step 2. From below we add an oval, which will serve as the basis for the torso of the lion. It intersects with the circle in its center and occupies a little more than a quarter of the figure:

Step 3. We will outline the location of the paws. For a more understandable placement, draw an oval on their upper part:

Step 4. We begin to draw the muzzle of the animal and the lower part of the trunk:

Step 5. Draw the lower part of the lion's paws, its fingers. With an eraser remove the previously drawn ovals from the top of the paws. The front paws will be slightly turned and hung down, because of the uneven surface on which the beast stands:

Step 6. Now delete with an eraser remained lines, which helped in the construction, but now we do not need them. Draw the muzzle. Add features of the ear, nose, eyes and mouth. Draw the mane and add the tail:

Step 7. We begin to draw the muzzle of the lion. The shadow is not applied uniformly because of the bends of the muzzle. Near the nose, we add points for the growth site of the mustache. From the lower lip of the lion will grow a thick beard of a triangular shape. Just stroke the ear, its lateral part will be the darkest.

Step 8. Now go to the mane. The strokes are plotted according to the shape of the growth of the coat. On the edge of the coat will be darker than the rest:

Step 9. Next, draw the wool on the front paws. It will be much shorter than on the mane. On the bends, make the strokes thicker. Under the paws add a curved surface on which there is a lion:

Step 10. Continue hatching the paws and body of the animal. On the body, the ribs are slightly visible because of the young age of the animal. The hind foot will be darker because the light gets less into that area:

Step 11. Finish putting a shadow on the body. Do not forget to put the finishing touches on the tail. We will make a tip in the form of a brush. At the bottom of the picture, create a surface on which there is a lion:

Step 12. With a soft simple pencil, we add contrast and a contour. Finalize the missed stages. The drawing is completed:
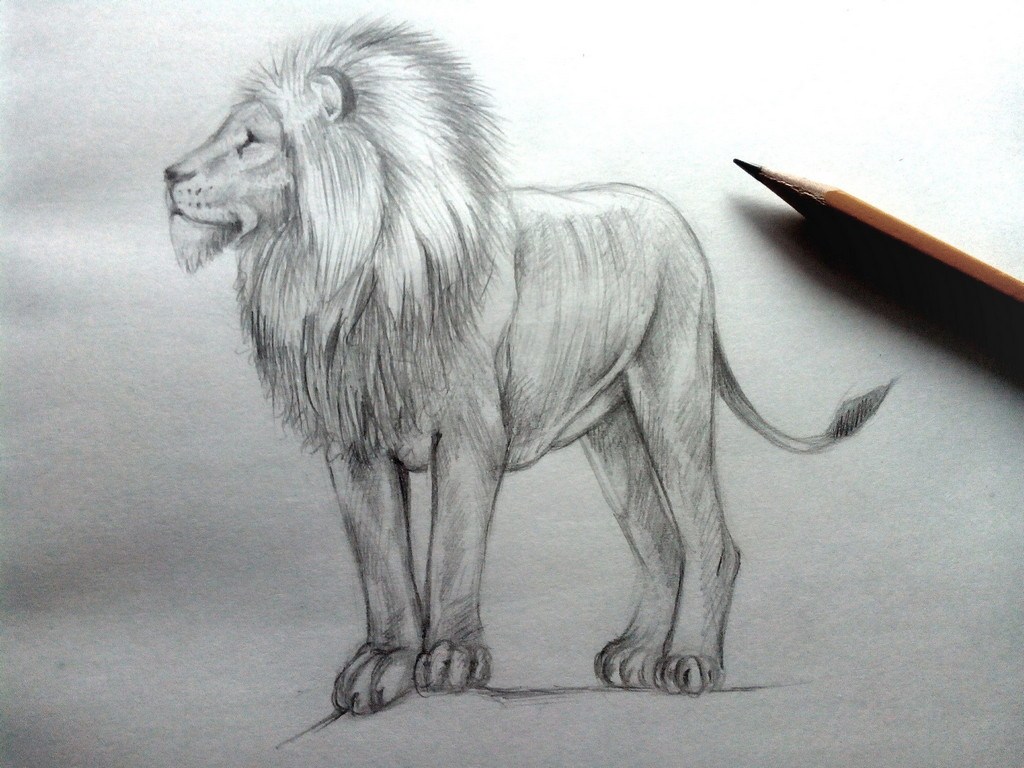
So we learned how to draw a king of beasts - a lion. The tutorial was fascinating, interesting and not too complicated. Now you see that even a child can learn to draw a lion.
