
How to draw a Winter Season?
What’s the white thing that falling on your face from above? Is it paint? Is it cotton? It’s actually snow! Snow is one of the signs to tell someone the season’s turning to Winter. A lot of things you can play with snow. Whether it’s snowball or even snowman. But the other sign that usually appears is the tree is withered until there’s no leaf anymore. It’s beautiful to see the scenery you mostly see is full of leaves and now it’s only filled with snow. Therefore, if you really want to portray how the Winter season would look like, you can follow these steps and prepare several things beforehand. You’ll need paper, a pencil and an eraser. Now you’re ready to draw!
Steps:
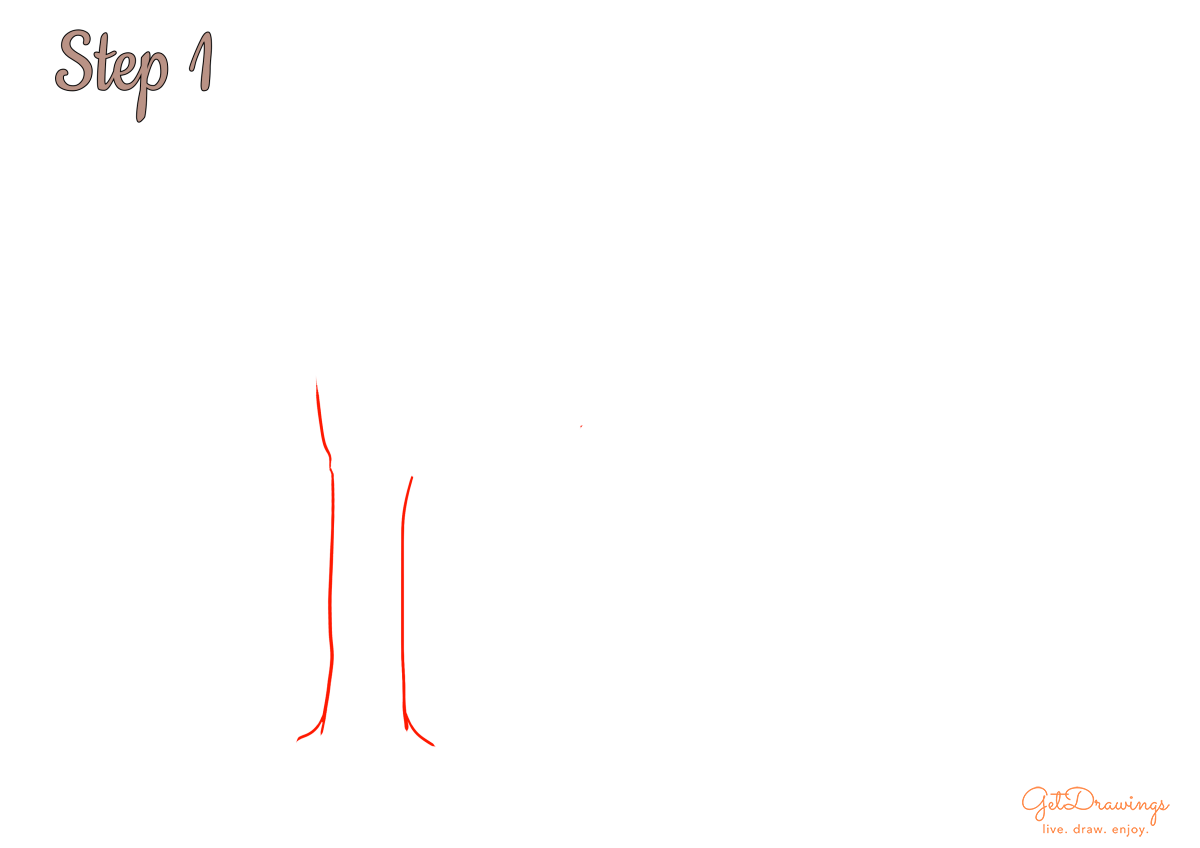
Step 1: Firstly, we’ll start drawing a tree by drawing its tree trunk. Create two vertical curve lines and make the left-hand side slightly longer than the right-hand side one. The lines also have to be uneven. Then, continue with the top end of the roots by drawing two short lines below the previous lines.
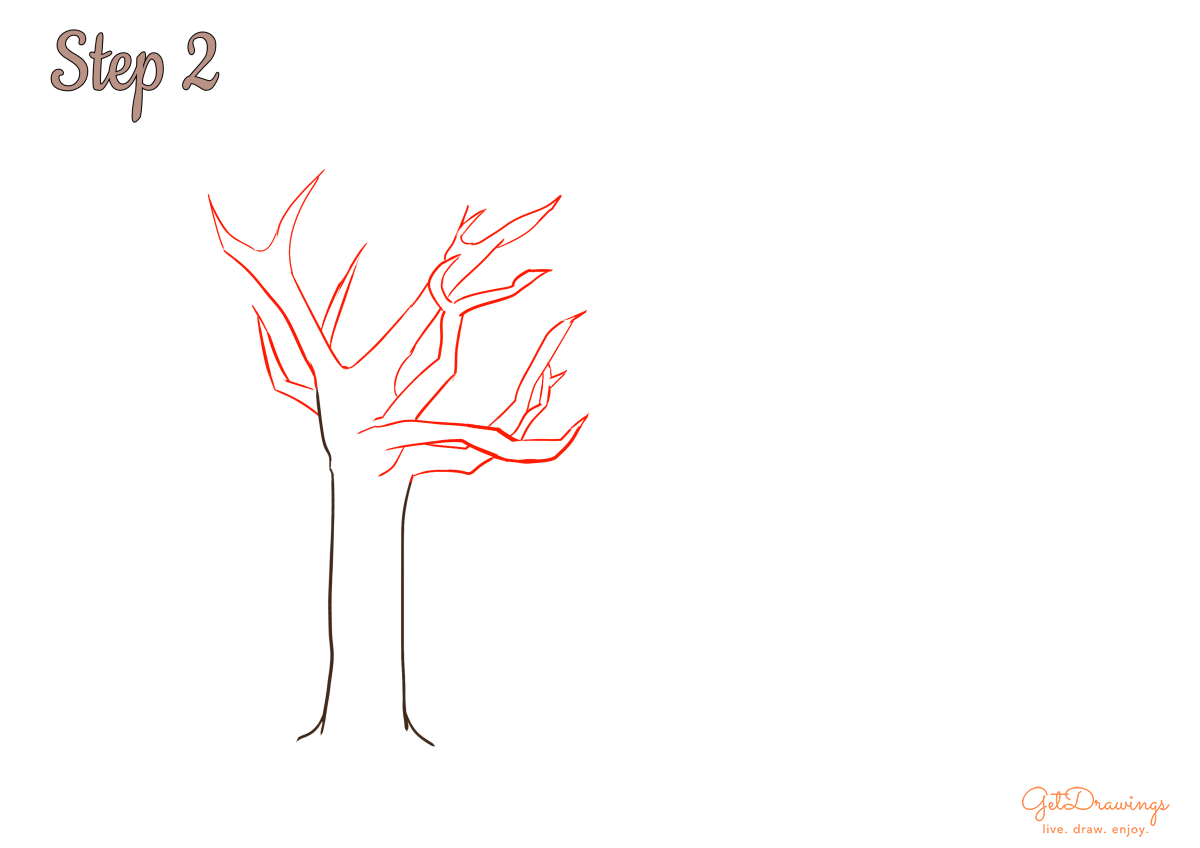
Step 2: Secondly, from the previous tree trunk steps, we can move to the upper part of the tree which is the branch. You can draw uneven curve lines (see picture to better understand) to divide the branches.
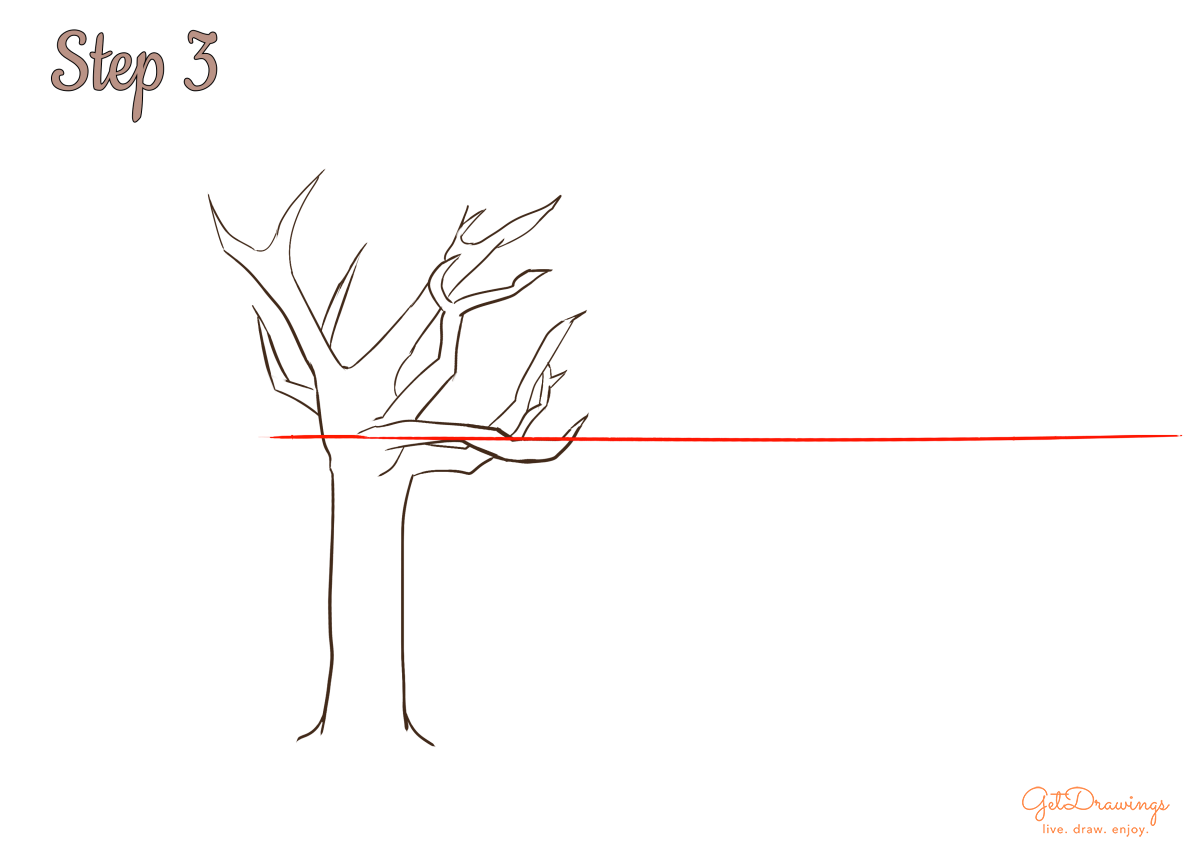
Step 3: Next, we’ll continue by dividing the line for the land and the background. Create a horizontal line from the lower part of the tree.
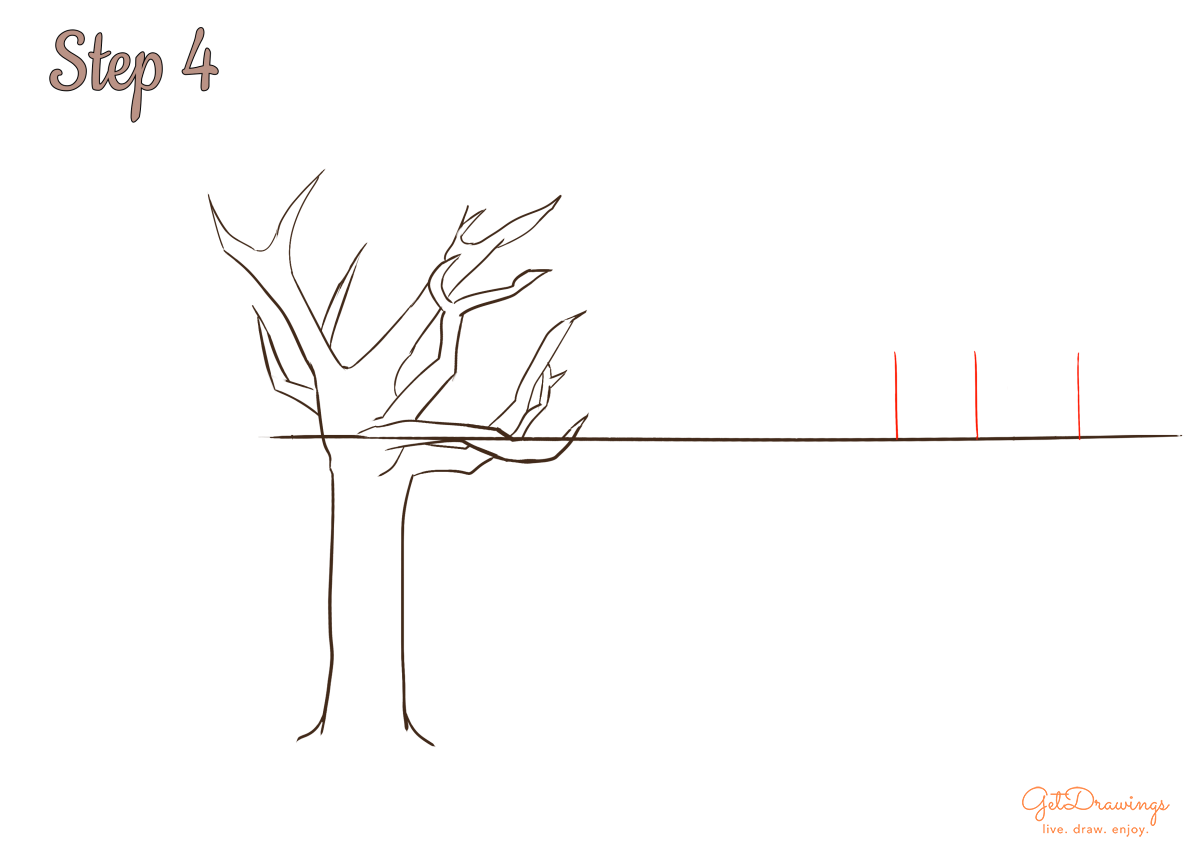
Step 4: After that, we can start drawing a house by making three vertical short straight lines on top of the horizontal line.
Step 5: Next, we’ll continue the house by making roof, windows, and door that consist of parallelograms, rectangles, and several line crossing each other for the windows (see picture)
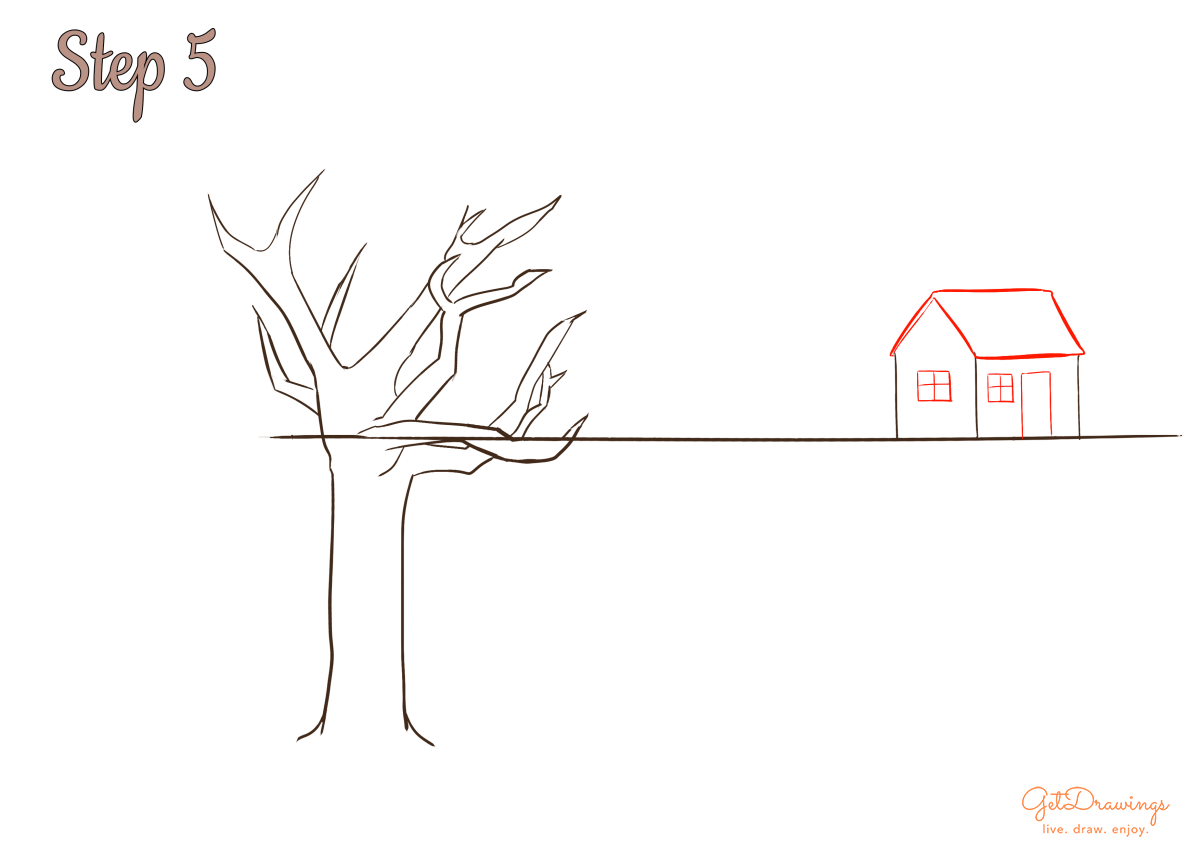
Step 6: For the next step, we’re finishing drawing the house by adding a chimney. It’s important to make people inside the house warm. You can draw chimney consist of smaller and bigger rectangles. Then, we can start making a Snowman outside the house starting with the base which is two circles that’s a lot bigger on the lower.

Step 7: Then continue by drawing the snowman’s face. Starting with two circles for its eyes, then make a carrot for its nose with a longer and narrow triangle-like shape. After that finish it with a curve for its smile.
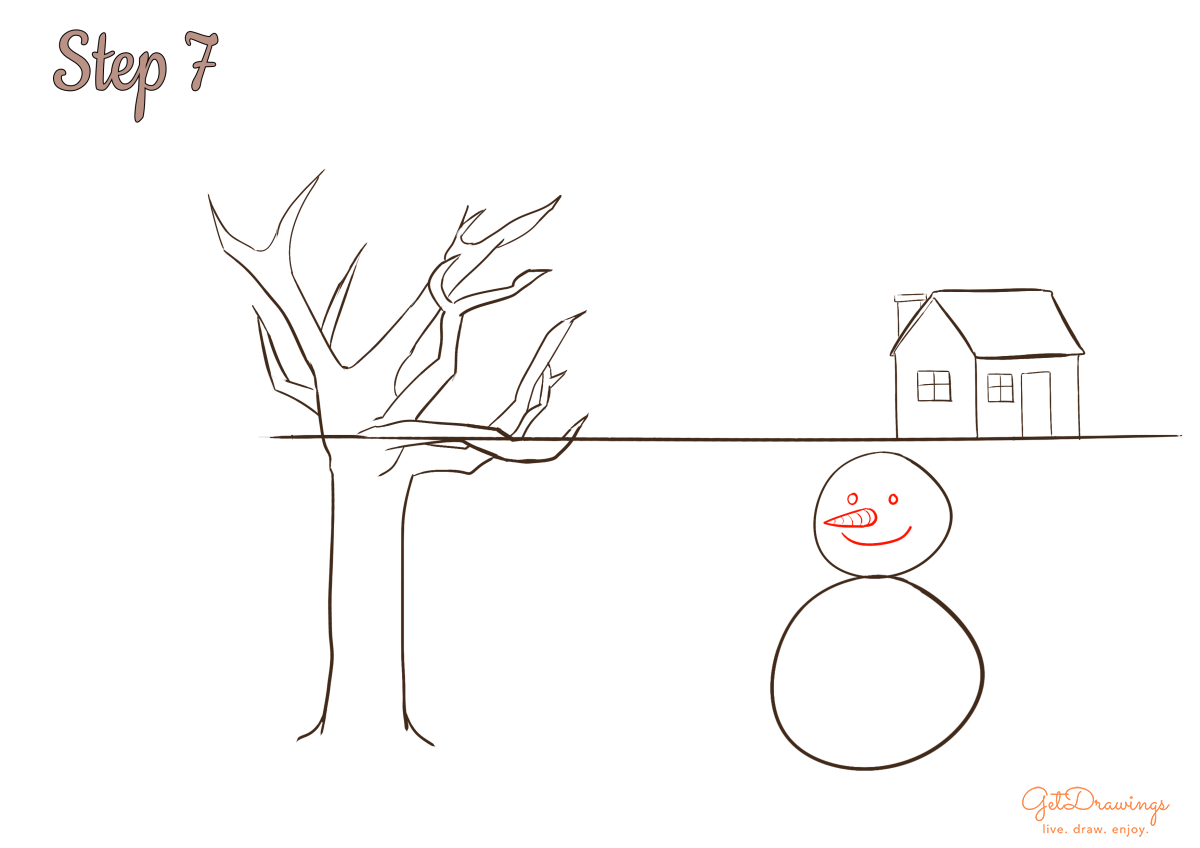
Step 8: Now we can move on to the next step. We’re going to the hand of a snowman with tree branches. Start making the arm by drawing uneven curve lines (see picture to better understand) to divide the branches.
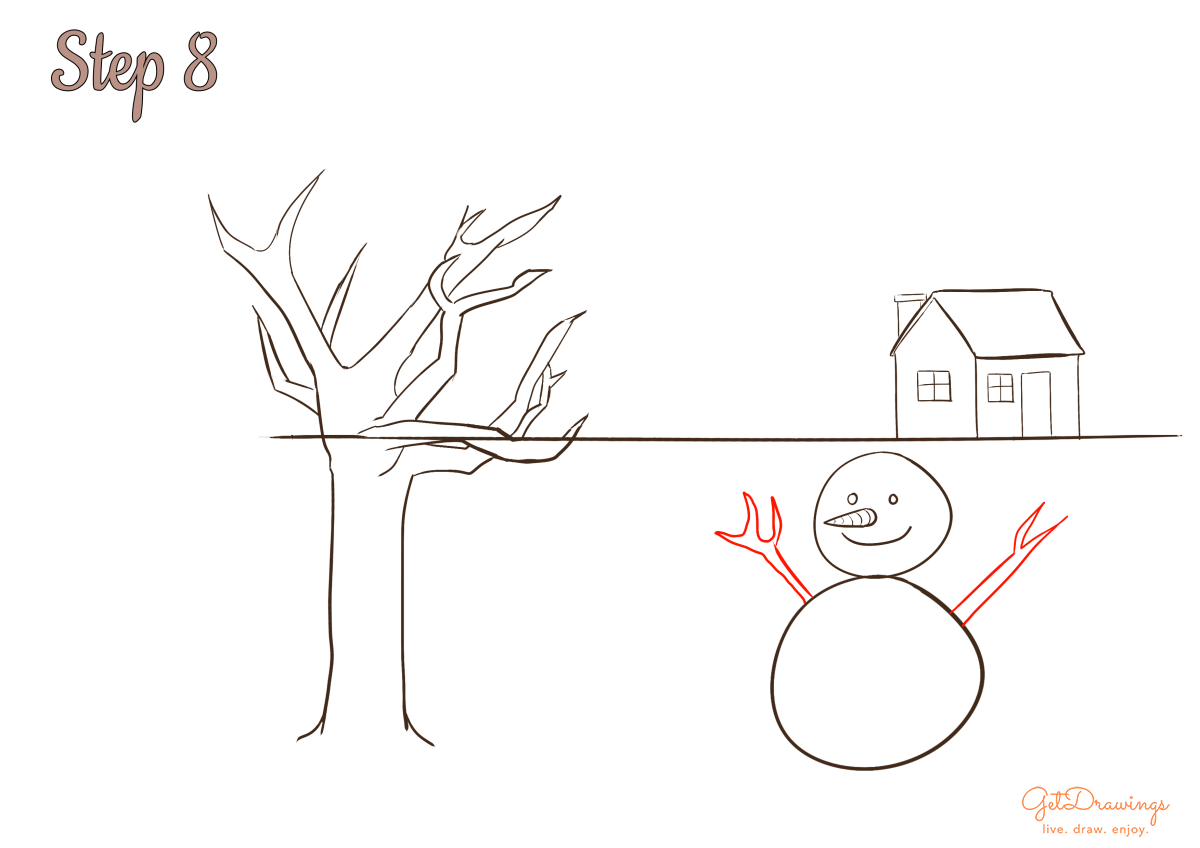
Step 9: Moving on to the details of the snowman which is its scarf. By adding several lines in the middle of two circles that shaped like a rectangle with curvy edges (see picture).
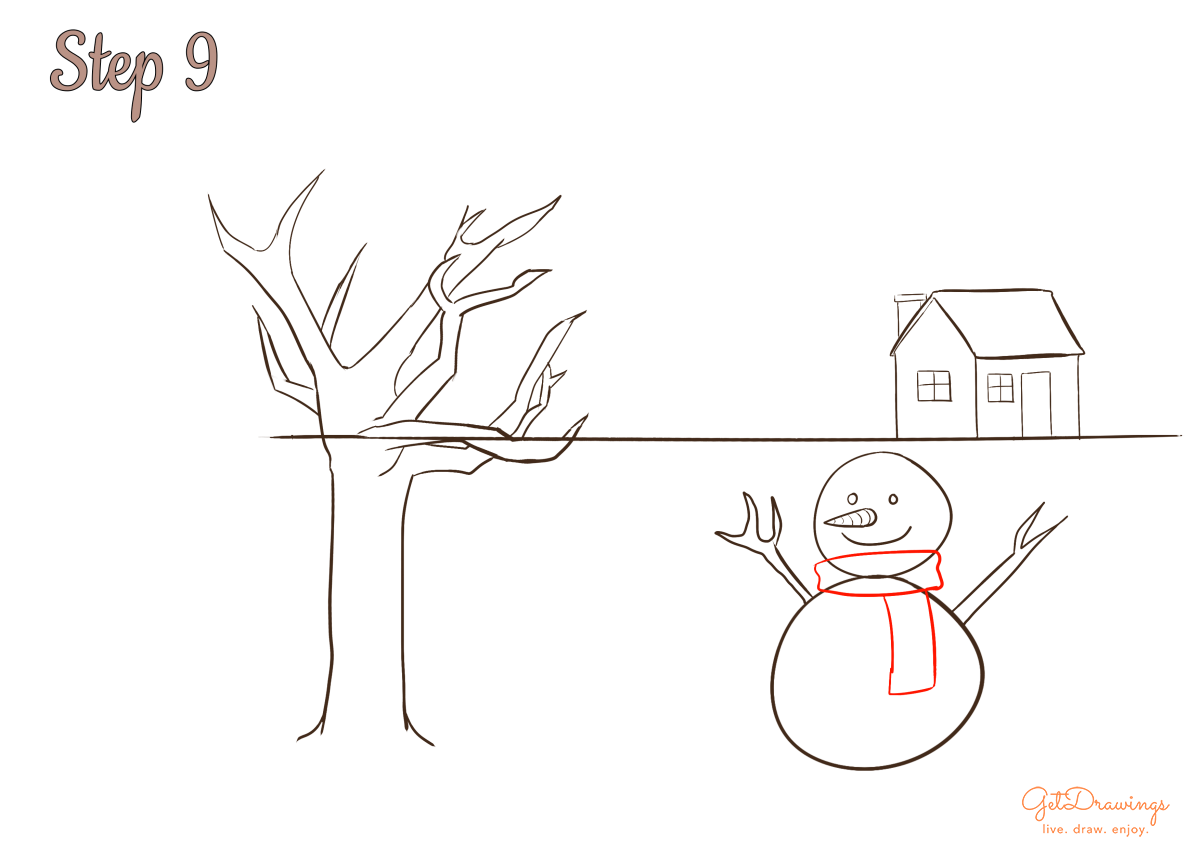
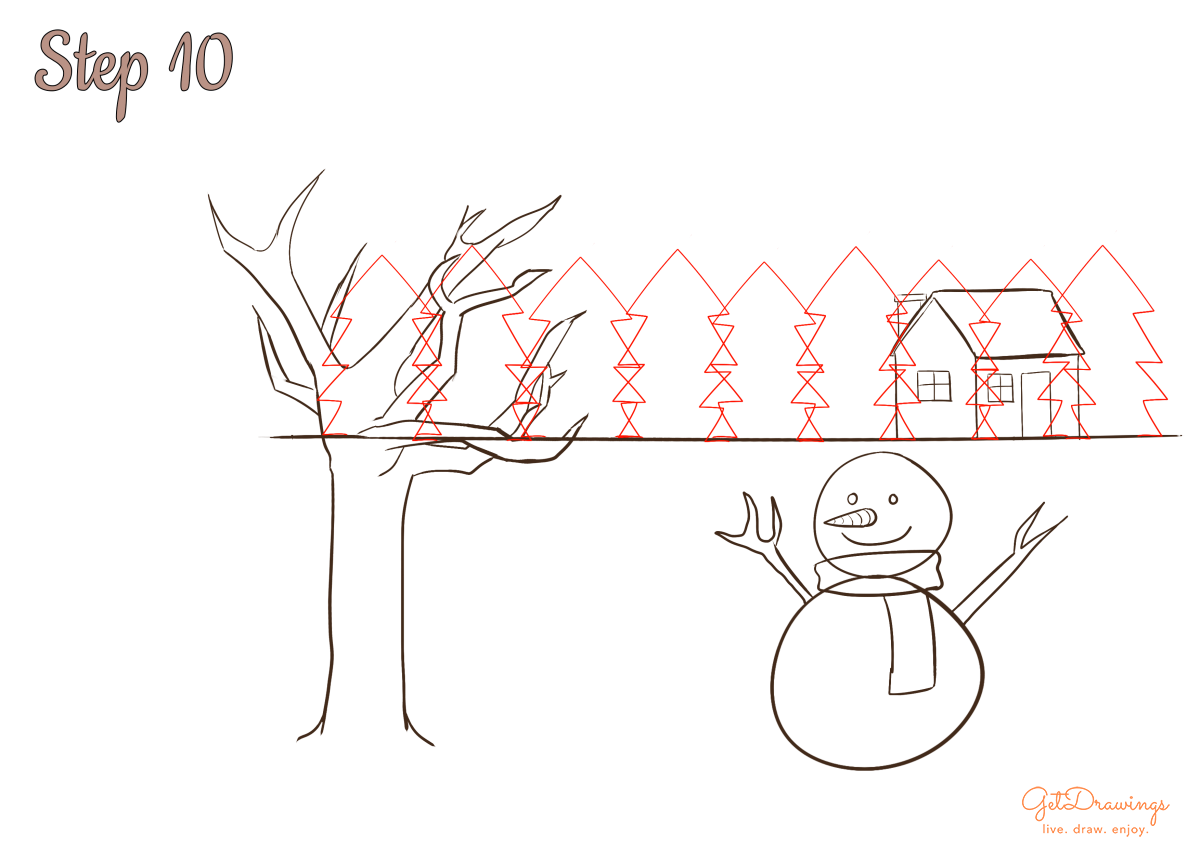
Step 10: After that, we’re moving on to the background. We’ll add a lot of pine trees behind the house. Therefore, draw a triangle shape with spiky lines (see picture to better understand).
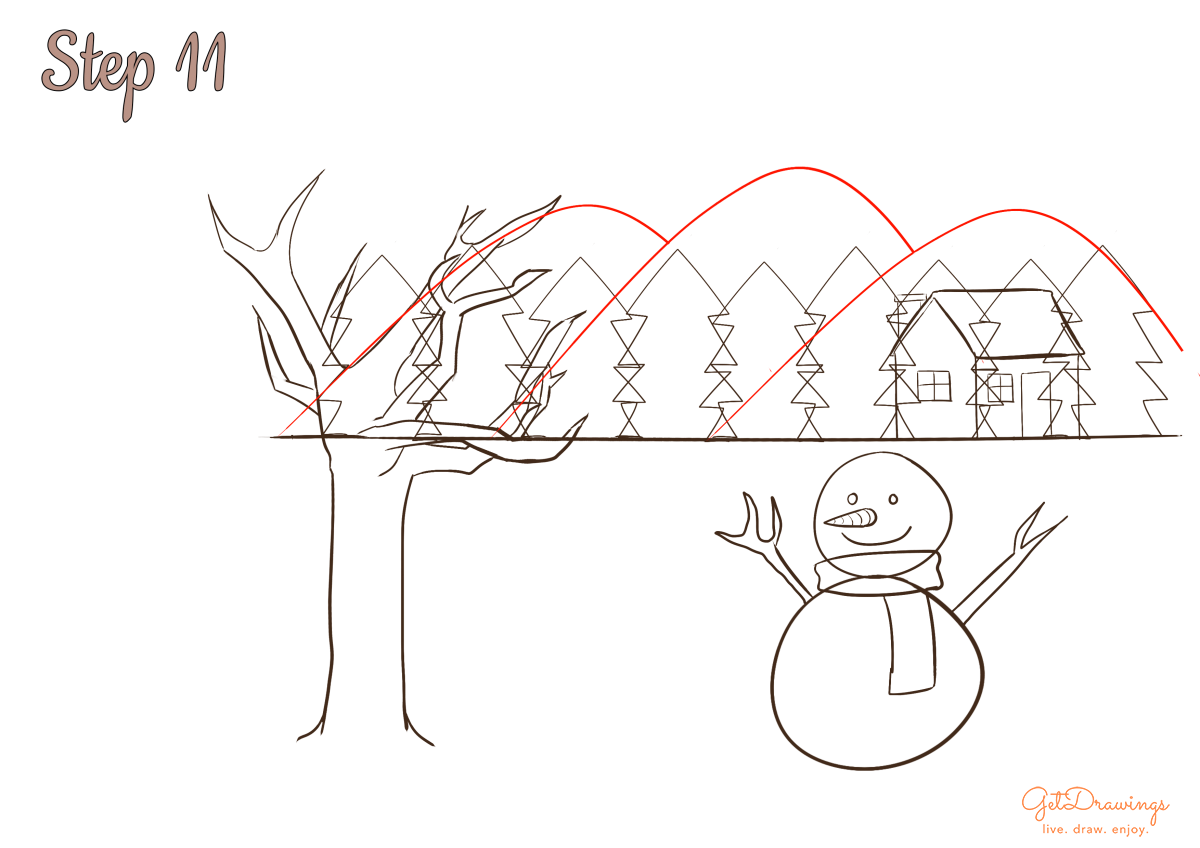
Step 11: Then, continuing the previous step by adding several curves to make mountains behind the pine trees. We’ll be making three mountains behind it.
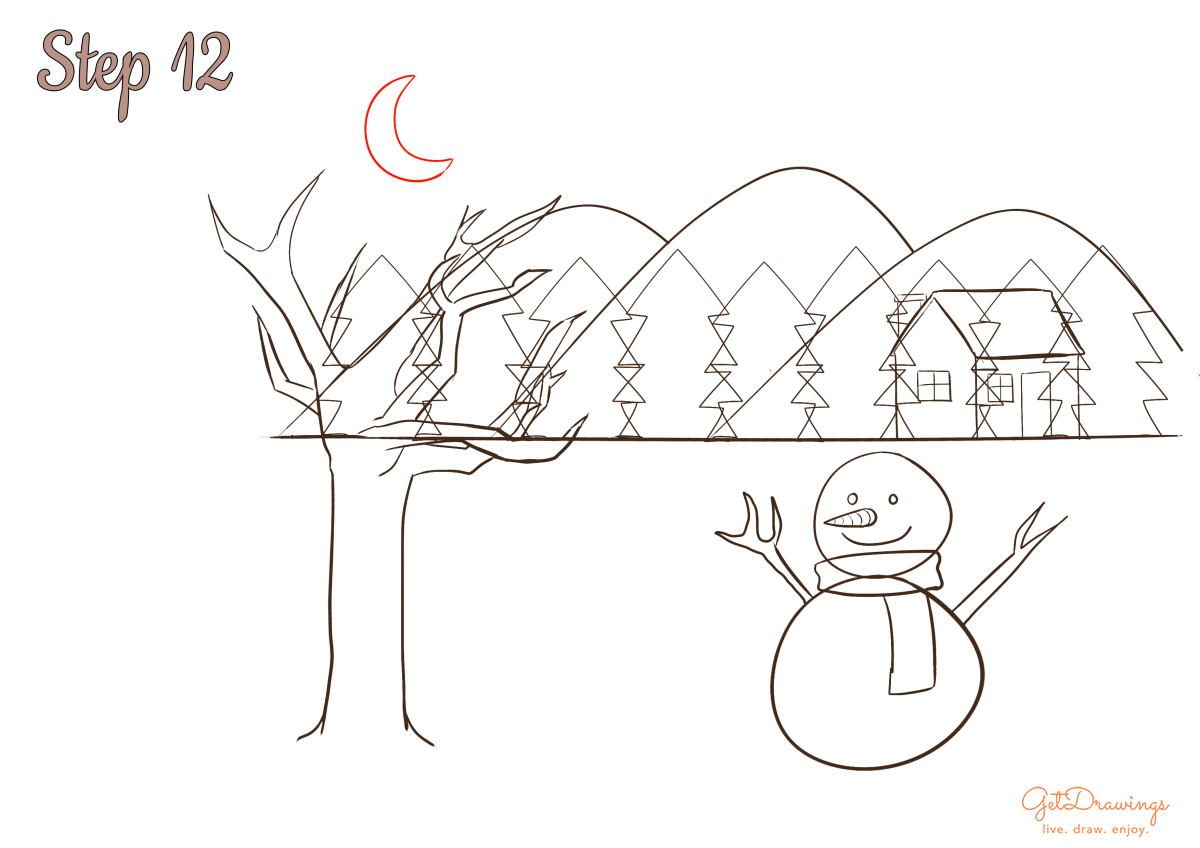
Step 12: On to the next step, we’re going to create a moon. Snow correlates with Christmas night, therefore, we’re going to draw a moon instead of the sun. Starting with creating a crescent-like shape above the tree branches heading to the right-hand side.
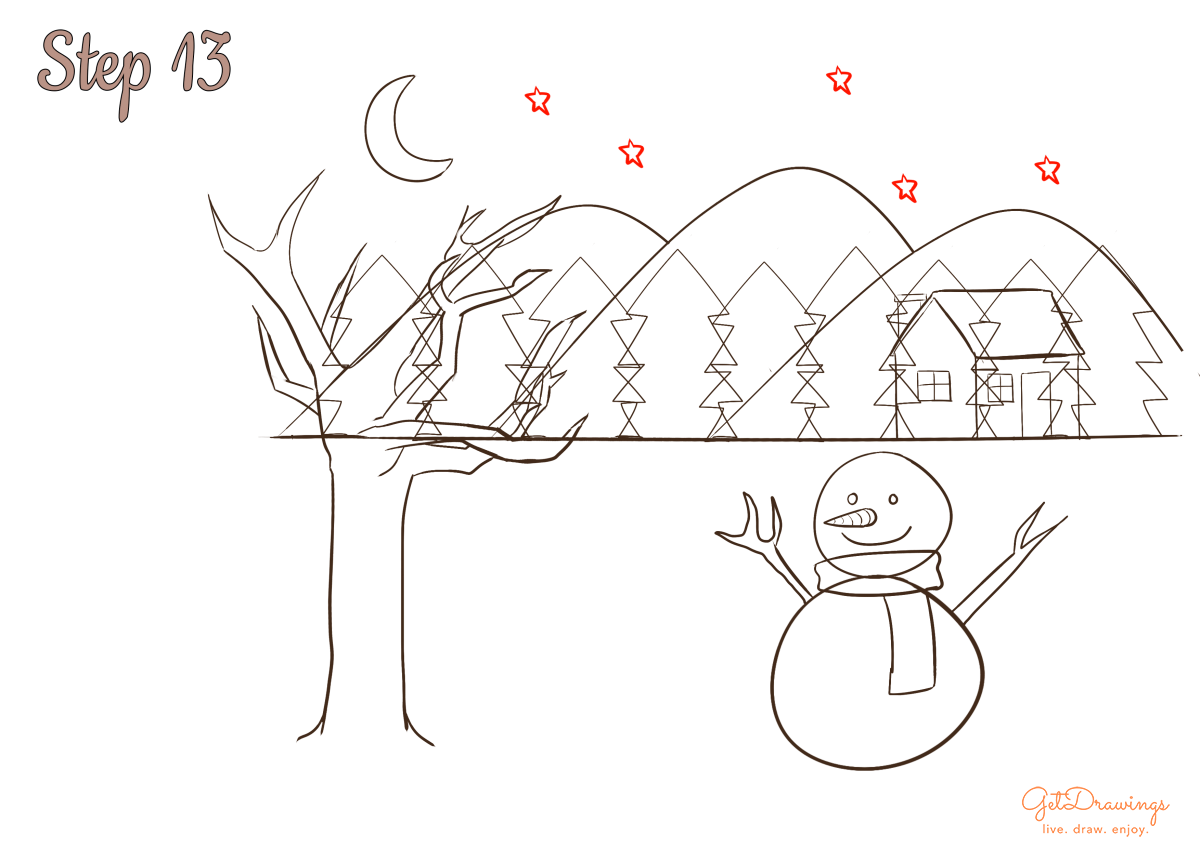
Step 13: After that, continue with making stars on the skies. Draw a lot of star-like shapes next to the moon. You don’t want the skies to not have so many stars, right?
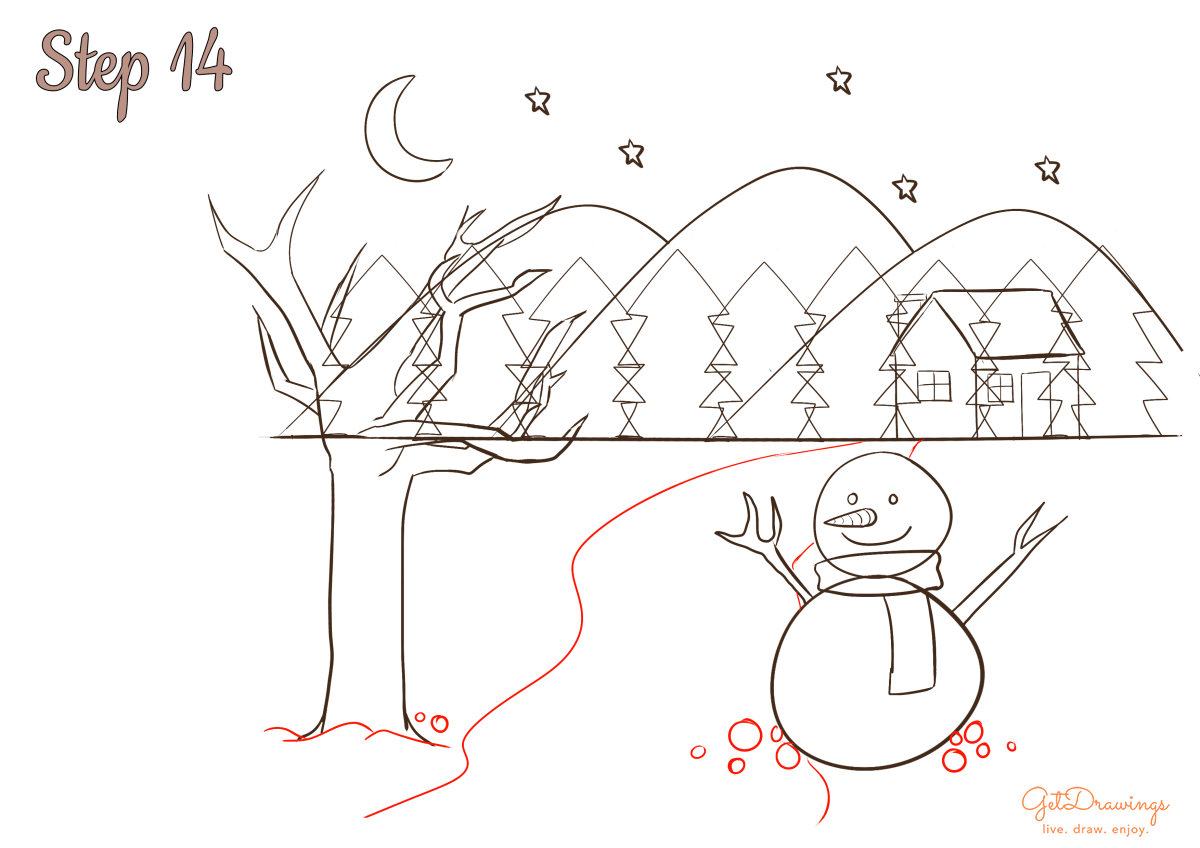
Step 14: Now you’re finished with the previous step, we can continue on to the next step. The next step would be drawing curvy lines to make something like a road filled with snow. Therefore, use curve lines (see picture) and several circles around the snowman to create snowballs.
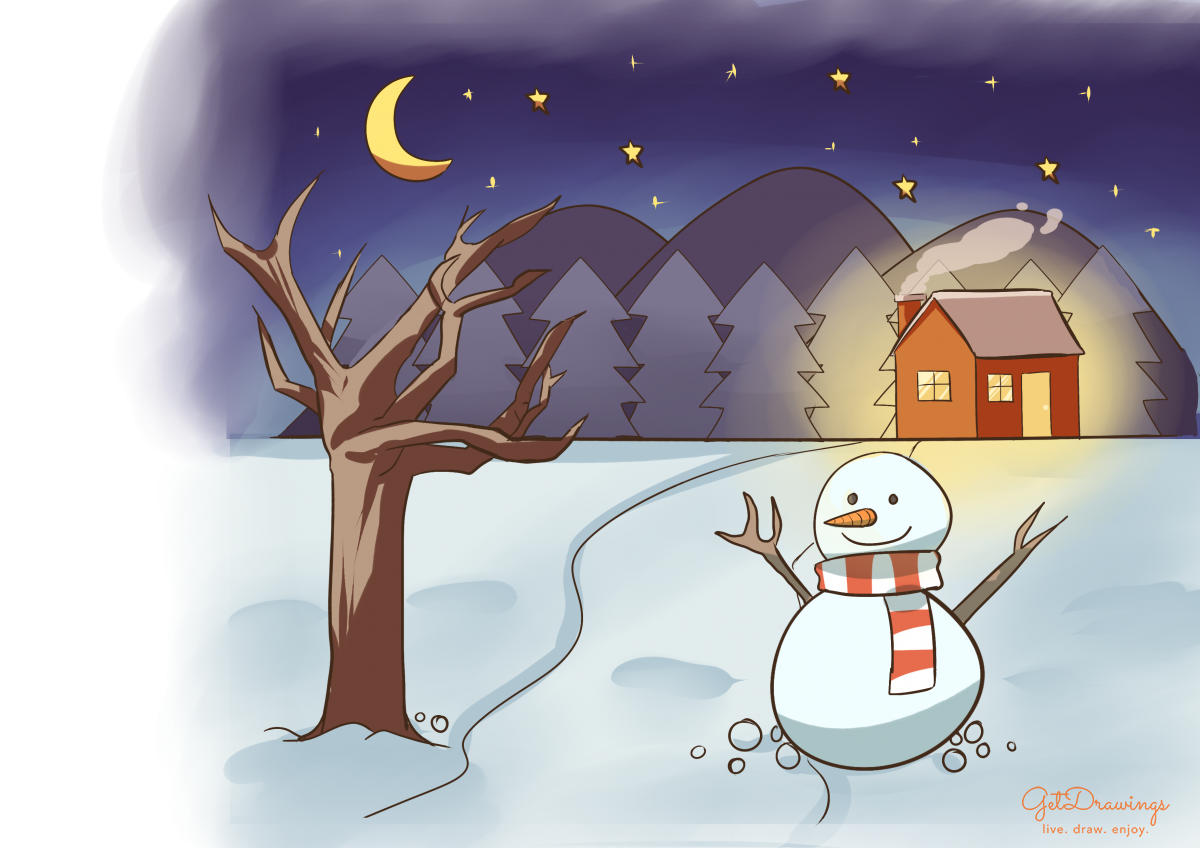
Step 15: Lastly, if there’s a line that intersecting each other, this is the time to erase it. Voila! You’ve finished drawing scenery of the Winter season!

Since you’re drawing a scenery, you need to look at the actual reference of what you’re going to draw. It is important because living things’ form won’t be smooth or symmetrical. Even if it’s symmetrical, the form will still be uneven. You’ll need keen eyes and a lot of practice so you can make your drawing perfect. Good luck!


Drawing hacks
Drawing hacks

The Essential Drawing Techniques - A Beginner’s Guide to Develop Excellent Drawing Skills

The Hidden Meaning of Colours

Watercolor painting for beginners
