The Essential Drawing Techniques - A Beginner’s Guide to Develop Excellent Drawing Skills
When learning how to create artworks, it’s essential to understand the fundamentals and practice those techniques. This comprehensive roundup will help you in that and guide you how to start drawing. From introducing the essential materials to explaining drawing techniques and giving you a few tips on how to improve yourself. Even if you have previous experience, these tips will provide you with additional skills and a better understanding of basics.
In this article, you’ll read about:
- The fundamentals and the essential tools you’ll need to start drawing
- A list of the basic drawing techniques
- Top advices on how to improve your drawing skills
How to start drawing?
Pick the right materials
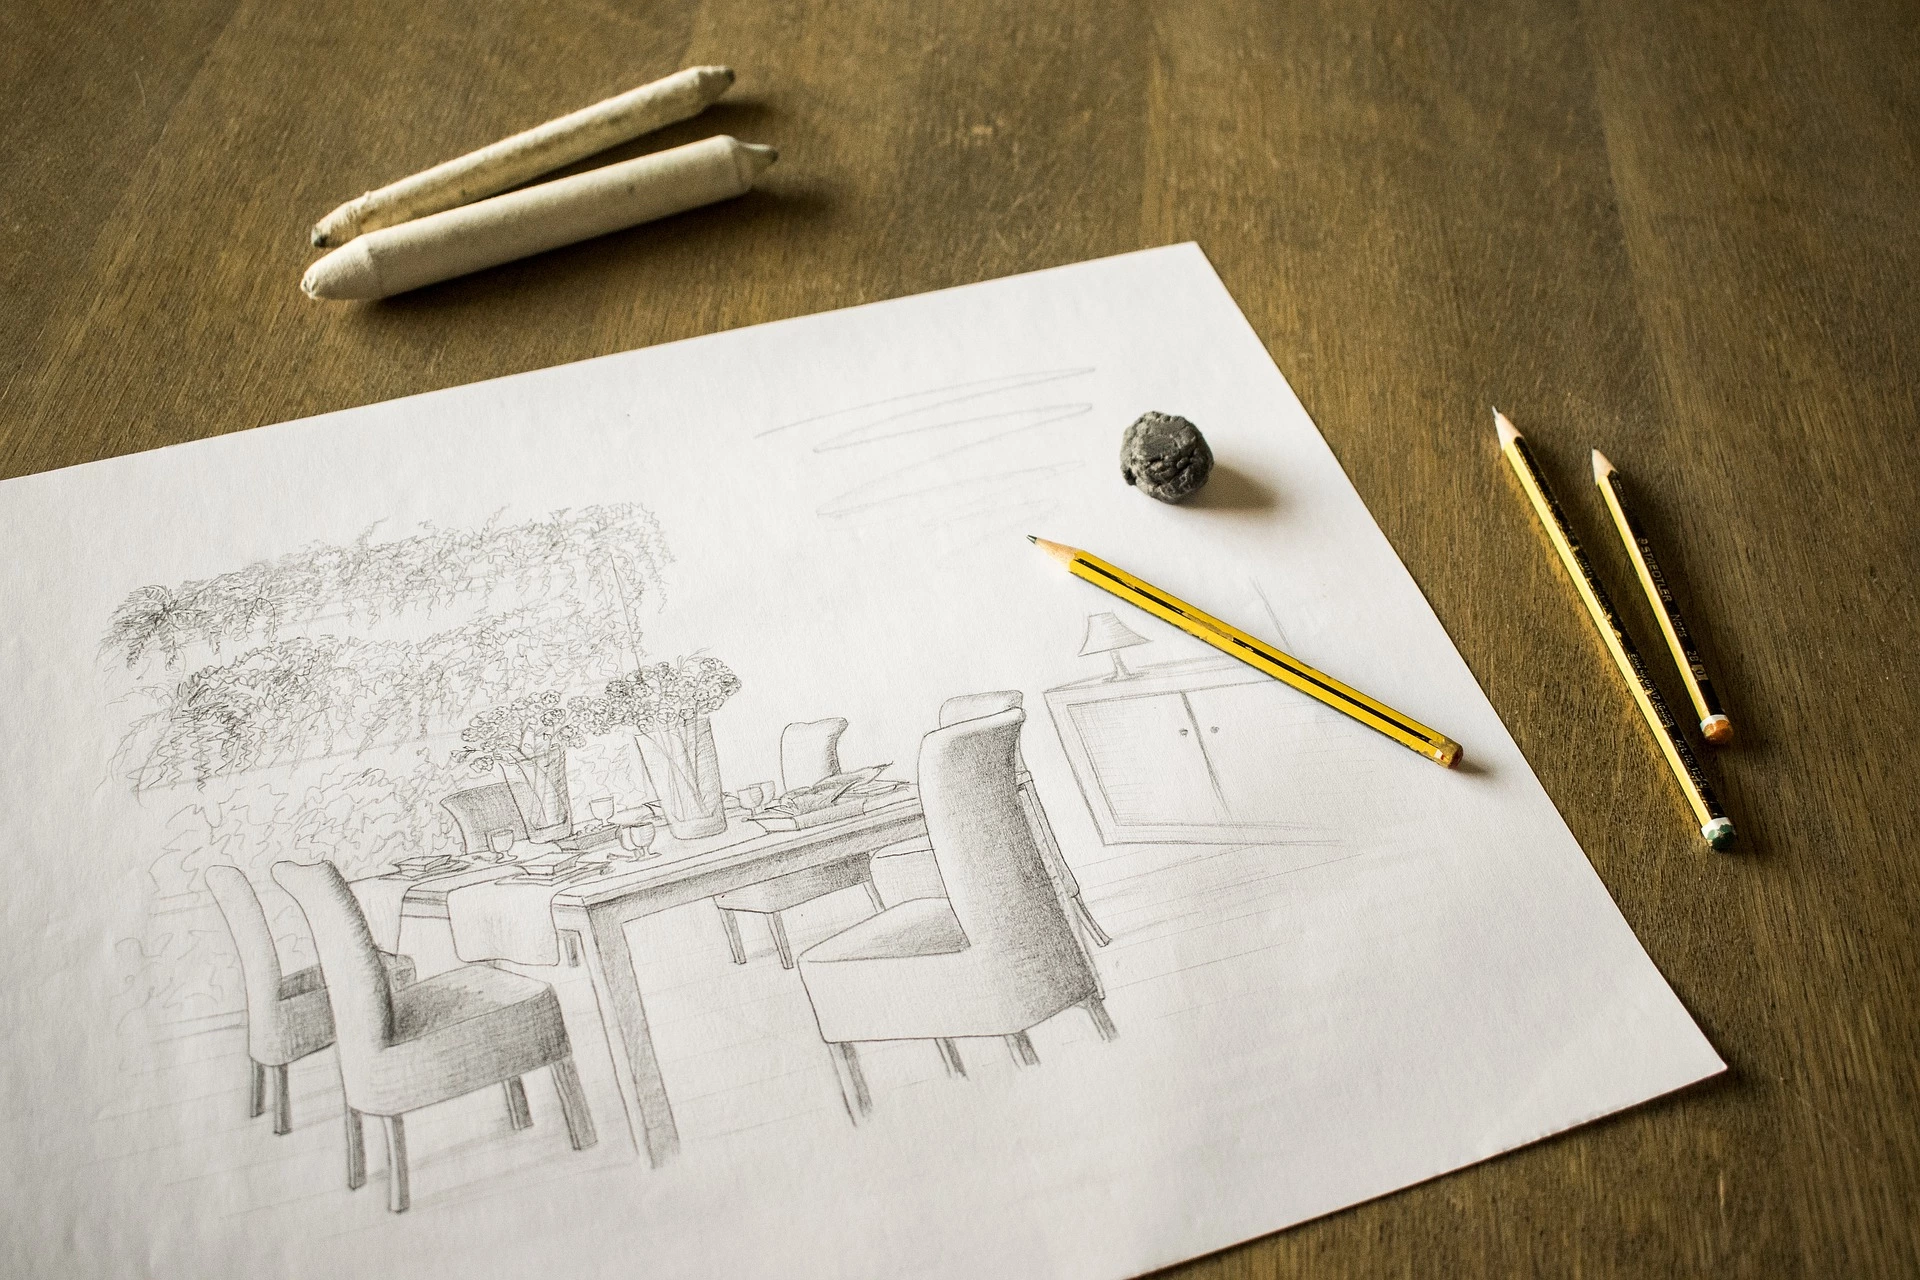
Sketching doesn’t require any specific tools. Basically, with a paper and a pencil you’re able to create. However, if you’re planning to gain some experience on a more professional level, you might consider getting a few basic materials. Picking the right ones is fundamental when you learn drawing. These help you experiment more and affect your final artwork. So here’s a list of the most useful equipment you’ll need before starting your creative journey.
- Pencil: Graphite is the most common drawing medium. Start with that and make sure to have 23 different thickness in hand. 2B is an ideal thickness for basic sketching, but if you want to achieve a smooth look on your paper, consider working with 4B and 6B too. For less toned lines, use 2H. It makes lighter marks and easier to erase.
- Paper: Choose smooth and relatively thick paper. You’ll be rubbing, scratching and erasing a lot especially in the learning period. It’s essential that your paper is good quality and doesn't get ruined easily. A4 or A3 sizes are great for sketches, but feel free to choose the size you feel most comfortable with.
- Eraser: You’ll need two different erasers. A kneaded eraser is soft and it’s ideal for gently blended pencil drawing. It gives highlights to your work without ruining your paper. While the stick eraser removes pencil marks and cleans your paper properly.
- Blending tools: To give interesting effects to your drawing, you’ll need some equipment. Tortillions are spiral wound pieces of paper that are excellent for blending small areas. The other tool is called stump, which is a pressed paper forming a pencil shape. Both tools are pointed on the ends and made to give volume to your works.
- Drawing board: Working flat limits the perspective on the composition you’re drawing. Therefore, always use a hard and stable drawing board and tilt your work towards you when sketching.
Start drawing simple shapes
Creating professional drawings requires a lot of practice. You’ll need time to develop your skills, so don’t start with too complicated compositions. Instead, try to draw simple, easy shapes. At the beginning, don’t think about dimensions. Experiment with the materials, the pencil thickness and the shapes.
Underdrawing
Underdrawing is a preliminary sketch, which gives you some helping guidelines when you’re doing detailed work. It can be done either by hand or printed on the paper. If you decide to draw it yourself, pick a 2H pencil, as you can easily erase that if you need to make some corrections. Digital underdrawings should be printed with an extremely light grey colour so it’s easy to cover as you develop your work on top of it.
What are the main drawing techniques?
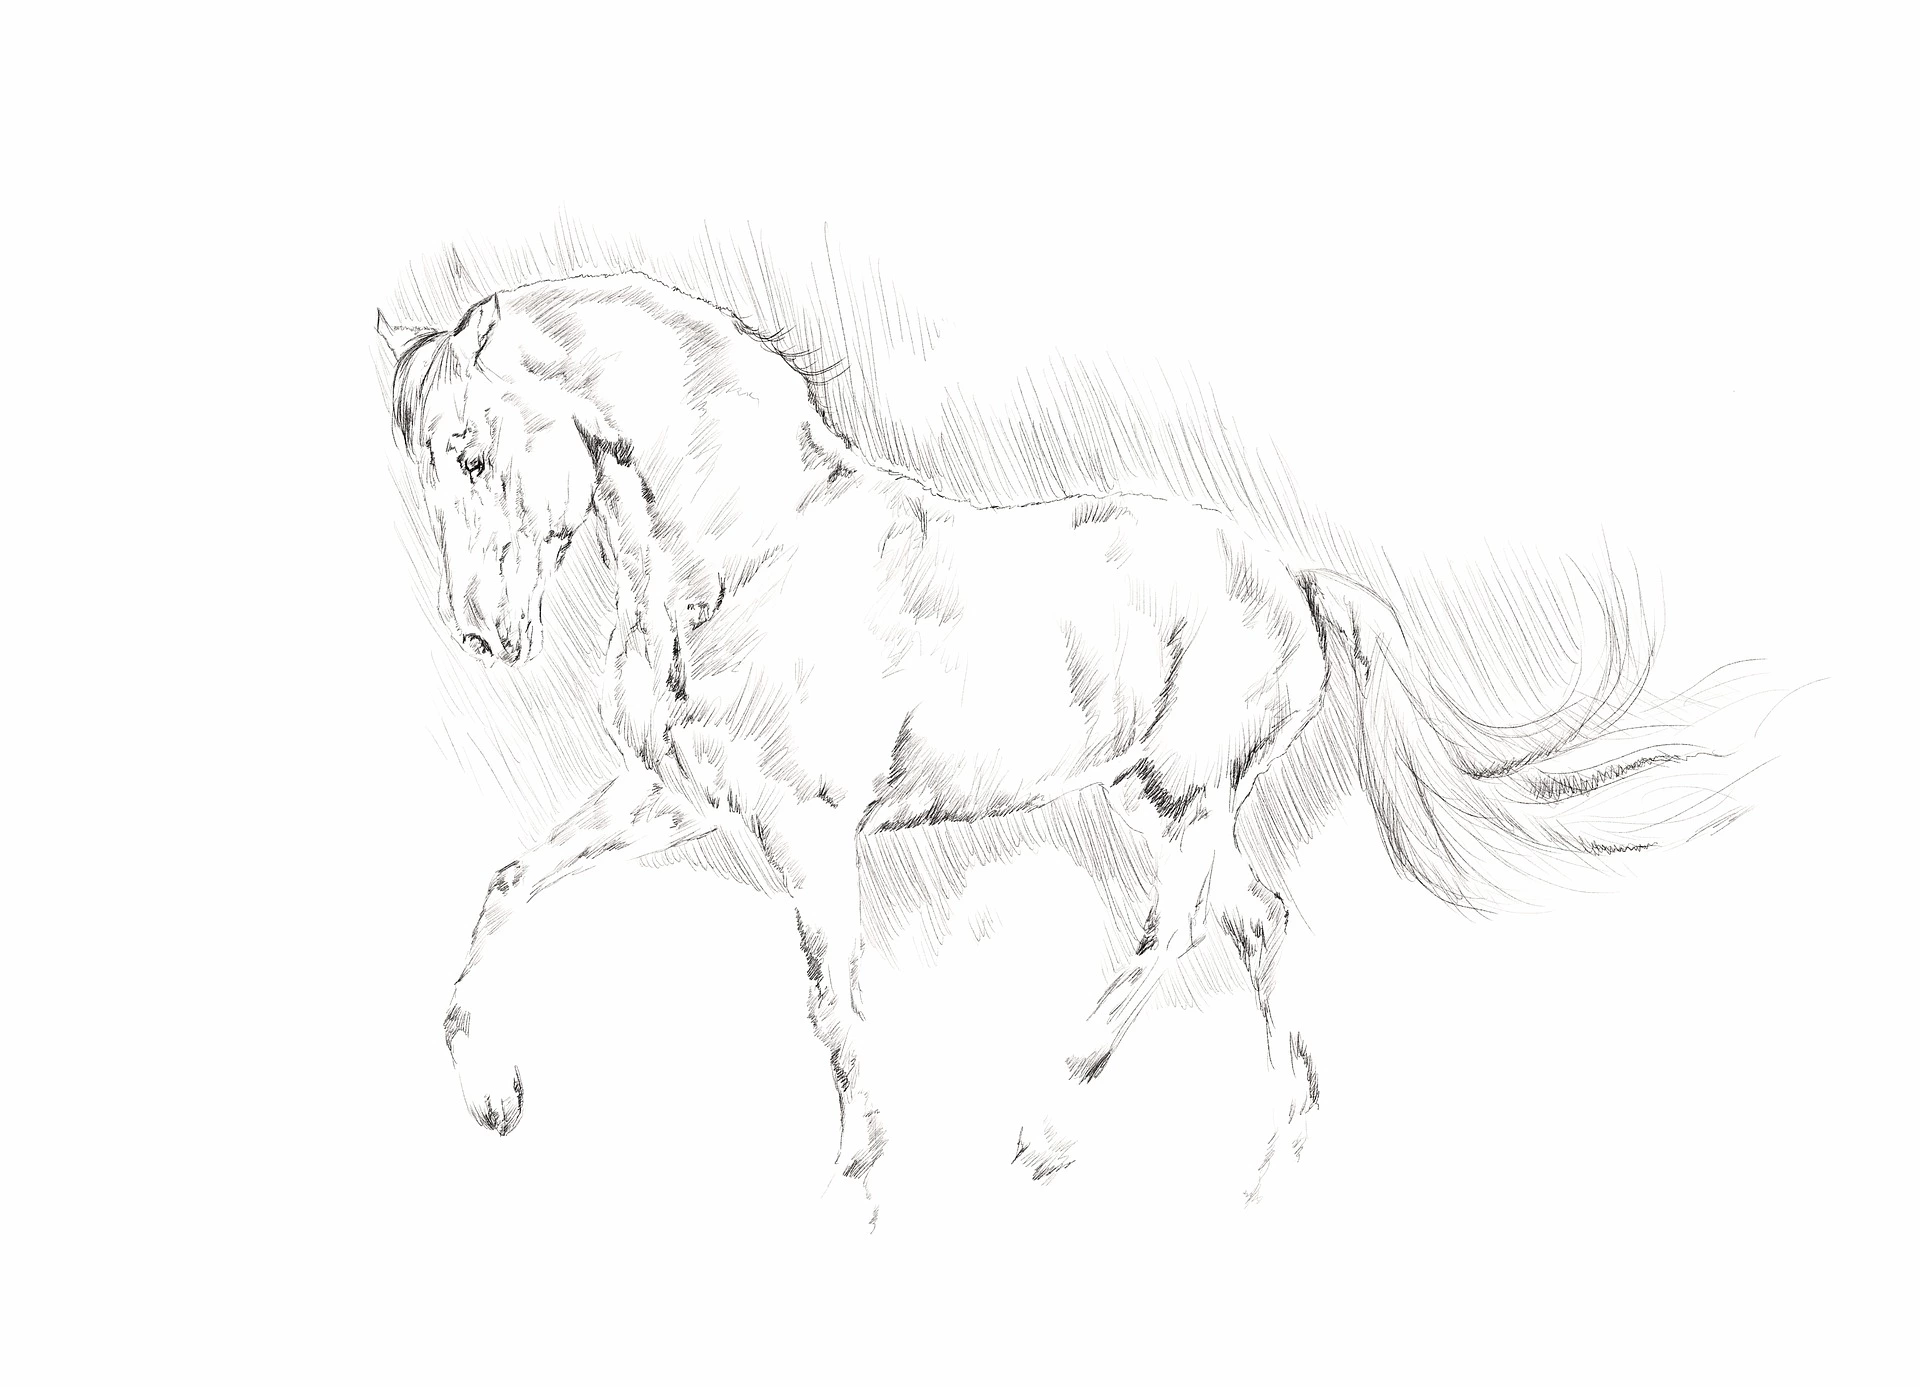
When developing your drawing skills, you might start by working with silhouettes only. Once you’re comfortable with following the outlines of different objects and drawing simple shapes on your paper, you can move on to a new level. Continue improving your drawing skills by giving volume and dimensions to your works. We’ve listed some of the basic drawing techniques for you to start with.
Vary line thickness
Playing with different line thickness gives dimension to your drawings. It helps to make contours and highlight details on your paper. Try to experiment with thickness of lines. Thicker lines bring details in the foreground and help the viewer identify the highlighted parts. It’s usually heavier, darker and more definite. While a lightly drawn line is soft, pale and helps to balance the elements of your sketch. Applying lines with different densities create harmony and balance the whole composition.
Hatching
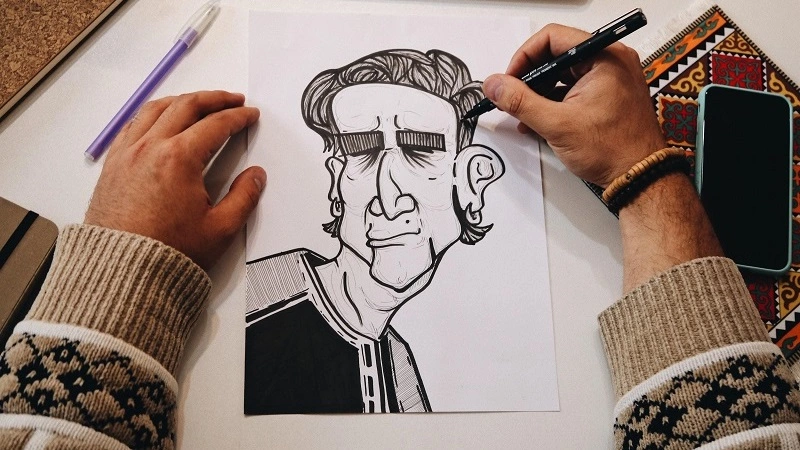
Hatching is one of the basic art techniques. It’s the placement of lines drawn really close to each other either horizontally, vertically, or diagonally. The closer they are, the denser and darker an area will become. When you use this technique, try to draw straight tiny lines. You can either rest your hand on the paper or hold it up, depending on the area and the sizes of your lines. But always apply smooth and even lines, so the end result will be clean and organized. Use hatching to add volume to your artwork, and to make your drawings look 3-dimensional.
The types of hatching:
- Vertical: If you apply it vertically, hatch from top to bottom.
- Horizontal: Move your pencil similarly, but from side to side.
- Inclined: Place the lines from one corner to the opposite one in one direction.
- Cross: Begin with either horizontal, vertical, or diagonal lines. Next, add intersecting lines going in the opposite direction. By doing this, the result will be denser and much stronger.
Stippling
Stippling is the process of applying countless dots to develop value and give texture to shapes. If you draw the dots close to each other, you’ll result in a darker shade. While further drawn dots will appear lighter and softer. Try to apply both types of stippling for a tonal result. You can even strengthen the final look by working with different types of graphite softness and dots sizes. It’s a very time-consuming technique, but gives great dimensions to your drawings.
Blending
Blending, also called smudging, is a common drawing technique used to create smooth surfaces and tone gradients. It’s done by blurring a hatched area by hand or a tool. The previously mentioned tortillons and stumps are perfect for blending, but you can even use a cotton or wool cloth for that. Once you have the tiny lines applied, start by blending from the side and move back and forth. Hatching with different line thickness and pressure on the paper creates a more exciting, toned result when blended together. It might take some time to achieve the final result, but once you smudge the lines, you’ll have beautifully crafted details on your paper where no single line or point is visible.
Rendering
Rendering is a reverse technique, when you first apply graphite on the surface what you later erase to create lighter values and highlights. It’s common to combine this technique with other methods as well. Once you remove the details from your paper, you can reapply graphite to get interesting textures.
How to improve your drawing skills?
If you have a basic knowledge on drawing and have already experimented with the above listed techniques, you can apply new methods to improve your skills. Think about these as a challenge and examine your works to learn from them. It requires a lot of practice to master these skills, but surely helps you get better.
One line technique
The one line drawing, also known as the single line drawing is made with only one, unbroken line. The basic principle is that the drawing instrument is not lifted up from the paper until the work is done. This technique helps you develop a better perspective and improves your drawing speed. By practicing this, you encourage your eyes, hands and brain to work together and it helps you develop confidence as well. Start with small, easy shapes and experiment with line thickness for exciting outcomes. As it’s a development technique, try to avoid using your eraser. If you’re not happy with the result, start over and let your creativity unfold.
Start drawing more complex shapes
If you’re comfortable with flats, start sketching more detailed, compound shapes. Focus on the proportions and textures. These might require a longer process, so retouches can be made even days after you first started working on the composition. Implement the drawing techniques you learned earlier and observe how they complete each other on the paper. You can also experiment with different pencil thickness.
Use colours
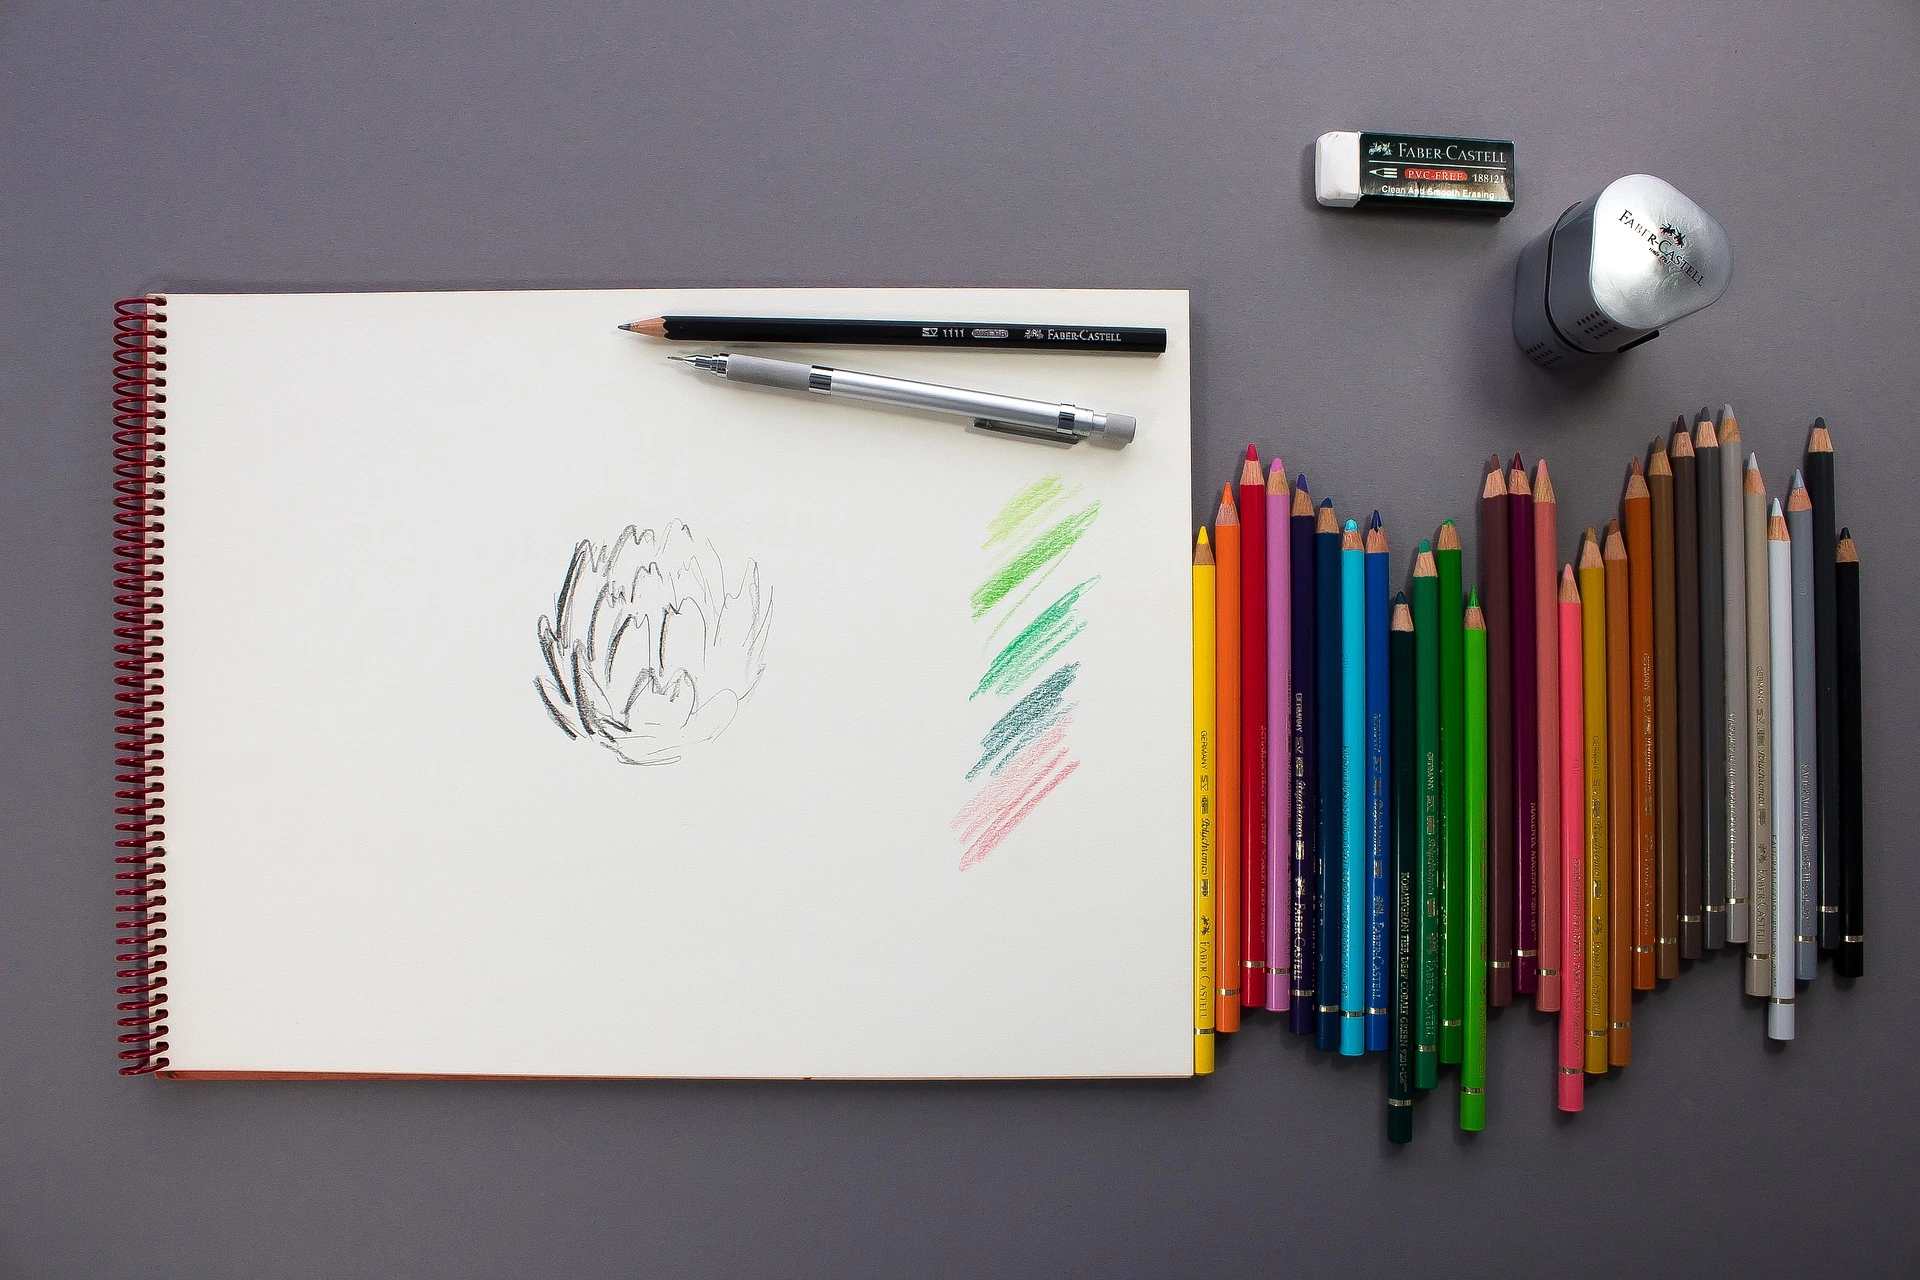
Colours give a different mood to your drawing. Start by preparing an outline for your artwork and give tone to your drawing by using different colours. You can play with the shades and gradients and apply contrasting colours to make interesting effects. Keep in mind that coloured pencils are harder to remove by any of the erasers.
This guideline should help you get started with drawing. Consider it as a helping tool, but feel free to develop your own way of working. It’s a creative process which requires a lot of patience and practice, so give yourself time to learn. Test your skills, examine your sketches and don't be afraid to make mistakes. And most importantly, enjoy the learning period as much as the final result!
