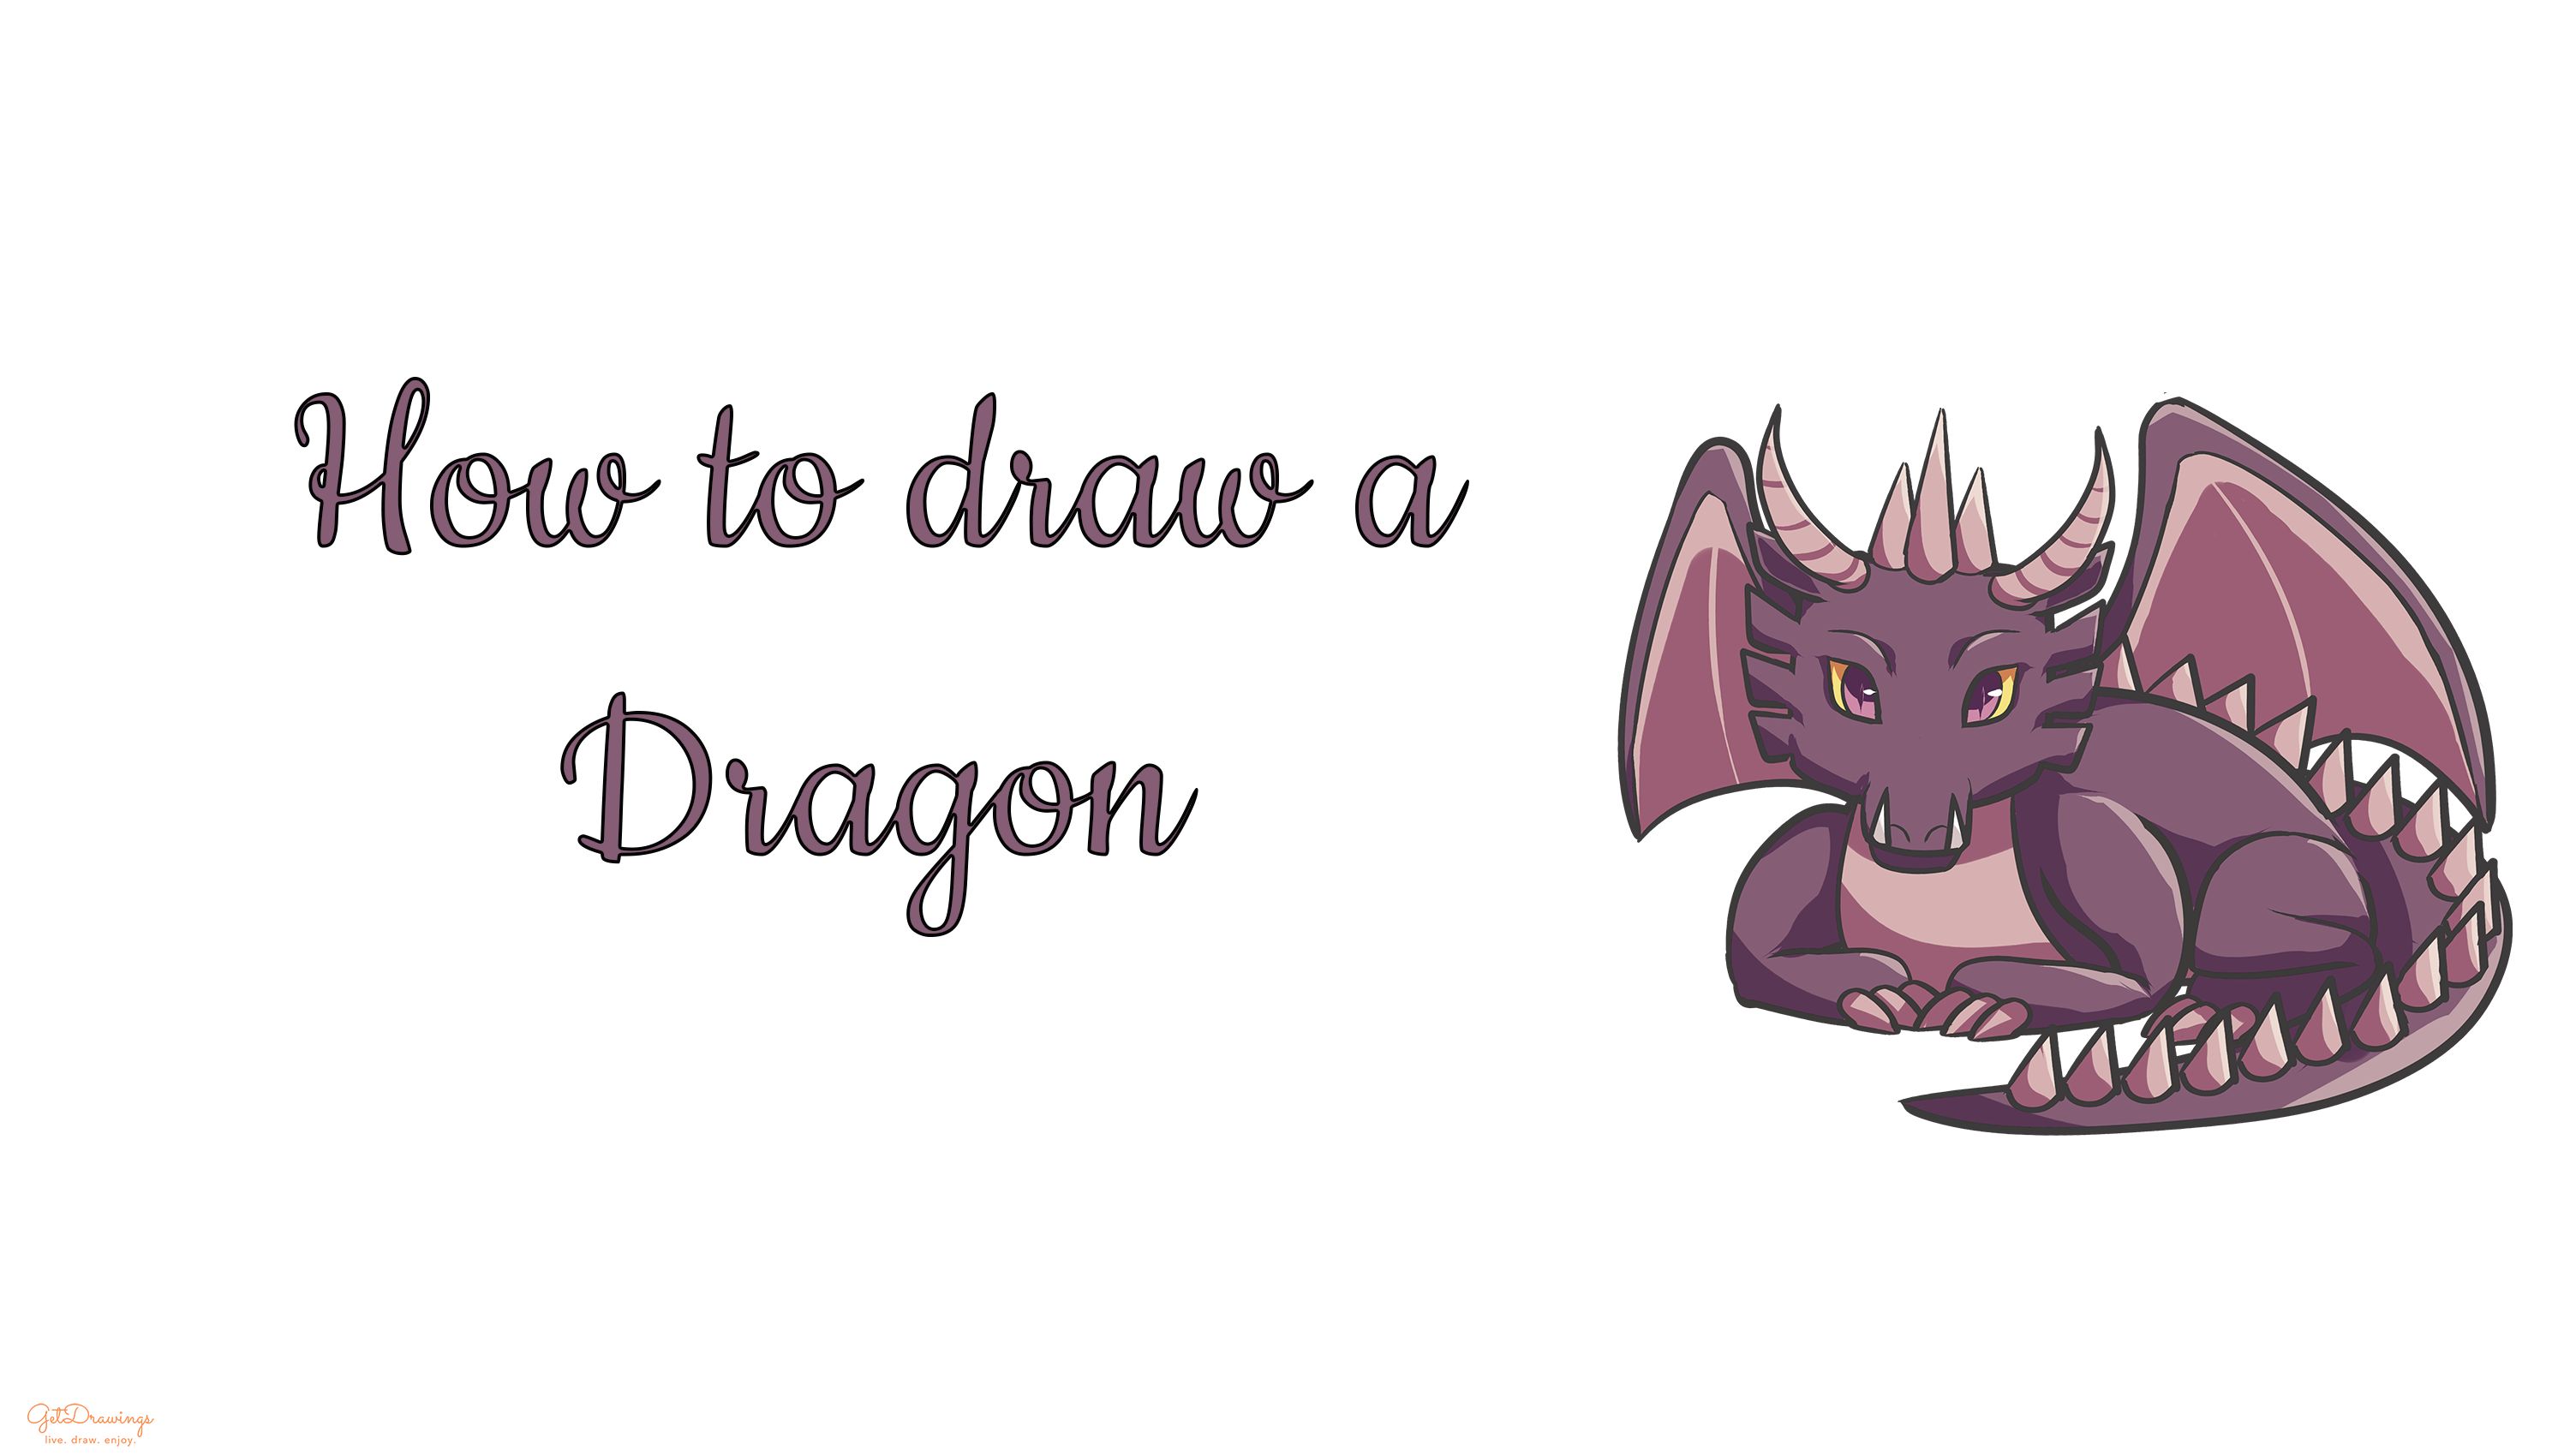
How to draw a Dragon?
The mythical creature is a term for a fabulous creature that is supernatural and often hybrid whose existence has not or can not be proved. Since it’s imaginary, we mostly see it through movies like “How To Train Your Dragon”, “Harry Potter” series, or even “Shrek”. One of the mythical creatures that we know is Dragon. A creature that resembles a humongous reptile with additional features like wings or giant fangs. If you want to create a dragon, you can follow these steps. But before that, do prepare a paper, pencil, and eraser beforehand. Now let’s start to draw the dragon!
Steps:
Step 1: First of all, we’re going to draw from top to bottom. Starting from its head guideline, create a rectangle with curvy edges. Don’t forget to spare a big space below it for the whole body since you’re going to draw a huge dragon.

Step 2: Secondly, we can start to draw its body guidelines. Draw a big half circle that intersects on the lower right-hand side of the head guideline (See picture).

Step 3: Now we can start to draw its features such as the tail. Create a tail guideline by drawing a narrow curve next to its body guidelines.

Step 4: Continue the following step with another guideline for its tail by adding another narrow curve to end the previous step guideline. Now we can clearly see its tail!

Step 5: Next, we’re going to draw the dragon snout guideline on the head. Add a smaller rectangle with curvy edges intersecting the head guideline. The details will be explained later on.

Step 6: For the next feature, we’re going to create its wings. Create a curve on top of the body guideline (See picture) to make the first guideline for its right wing.

Step 7: Continue the previous step by adding another curve (See picture)

Step 8: Lastly, finish the right wing with an arch. Voila! Now the dragon has its first wing.

Step 9: Moving on to the other wing, the steps will have the same pattern like on the 6th until 8th steps. But make it horizontally reversed.

Step 10: Let’s start to draw its eyes guidelines. Now draw two parallelograms with curvy edges facing each other in the middle of the head.

Step 11: Now we can start with the dragon’s front-legs. Create two smaller chicken-breast-like shapes facing each other on the left-hand side of the body guideline. This will be the guidelines for the upper front-legs.

Step 12: Moving on to its back-legs (that doesn’t show the other leg. Therefore we’re only drawing one leg) draw a rectangle with curvy edges for its guideline. Also, make the upper part of the rectangle’s edges curvier. This will also be the upper part of the back legs.

Step 13: As for the lower part of the front-legs, create two narrow longer rectangles with curvy edges.

Step 14: Same goes with the back-legs, add another narrow and longer rectangle with curvy edges for its lower part.

Step 15: Next, we can continue adding the dragon’s ears by drawing two vertically reversed trapezium with a curvy edge on the lower part (see picture) facing each other on top of the head guideline.

Step 16: Then, we can start another feature for the dragon, such as horns. Draw 4 curves consist of 2 curves on the left-hand side of the head. The same goes for the right-hand side.

Step 17: Finish each curve with arches. Now your dragon’s horns were done! Also, add 9 cones horizontally, 3 on each lower legs to create its claws.

Step 18: Let’s get to the details. Dragon obviously has lots of spiky scales. Therefore, we’re going to draw its spiky scales starting from its head. Create 6 vertically reversed trapezium, consist of 3 on the left-hand side and the rest on the right-hand side.

Step 19: Moving on top of its head, add three cone-shape but make the center taller. This will be dragon’s spikes starting from the head, the spines and it ended on its tail.

Step 20: Continue the spikes from the previous steps on its spine by adding several triangles on the top of its body guideline (see picture).

Step 21: And lastly add more spikes from the spine to its tail by drawing several cones that end on the tip of its tail. Now the dragon’s spikes were finished!

Step 22: Add another detail like lower fangs below its snout guideline by drawing two cones.

Step 23: Don’t forget to add curves below its snout for the dragon’s jaw.

Step 24: As for the detail on the dragon’s wings, add a curve similar to the line on the top of the wings.
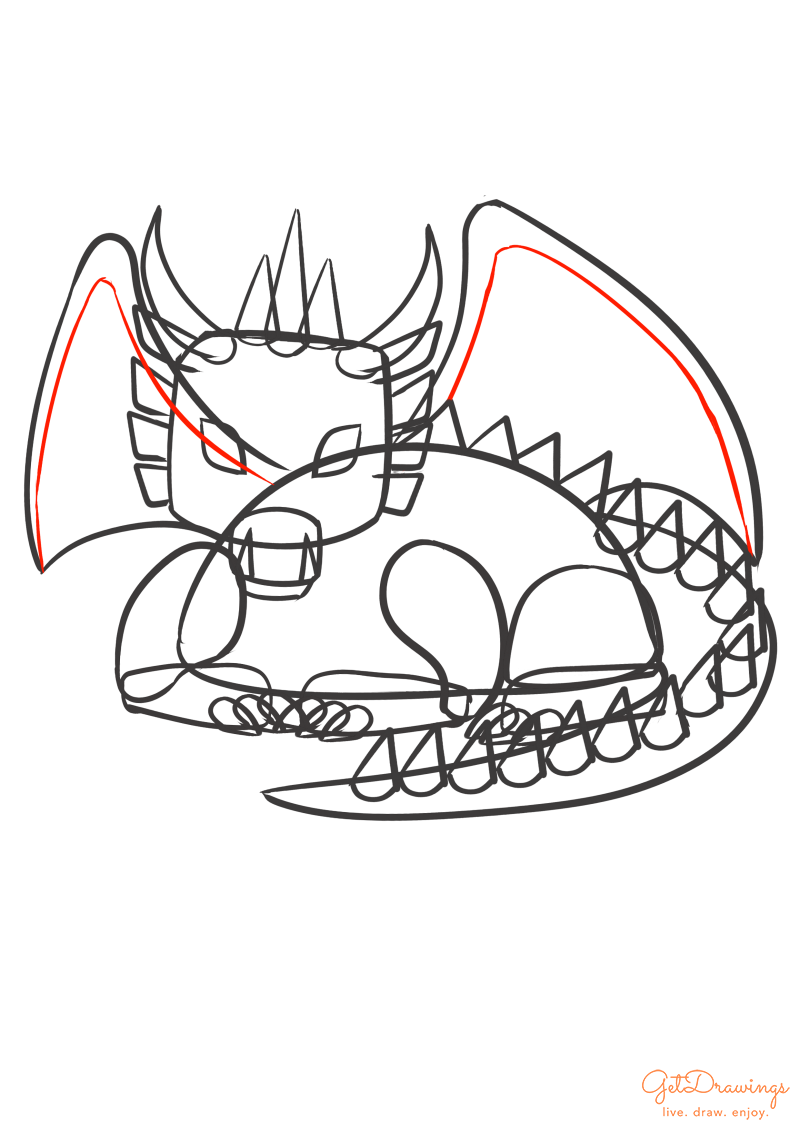
Step 25: Next, for the detail of the dragon’s nostrils, add two curves facing to each other on the dragon’s snout between the fangs.

Step 26: Then, for the cornea detail on the dragon’s eyes, add curve lines inside the eyes.

Step 27: Last but not least, add several details with lines. 2 curve lines on top of the eyes, 2 curves between the front-legs and lastly one curve line on the back-legs (see picture).

Step 28: Erase its guidelines and voila! You finished drawing the dragon!

The difficulty of this drawing was almost hard because it requires a lot of details. Whether it is the spikes, wings, horns and all of the dragon’s features. It’ll be hard for the first timer. But as long as you’re not giving up drawing it, you can draw any kind of dragon the way you want.
