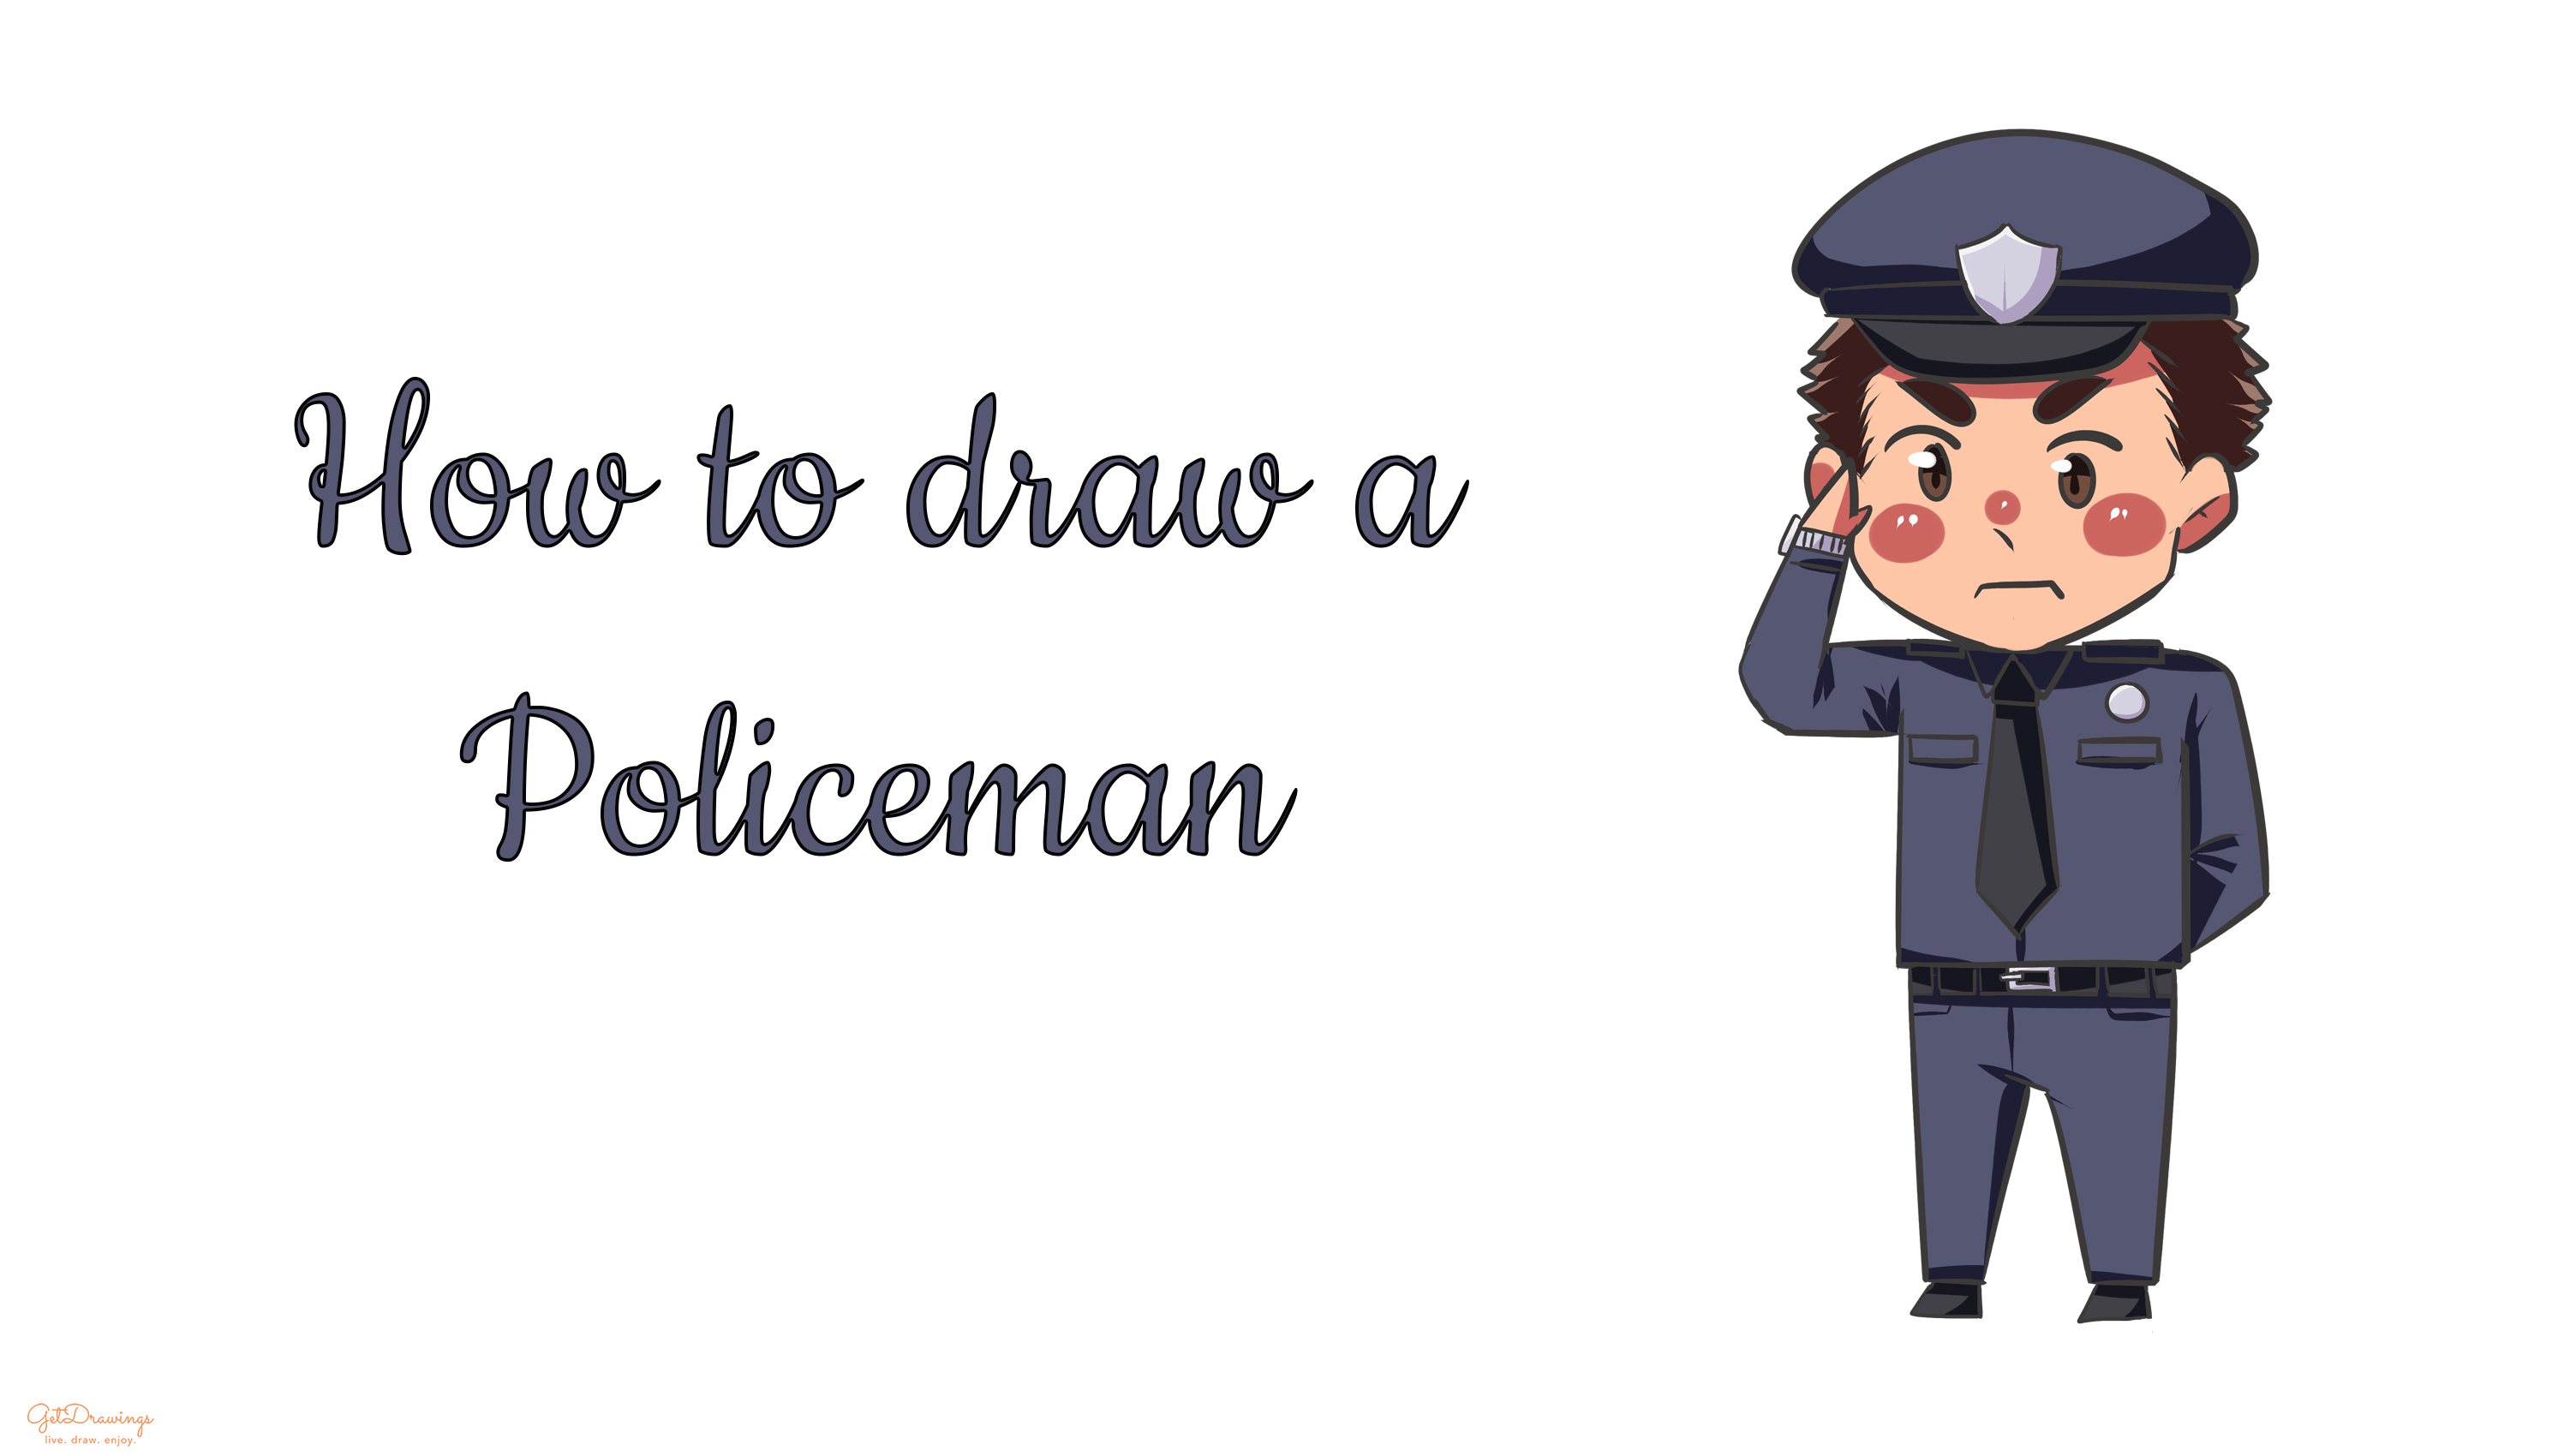
How to draw a Policeman?
You usually see these people working on the street either helping the traffic or someone crosses the road. They’re also helping people by catching bad guys on the right time. You’re right, it’s Police where they’re empowered by the state to enforce the law. If you would like to draw Police, you’ll only need to prepare a pencil, paper, and an eraser. Now we can start to draw!
Steps:
Step 1 Firstly, we’re going to draw from top to bottom. Therefore, we need to start drawing a circle at first with two straight lines that crossed each other inside the circle. This will be the head guideline. Don’t forget to leave a space below it for the rest of the body.

Step 2 To make the cheeks and the chin, you can start from the left-hand side of the head guideline to create a curved line (See picture to better understand).

Step 3 After that, add two curved lines on the left-hand side and right-hand side of the head guideline to make ears. Then add two short straight lines (See picture) to give a depth inside the ears.

Step 4 Now create its eyes by adding two arches above the horizontal line of the guideline and add two ovals below it. Also, add a curved line below the center of the eyes for its nose.

Step 5 Add two leaf-like above the eyes to make its eyebrows. Also, add two vertically short lines and a horizontally longer line in the middle of it (see picture to better understand) to create its mouth.

Step 6 Next, we can start to draw Police’s hat by adding a large arch to create its visor first.

Step 7 Then, make a long rectangle above the previous step for the detail of the hat and draw a curved line above it to finish the base of the hat. As for the hair, add short spiky hair on the left-hand side and right-hand side below the hat (see picture). Lastly, for its sideburns, add several short straight lines inside the head next to the ears.

Step 8 Usually the top of the hat also has a police badge on it. Therefore, you can add it. The shape is shield-like so draw it like that. Now we can start to create a body guideline of the Police. Draw a big rectangle below the head.

Step 9 As for the arms, add several long straight lines and shorter lines (see picture to better understand). Make him looks like giving a salute and his other arm on the back. Don’t forget to add the cuffs on the sleeve.

Step 10 Add the saluting hand on the left-hand side by adding triangle-like shapes. Also, we can add several details on the shirt, such as collar by adding several downward triangles on top of the body guideline.

Step 11 Then add more details such as pocket and badge on the chest part of the shirt. Therefore, add several shapes like rectangles and a circle. Don’t forget the detail on the shoulder by adding rectangles (see picture).

Step 12 Lastly for the details on the shirt, add the tie. You can draw a small rectangle below the collar and create two long straight lines that finished with two shorter straight lines (see picture to better understand).

Step 13 Now we can add the pants by adding several long and shorter straight lines below the body guidelines (see picture).

Step 14 don’t forget to add the details for the belt by adding a long straight line, a rectangle on the center of it and several shorter lines (see picture to better understand). Also, add the shoes by drawing two trapezium-like shapes below the pants.

Step 15 last But not least add detail on the end of the sleeve by adding a watch. Add a narrow rectangle and another rectangle but bigger with several short lines inside it.

Step 16 Now you can remove the guideline and Voila! You’ve finished drawing the Police!
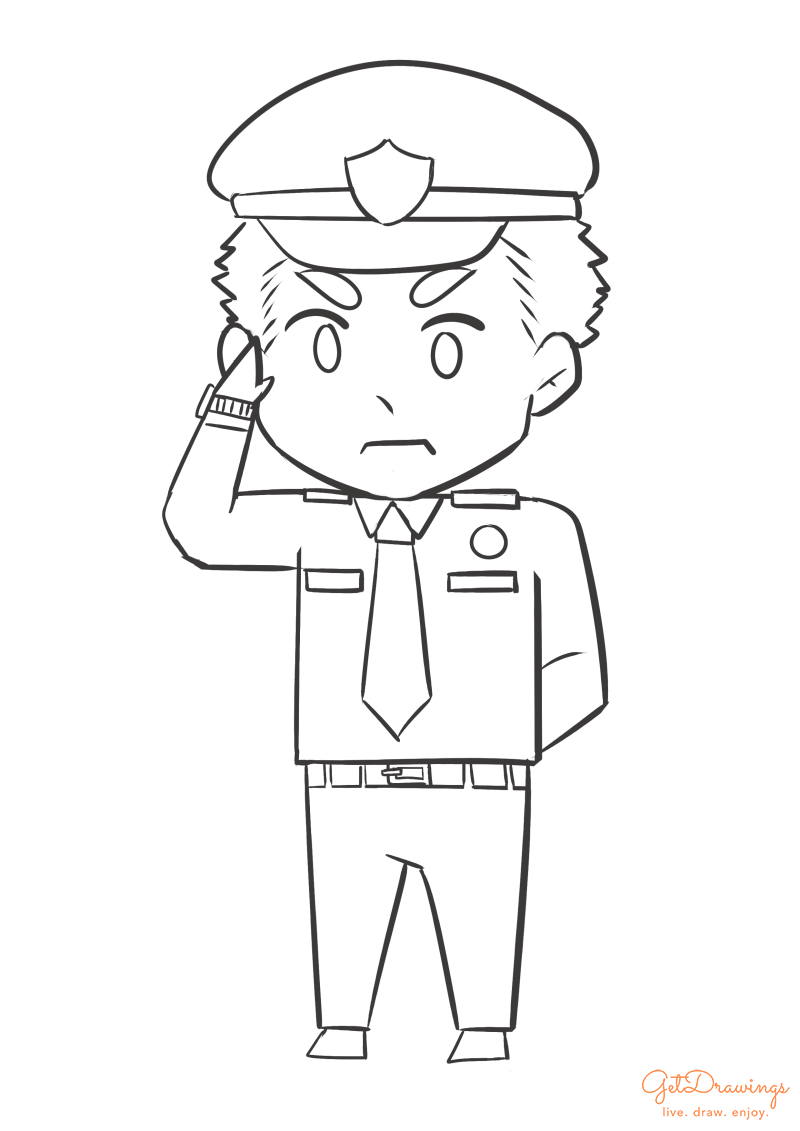
The most important part of drawing police are the details. So in order to draw the police, you need to be extra careful to what things that need to be drawn for the police, whether it’s the badges, the hat, the tie, and many more. It won’t be hard if you have keen eyes. But after all, practice makes perfect so it won’t be hard if you keep drawing it.
