How to draw a Rose?
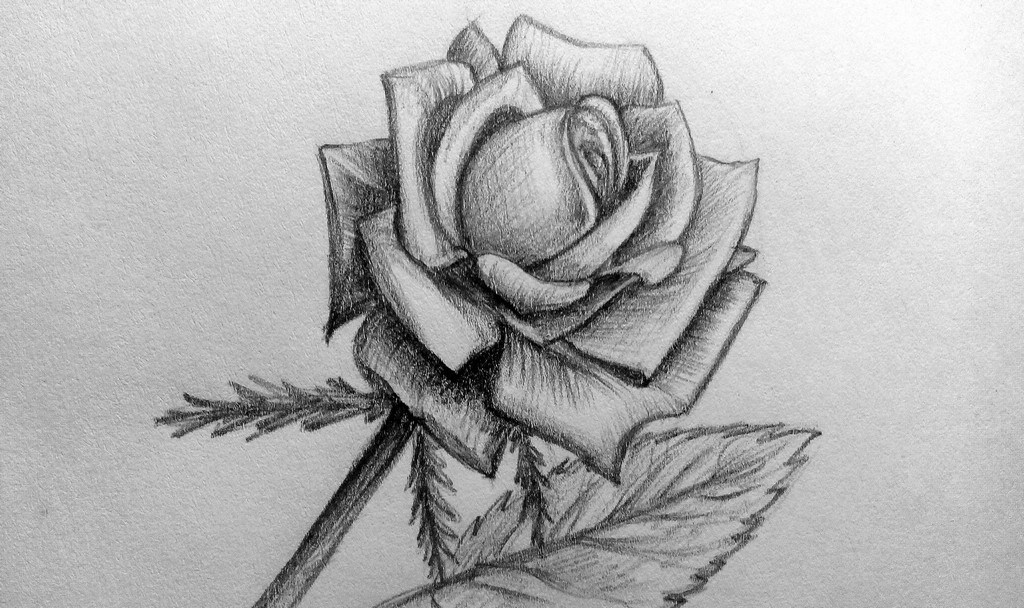
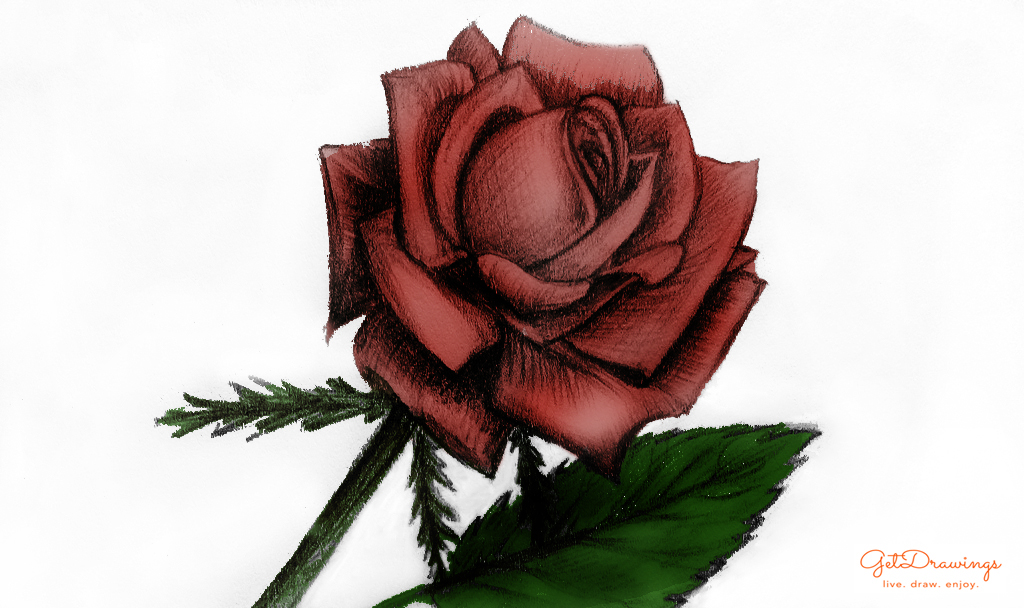
The most famous and popular flower at all times, is considered to be a rose. Not surprisingly, there is often an interest in how to draw a rose. After all, it is presented at variety of holidays, portrayed in the illustrations on greeting cards and so on. This can be easily explained, because despite the sharp spikes, the rose has an incredibly pleasant smell and exquisite appearance. There are a lot of kinds and forms of petals of this flower, but today in my step-by-step lesson, we will learn how to draw a standard rose. Regardless of the fact that the picture will be represented by a simple pencil, the sight of the beautiful flower does not lose its force.
Tools and materials:
- White paper sheet;
- A simple pencil;
- An eraser.
So, let's start to draw:
Step 1. First of all, we create a form for the future flower, namely, we draw a circle:

Step 2. In the middle of the circle, draw one more figure. In form, it will resemble a grain:

Step 3. We begin to draw the middle of the rose. In the center, the petals are very close to each other, so we will outline their peeping tips:

Step 4. To the right we add a petal. Its upper part will be with a sharp end. Do not forget this considering all the petals. Let's pay attention that the growth of the petal starts from the central round shape:

Step 5. On the left, we draw another petal, and also draw a shadow on it. It is located at the base:

Step 6. Now it is time to draw the petal from above. It is located between two petals and will resemble a little square shape:

Step 7. We continue to add petals to our rose. This time draw on the left and below the small curled petals:

Step 8. Outermost petals are the largest in the entire flower. The ends are sharp, and the shape is a little square:

Step 9. We finish the construction of the rose. It is not terrible, if the ends of the petals will slightly go beyond the previously planned circle. After all, this flower does not have strictly defined boundaries:

Step 10. With the help of an eraser we will remove all unnecessary lines:

Step 11. We start to put a shadow on the middle of the rose. Draw strokes from the place of growth of the petal to the top:

Step 12. Draw the edges of the petals and the middle, outline their precise shape:

Step 13. From the middle we continue to lay a shadow on the nearby petals. The place of growth of the petals will always be darker than the edges:

Step 14. We will draw a shadow on the place of growth of petals, and we will also add a little on edge. Such technique allows to do the drawing to more dimensional:

Step 15. Continue to add a shadow over the rest of the petals, mostly on the right side of the rose:
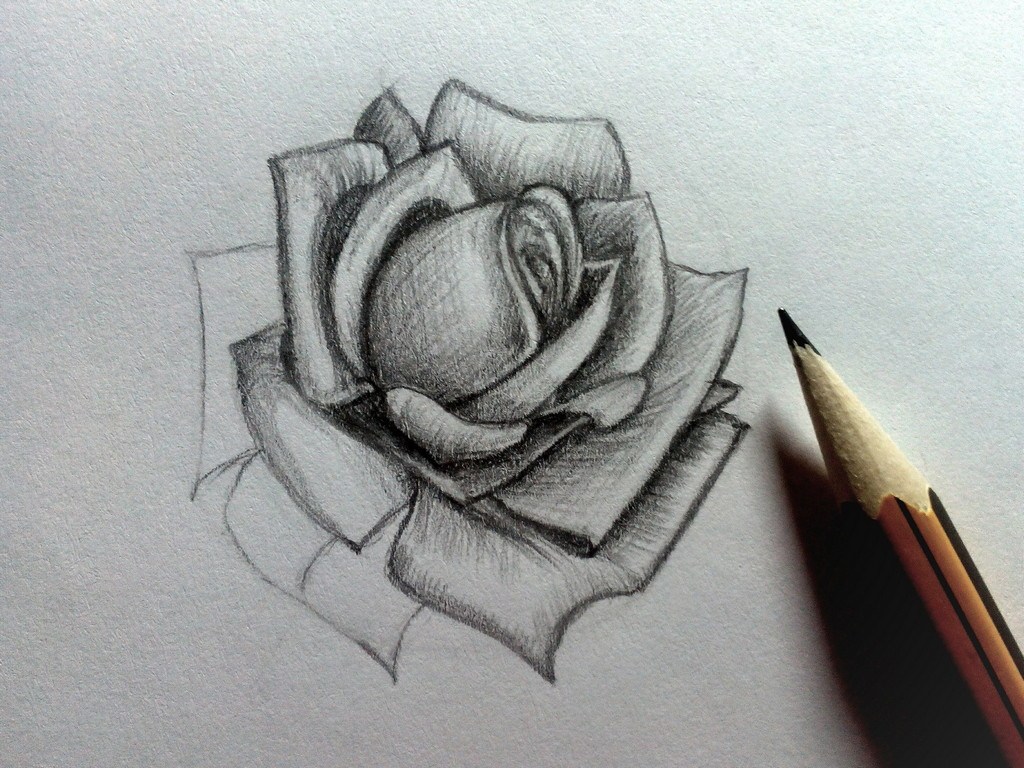
Step 16. Finish working on the shadow on the flower. The left part of the petals is made darker than the others, because the light falls more to the right:

Step 17. We add the stem and leaves of the rose that grow at the very base of the flower. Their shape will be long, and the edges sharp:
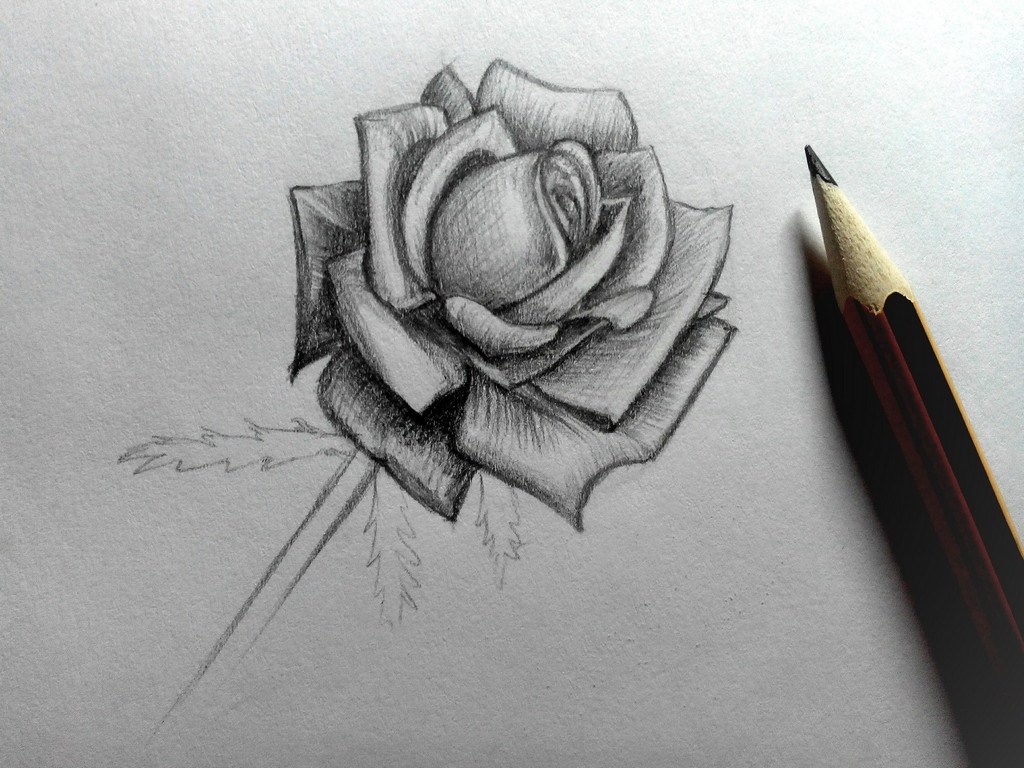
Step 18. We will draw a shadow on the stem and leaves:

Step 19. Then outline one leaf, which will go from the stem. The shape is made oval, and the edges are sharp:

Step 20. Finally add some shadow to the leaf. Do not draw it strongly, since the central part of the figure is a rose. We finish the finalization of the details. The drawing is ready:

That's it. Our flower rose is ready. The tutorial turned out to be quite simple, though voluminous, but it taught us how to draw a rose with a pencil easily. Now you can present the drawing to your relatives and make them happy. :)
