How to Draw a School Bus
Going to school lets you use a different kind of transportation. Whether it’s a bicycle, a car, or even a bus. Usually, the school provides a school bus for students to pick them up from their house. Since people have different distance in going to school, it is why school bus exists. You’ll need to be on time when the bus is arriving. Because people can’t be late to school waiting and picking you from your house. Therefore to remember the school bus, well try to draw a school bus with this instruction. All you need is a pencil, eraser, and paper. Now we’re ready to draw!
Steps:
Step 1: Firstly, we’ll start by drawing the guidelines. The purpose of guidelines is to help you estimate the size of the bus and to guide you in drawing the rest of it. Therefore, we’ll draw a diagonal long rectangle (see picture). We’ll draw the school bus from the side so we can see the whole form of it.

Step 2: Next, let’s start by creating the front part guideline of the school bus. Now create another rectangle. Make the top of the rectangle to be just like on the picture. Add two corners on each top.

Step 3: We can move on to the hood of the school bus. Draw an uneven curve line in the middle of the previous step (see picture to better understand) to create the top of the hood.

Step 4: After that, we can continue finishing the hood by adding the guideline for the bumper by creating a straight line from the left lower part of the hood and create a curve to end it. Also, add two narrow ovals and two curve lines to create the tires.

Step 5: Now we can continue with the previous part, the tires and the bumper. Starting from its guideline, draw a straight line on top of the bumper guideline. Next, to the tires, complete each tire by making four curves on each tire. This is to make the tires look 3d-like shape.

Step 6: Then, we can continue to create the door and giving details to the hood and tires. To create a door, draw a long vertical rectangle next to the front guideline of the school bus (see picture). Then, add the details for the tires by adding another smaller ovals inside the previous ovals. Also, we’re going to draw the front lightings and grille on the hood. We’ll start from the front lightings by adding two small and horizontal ovals (see picture to better understand). In the middle of it, create a long rectangle to create its grille.

Step 7: Finally, we can start drawing the windows. To draw windows, you’ll only need to draw five shorter vertical rectangles on the left-hand side of the door. It’ll be better if you draw it from the right-hand side to the left-hand side. Since drawing the windows will need the help of perspective technique. Make the left sides gradually smaller than the right sides. Then, we can also draw a line in the middle of the door. After that, we’re going to draw the pattern on the usual school bus which is 4 straight lines on the left-hand side of the school bus body.

Step 8: Moving on, we’re going to continue drawing the front part of the school bus. Firstly, draw a parallelogram with curvy edges for the windshield. Then create two different sizes of vertical triangles with curvy lines on some part (see picture) for the narrow side windows. Then, you’ll continue drawing the place for orange and red lighting that used to be on top of the windshield edges. Therefore, draw two of the curvy edges rectangles (see picture to better understand). After that, we’re going to continue drawing the side mirrors of the school bus. You’ll have to create two small rectangles with curvy edges below the windshield (see picture). Then, to make the side mirror stand straight, create something that holds it on top of the hood. Create several short straight lines (see picture to better understand) that creates an inverted Y-like shape.

Step 9: Next, write the “school bus” in the two-part of the bus. Which is on the side and top of the front bus. Don’t forget to create another side window with two mirrors next to the side window from the front bus (see picture). You’ll need to start from the curvy lines first. By creating the previous step, you can now add two windows in the middle of the previous curvy lines by creating two vertical and curvy lines (see picture). Also, don’t forget to draw the last side windows on the left-hand side of the windows.

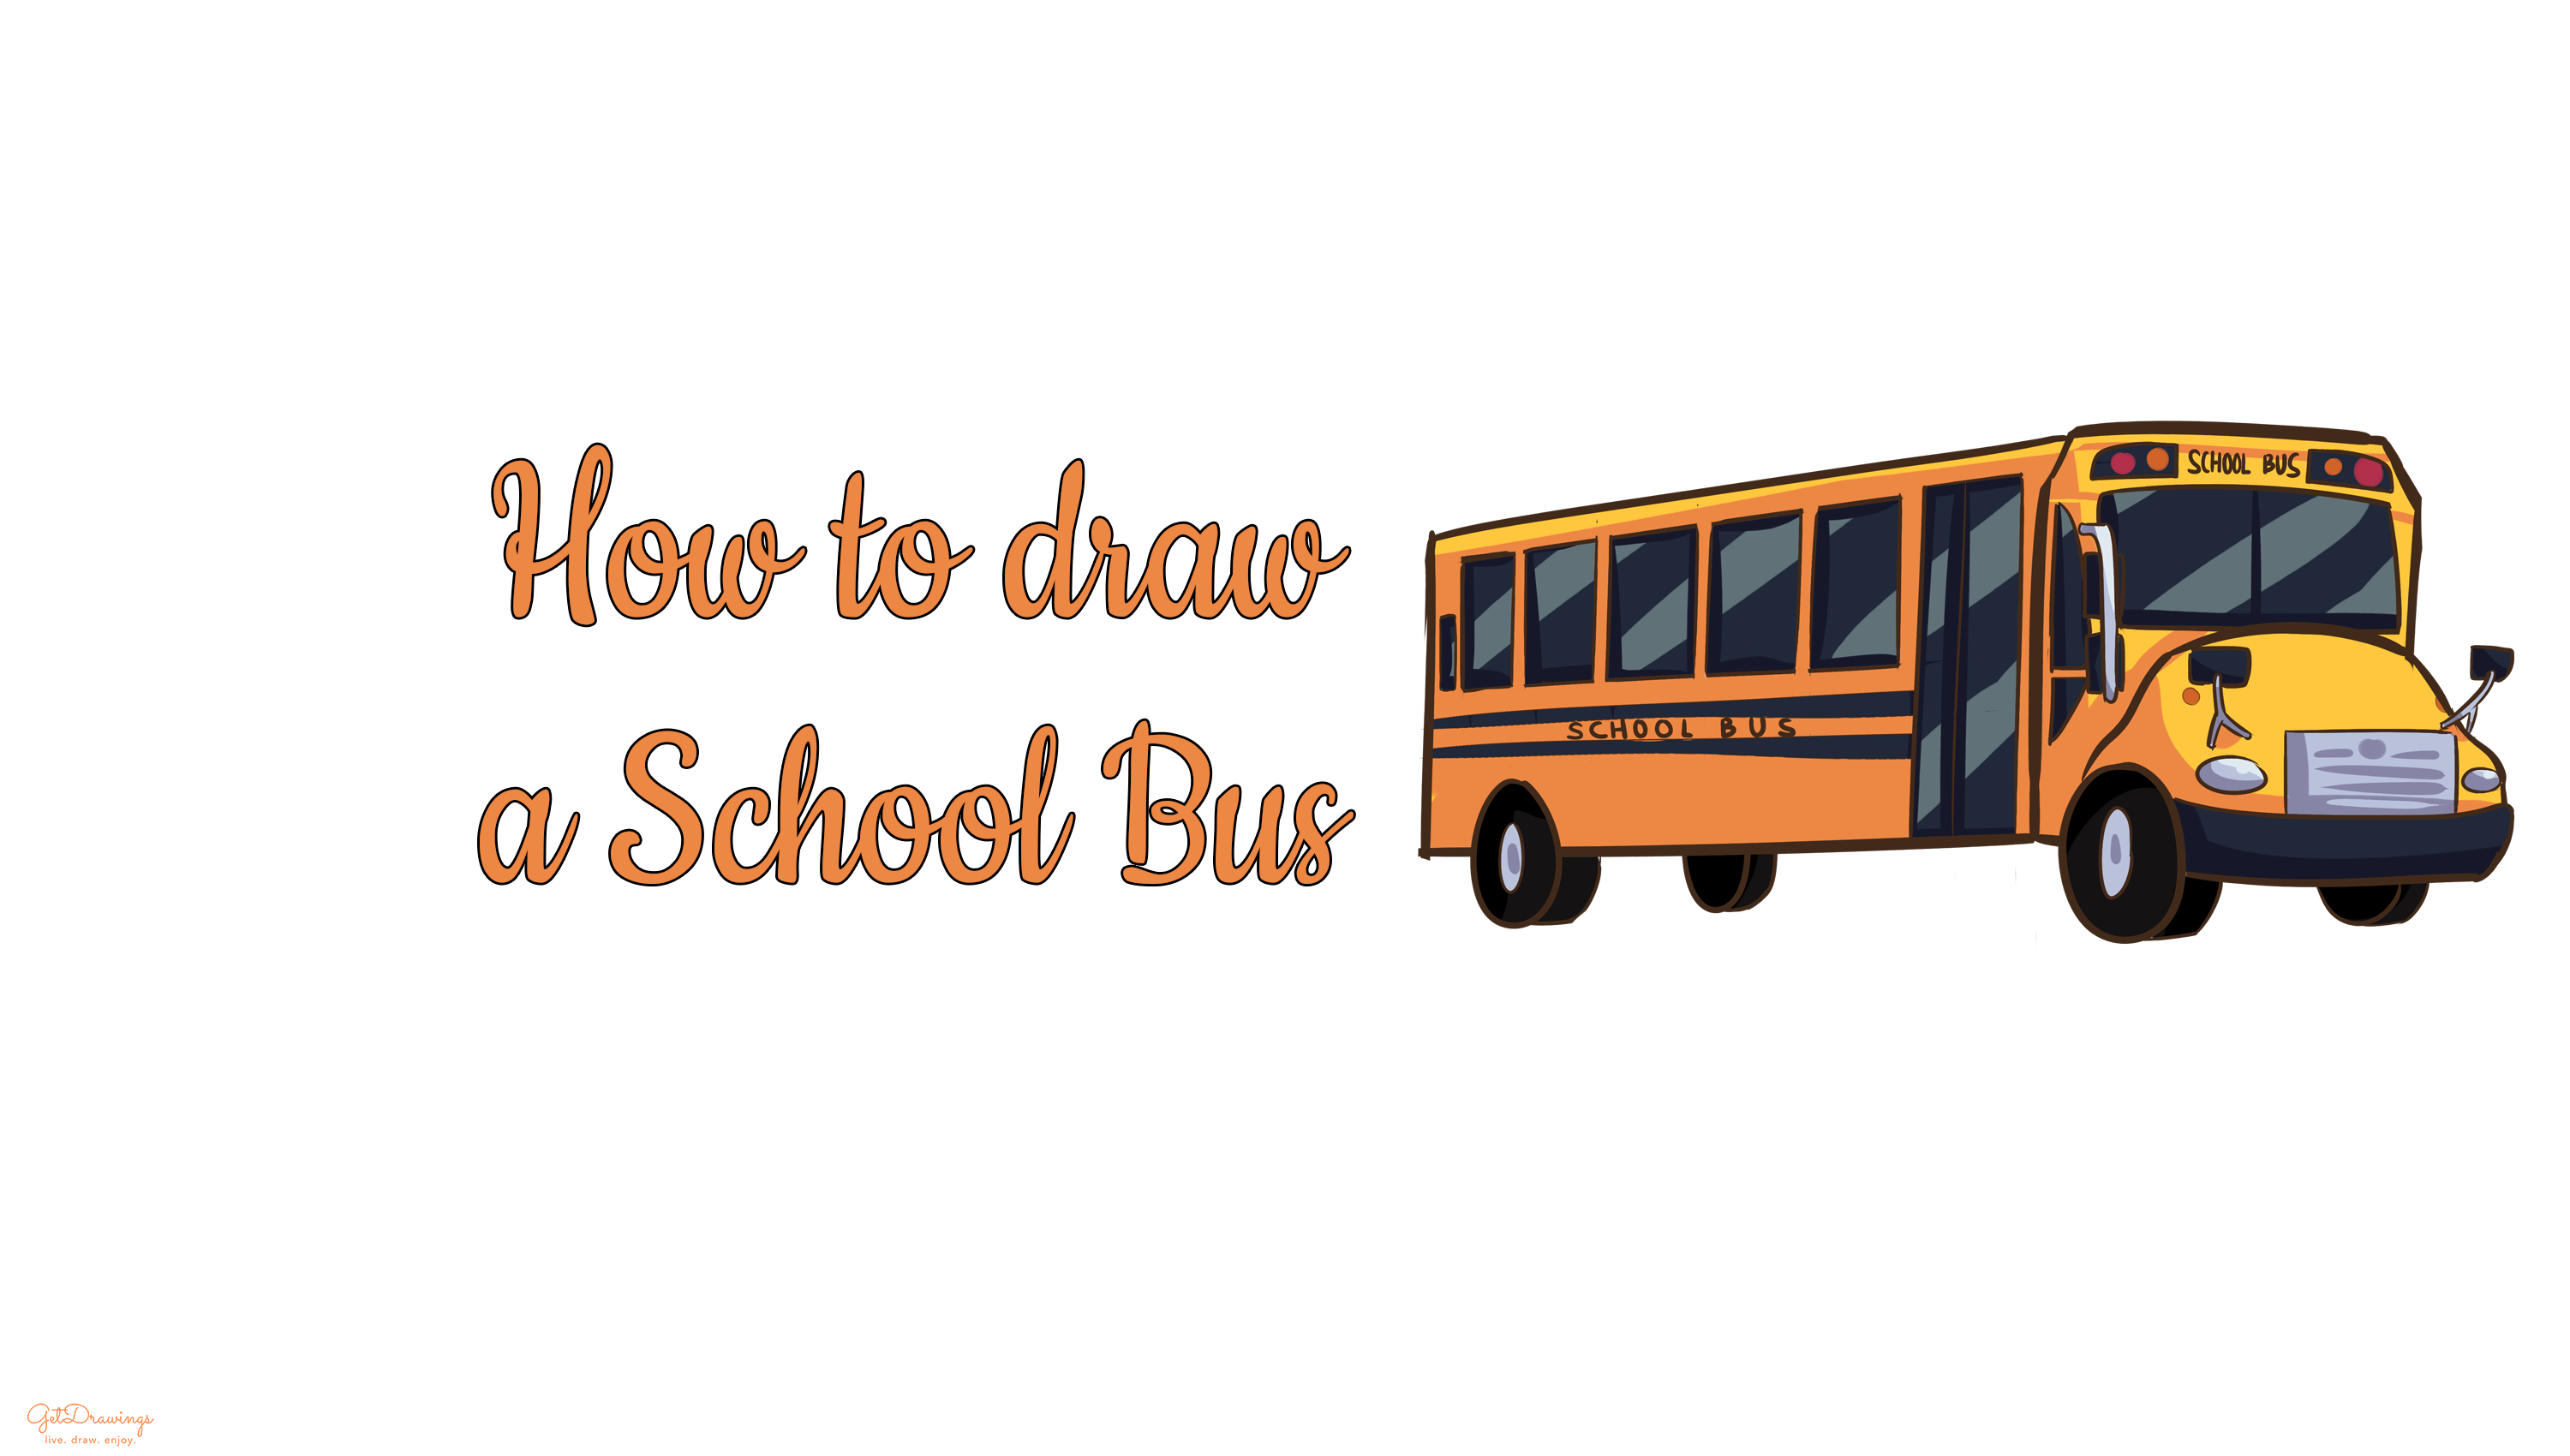
Step 10: Lastly, If there’s a line that intersecting each other, this is the time to erase it. To see your School bus clearly, you’ll need clean lines. Voila! You’ve finished drawing a School bus!


Since you’re drawing a School bus, you need to look at the actual reference of what you’re going to draw. It is important because drawing transportation’s form won’t be smooth or symmetrical. Even if it’s symmetrical, the form will still be uneven. You’ll need keen eyes and a lot of practice so you can make your drawing perfect. Good luck!


