How to draw a Teacher?
We learn from them at school. We sees them as someone that has more knowledge than you. It is none other than teachers that taught us knowledge at school. If you admire them and want to thank them by giving them a drawing, you can follow these steps. Also prepare a paper, a pencil, and an eraser and we’re ready to draw!
Steps:
Step 1 Firstly, We’re going to draw from top to bottom. Starting from the top, we’ll need to draw the head guideline first. Create a circle with two straight line that crossed each other on the center of the circle. Also, leave a big space below it for the rest of the body

Step 2 To make the cheeks and the chin, you can start from the right-hand side of the head guideline to create a curved line (See picture to better understand).

Step 3 After that, add two curved lines on the left-hand side and right-hand side of the head guideline to make ears. Then add two short straight lines (See picture) to give a depth inside the ears.

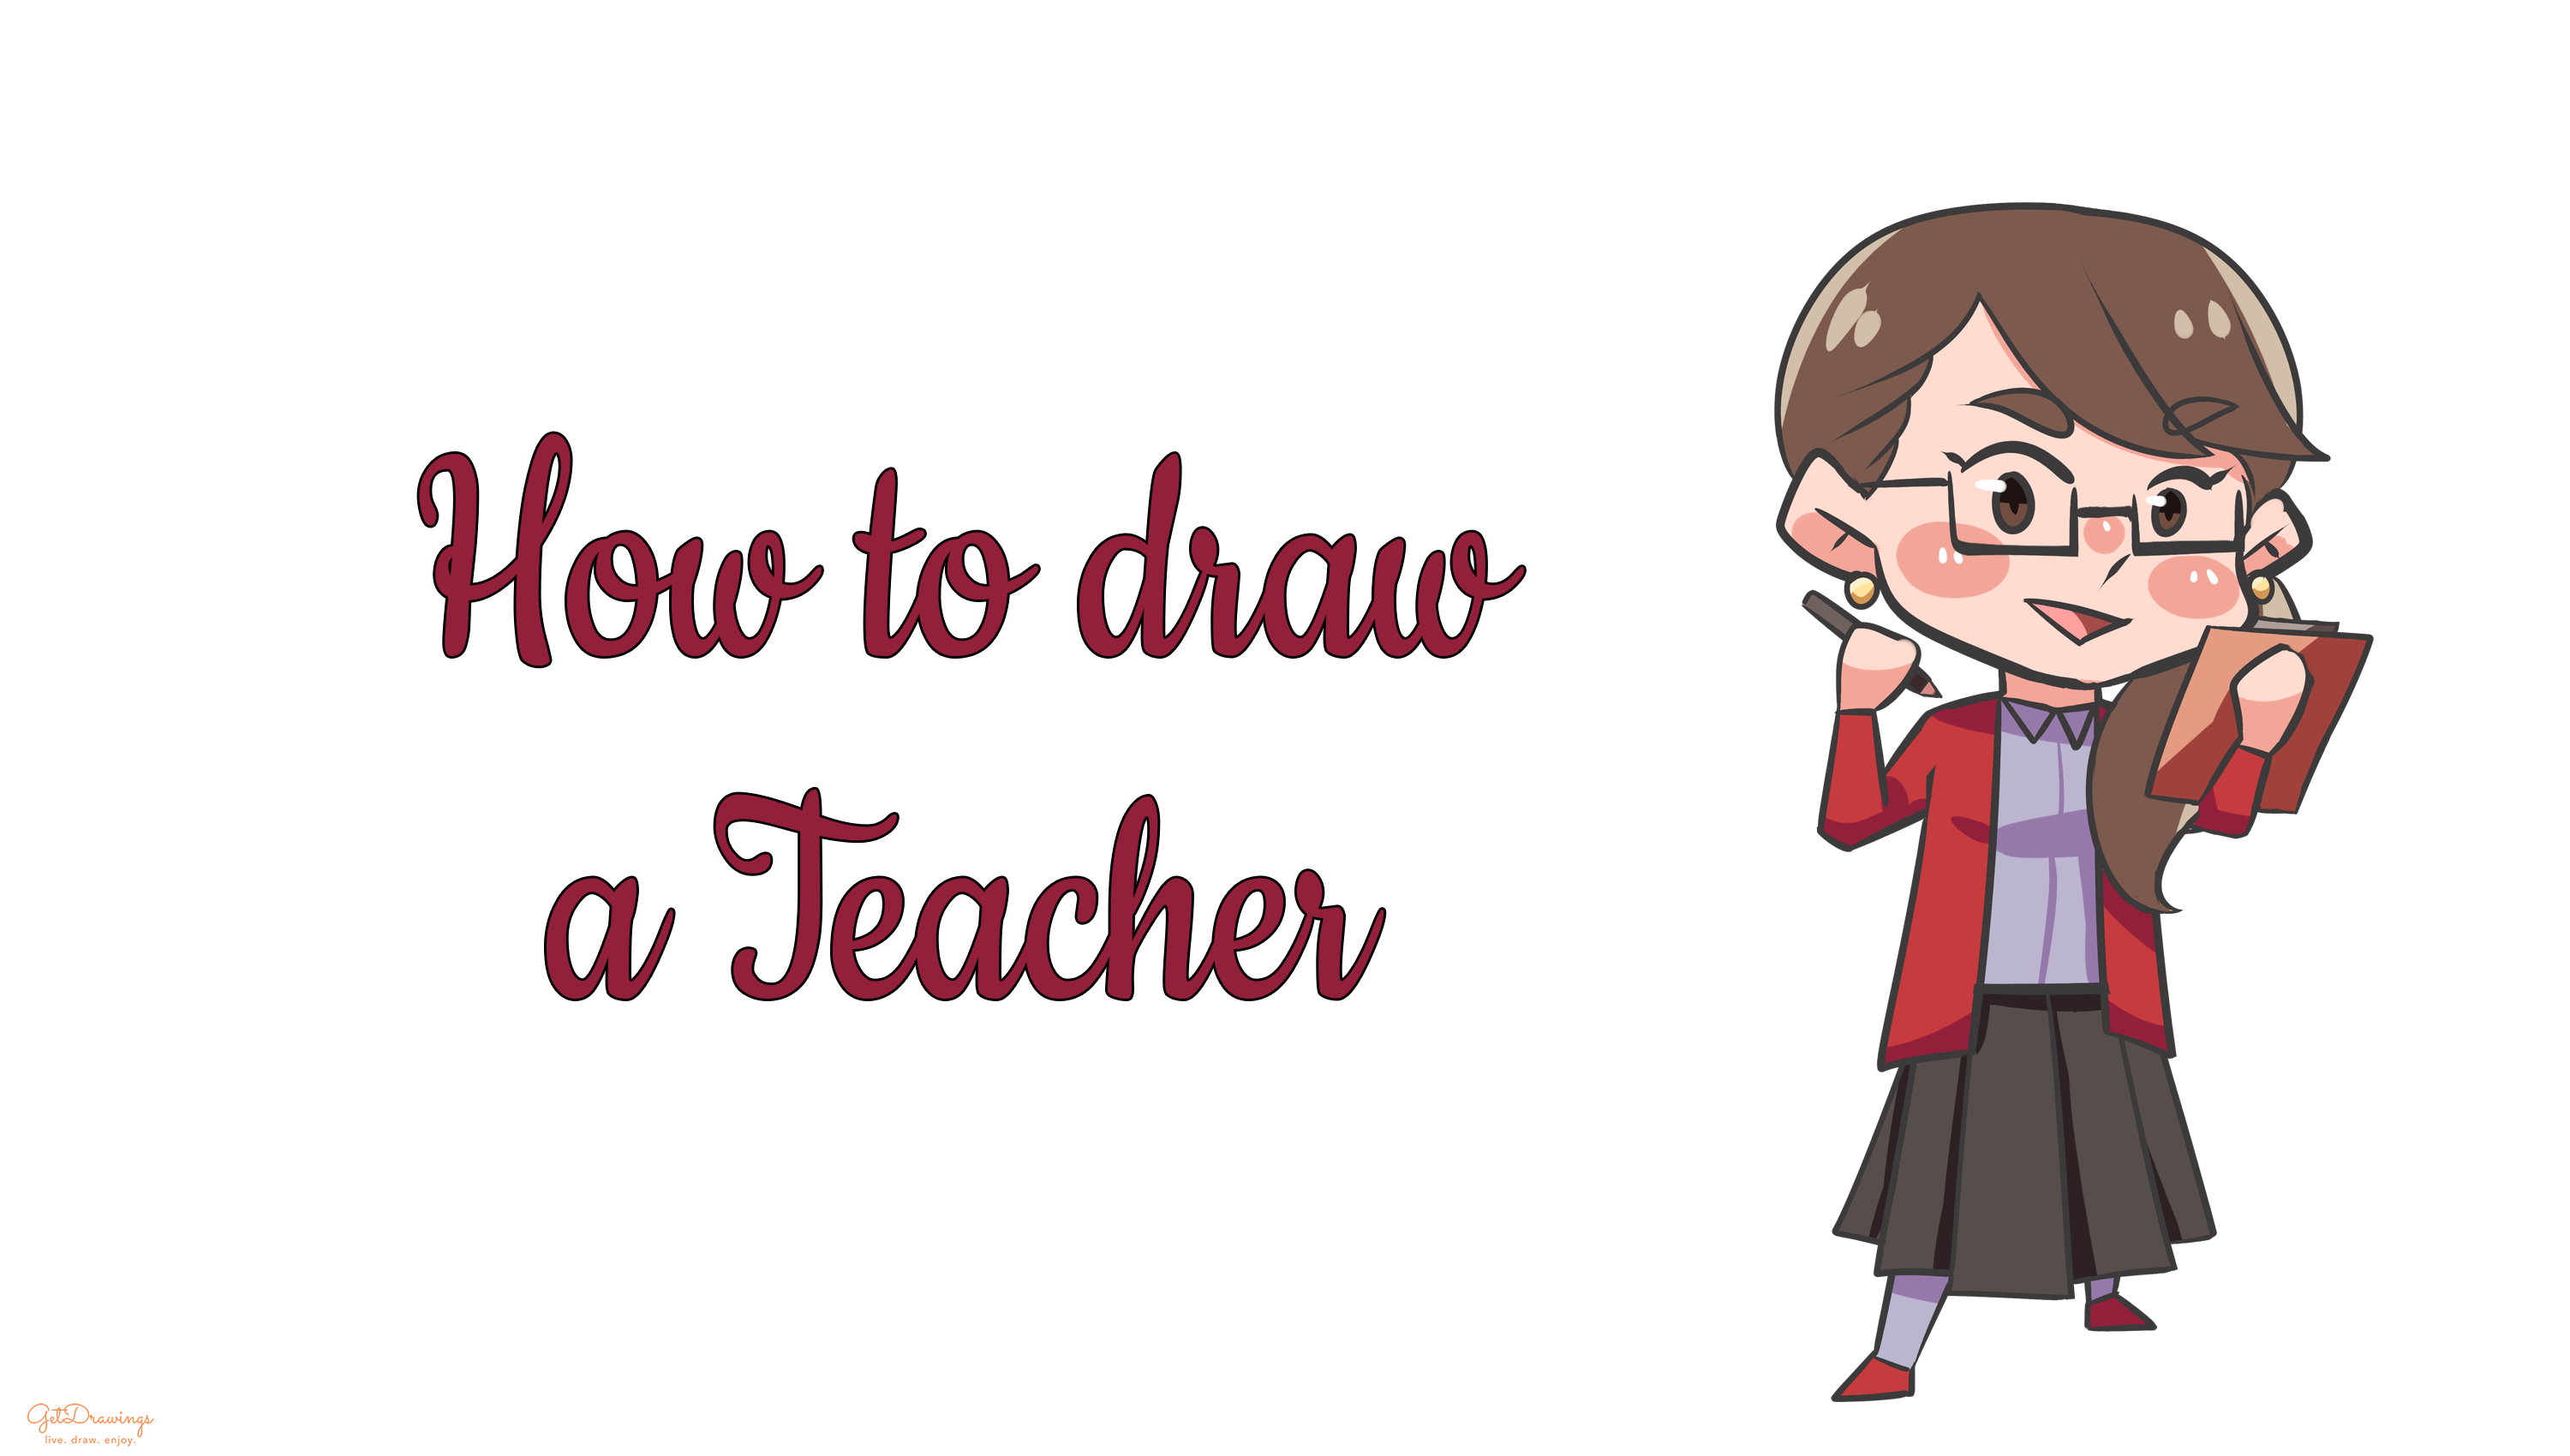
Step 4 Now create its eyes by adding two arches above the horizontal line of the guideline and end it with a short straight line to make eyelashes. Lastly, add two ovals below it for the cornea. You don’t want to forget the earrings, therefore add two circle below her ears.

Step 5 Add a curved line below the center of the eyes for its nose. Then, add two leaf-like above the eyes to make its eyebrows. Don’t forget to add her mouth by adding a triangle-like shape (see picture to better understand).

Step 6 Moving on to its hair by adding the fringe first. You can start adding several curve lines like on the picture.

Step 7 Then, draw a large arch above it for its head to finish its head

Step 8 Lastly you want her hair to looks wavy, add several curve lines below the right-hand side ear.

Step 9 We can start with the glasses to make her looks smarter by adding several straight lines below the eyes. Also we can move on the next part which is the neck and shoulder by adding another short straight lines.

Step 10 Add 3 straight line to complete the body guideline just like on the picture that resemble square shaped-like.

Step 11 As for the arms, add several long straight lines and shorter lines (see picture to better understand). We’re going to make the arms as if the teacher holding a pen and a clipboard.

Step 12 Now we can draw its hand look like holding a pen and a clipboard by creating several lines (see picture)

Step 13 On to the next step is to draw a pen and a clipboard by drawing several straight lines (see picture to better understand).

Step 14 Moving on for the details such as collar by creating two inverted triangles below the neck.

Step 15 Then, draw several long and short straight lines to make a cardigan sweater for your teacher.

Step 16 Next you can draw the legs by creating several long and short straight lines (see picture).

Step 17 Finish the legs by adding two parallelograms for her foot.

Step 18 Moving on for the last part of the costumes by adding skirt and details for the shoes by drawing several curvy and straight lines (see picture to better understand)

Step 19 Now we can finish it by erasing the guidelines and Voila! The teacher is done!

In drawing teacher, you’ll need keen eyes to draw the details. Therefore, drawing guideline at first is an important step. It is not going to be easy at first if you’re not used to drawing. Since no one can be a good artist at their first attempt. But as long as you keep practicing in drawing, you’ll be good in no time.

