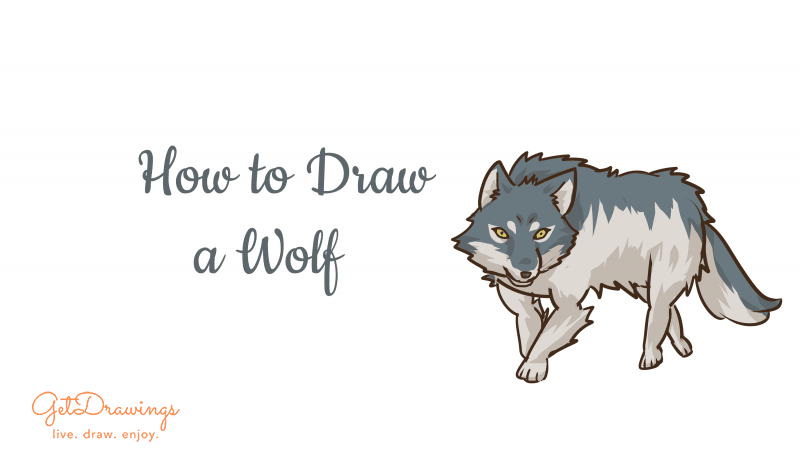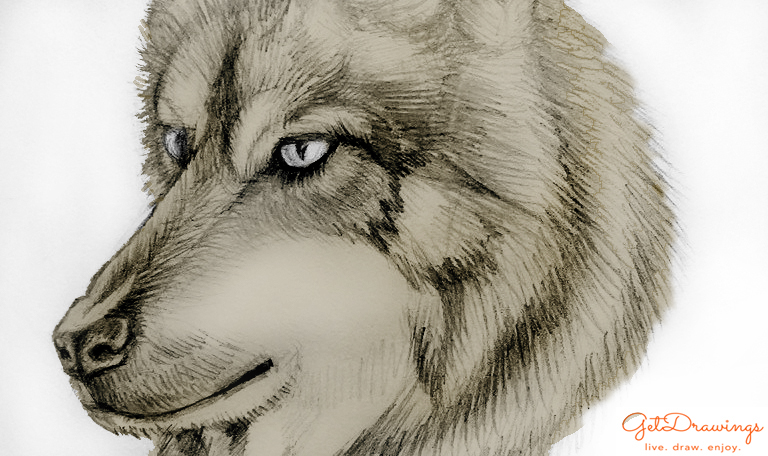
How to draw a Wolf?
The wolf is a dangerous predator, including for a human. But it also has a number of outstanding features for which the wolf fell in love with people. There are legends about its courage and loyalty. Therefore, often the image of a wolf is used in films, cartoons and books. Also, you can see pictures, posters and even tattoos with different images of a wolf. Today we will devote our tutorial to the question "how to draw a wolf?", the tutorial will be very detailed and step-by-step, so that even children can easily draw a wolf.
Tools and materials:
- White paper sheet;
- A solid simple pencil;
- An eraser.
Steps of the drawing:
Step 1. We begin building the muzzle of the wolf from the most outstanding part - the nose. We outline its shape by straight lines:

Step 2. Draw the shape of the tip of the nose, as well as the dividing line between the mouth and the nostrils. The wolf will not be fully depicted in the profile, so its left side will be seen a little. Its mouth will be drawn closed:

Step 3. At the bottom we will draw a part of its neck, and on the top - part of the muzzle of the animal:

Step 4. We plan the location of the left eye and ear, which will be in the background:

Step 5. Then draw the right eye. Its shape will be pointed, and the size will make a little more from the left eye. The pupils will be sharpened:

Step 6. Add a second ear that is deployed in full-face. Then draw a rounded form of a portrait of the wolf:

Step 7. We specify the edge of the muzzle, strengthening it with a pencil. Draw the places of the bends of the wool:

Step 8. Begin to apply strokes from the nose. This part will be the darkest and most prominent in the picture. Strokes are done in the direction of hair growth:

Step 9. We continue to apply the tone. We distinguish the eyes with a pencil, because the eyes and nose are similar in tone:

Step 10. We start drawing the wool from the left side, because the background part sets the tone for the elements that are in front:

Step 11. At the same pace, we continue to draw the wool of the beast, moving smoothly to the right side:
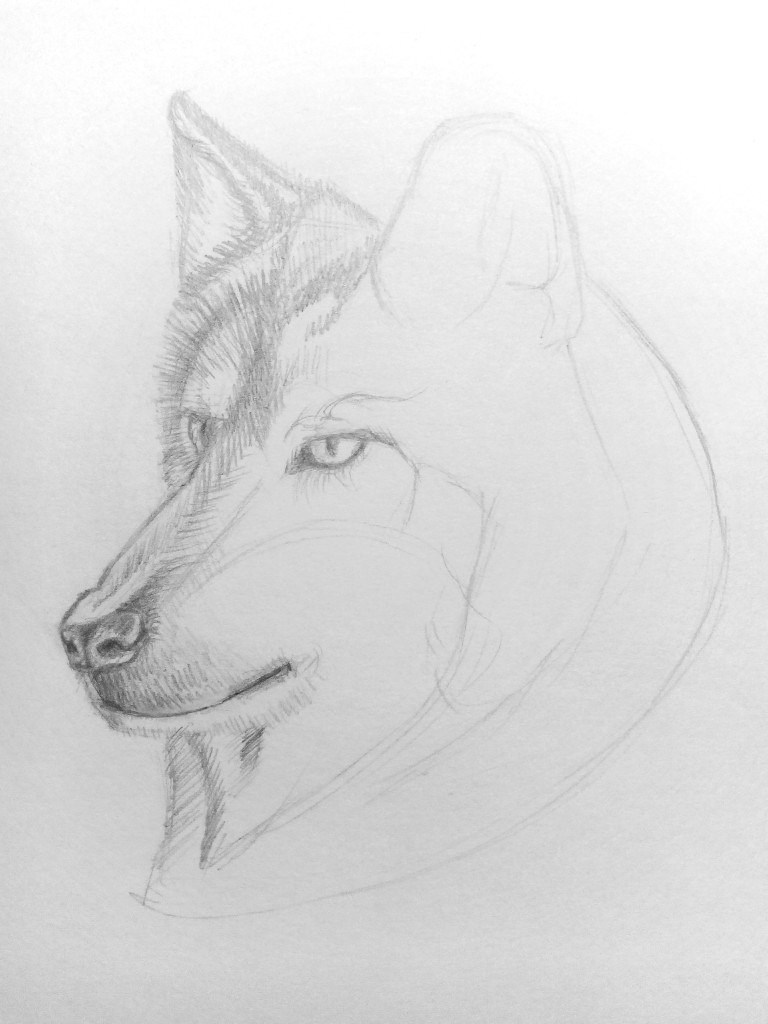
Step 12. We will intensify the contrast of the picture on the left side by using more pressure on the pencil:

Step 13. We draw a short wool on the ears along the edge of the right side:

Step 14. We will completely trace the entire ear of the wolf. The hairs will be slightly carelessly located, but it is worth noting that they still intersect in the middle of the ear:
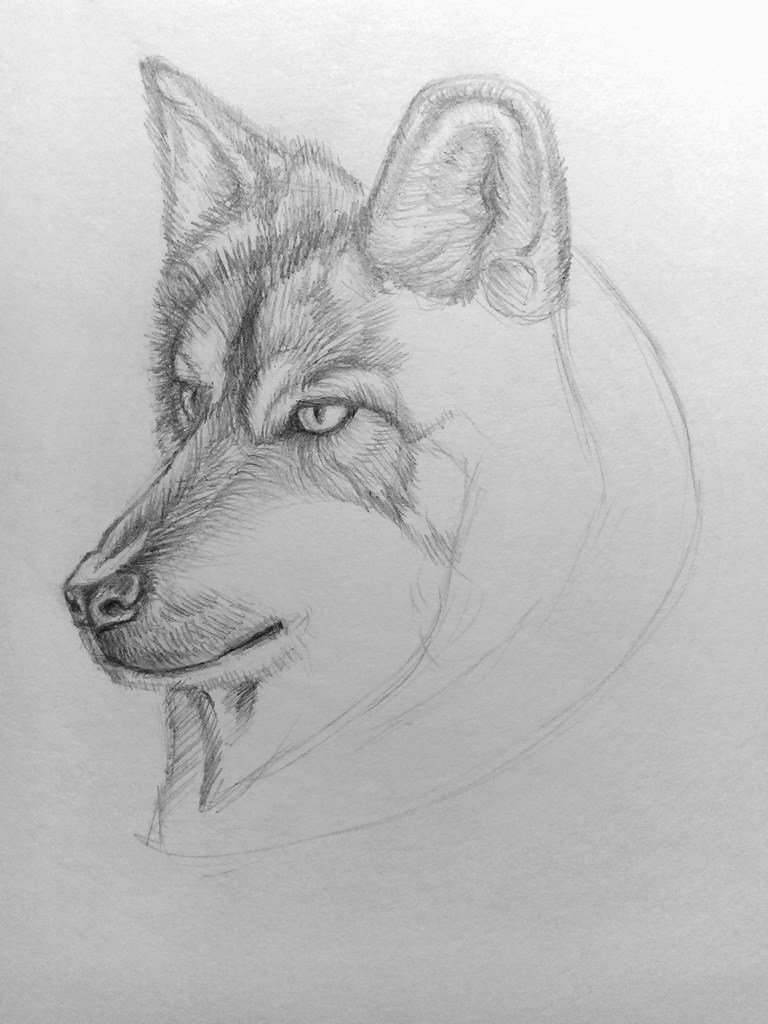
Step 15. We get down from the ear and apply strokes, sealing them around the bends:

Step 16. On the edge of the right side and the bottom we draw a long wool:

Step 17. Remains to add a tone to the rest of the wool. All the same you need to put the finishing touches in the direction of growth, otherwise the wool will look shapeless:
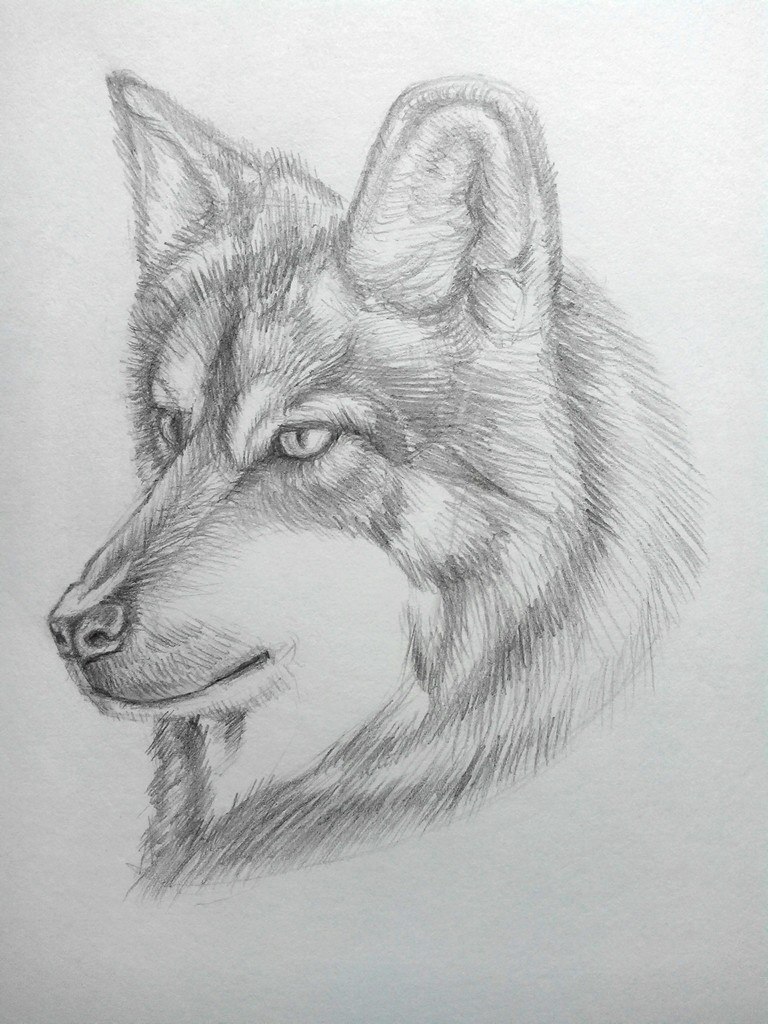
Step 18. We are working on the details and align the lines at the last stage. Done!

We got a very bold and independent image of a wolf with just one pencil. If the drawing failed the first time, you need to repeat all the steps and be more attentive to the details. Then a successful result will not take long.

