
How to Draw a Cupid
There’s another creature that usually appear during Valentine’s day. It’s none other than Cupid. It always symbolized as winged child with bow and arrow and pierce the hearts victims, which cause them to fall in love. They played a role in the celebration of romance, especially during Valentine’s day. Therefore, if you want to draw a Cupid, you can follow my instructions. Prepare a paper, a pencil, and an eraser. Now we’re ready to draw!
Steps:
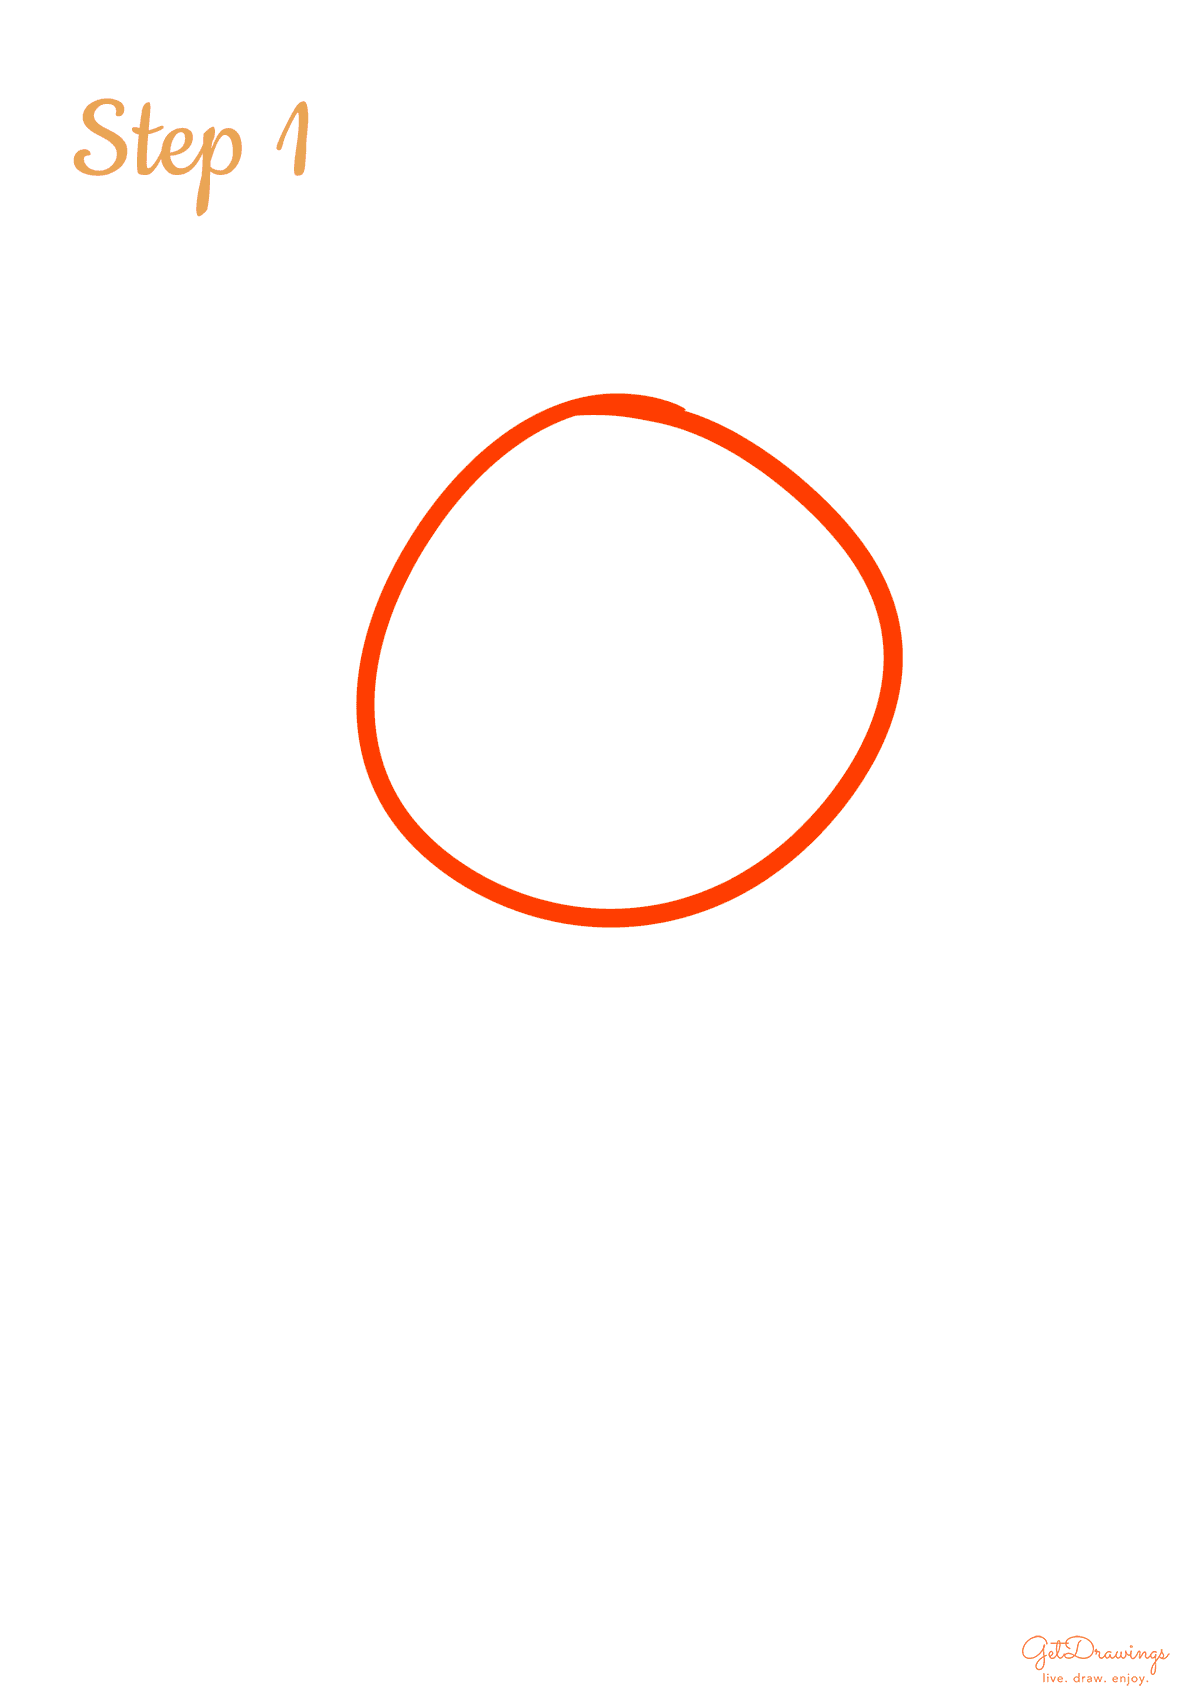
Step 1: First of all, we’ll start by drawing the guidelines. The purpose of guidelines is to help you estimate the size and to guide you in drawing the rest. Therefore, we’re going to draw from top to bottom. Therefore, we need to start drawing a circle to create the head guideline.
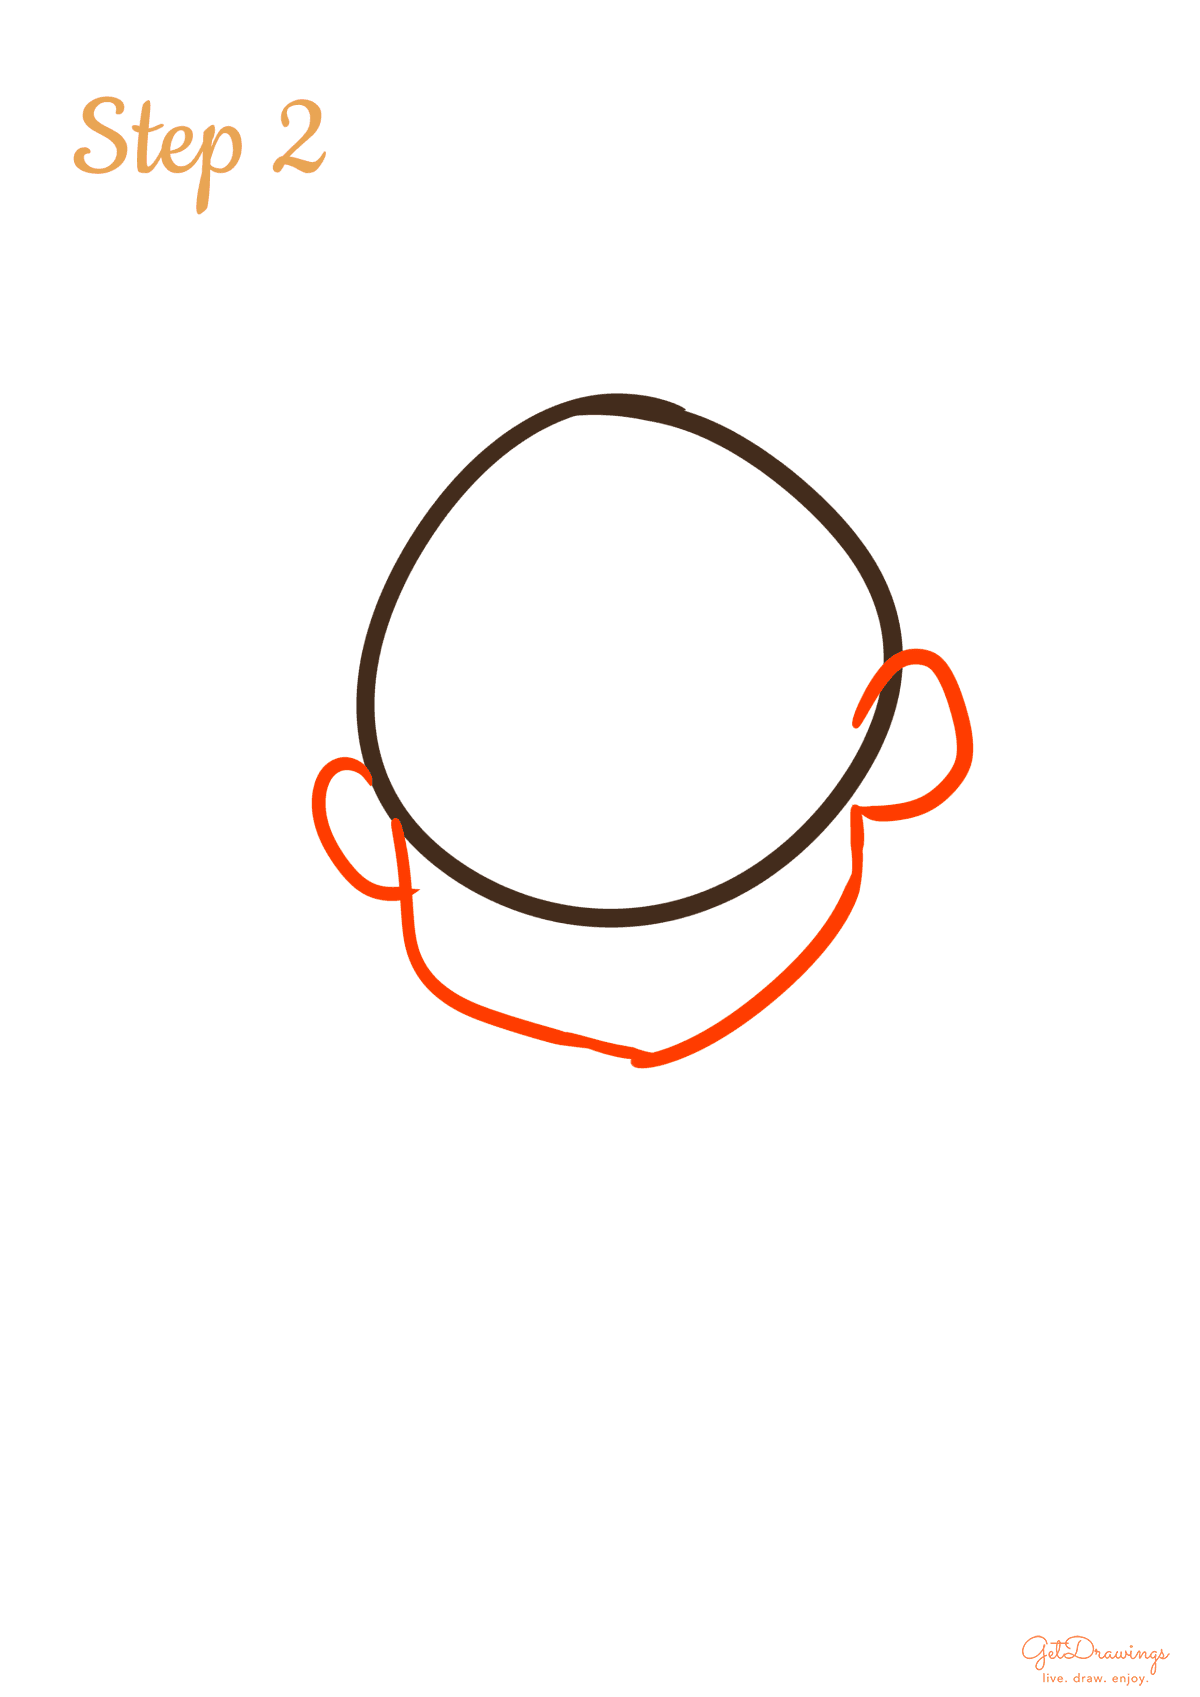
Step 2: Moving on to the next step. To make the cheeks and ears, create uneven curve below the circle you made earlier. This will be the cheek and chin (see picture to better understand). Then, make two smaller curve lines on both end of the previous curve that you made. This part will be the ears for your Cupid.
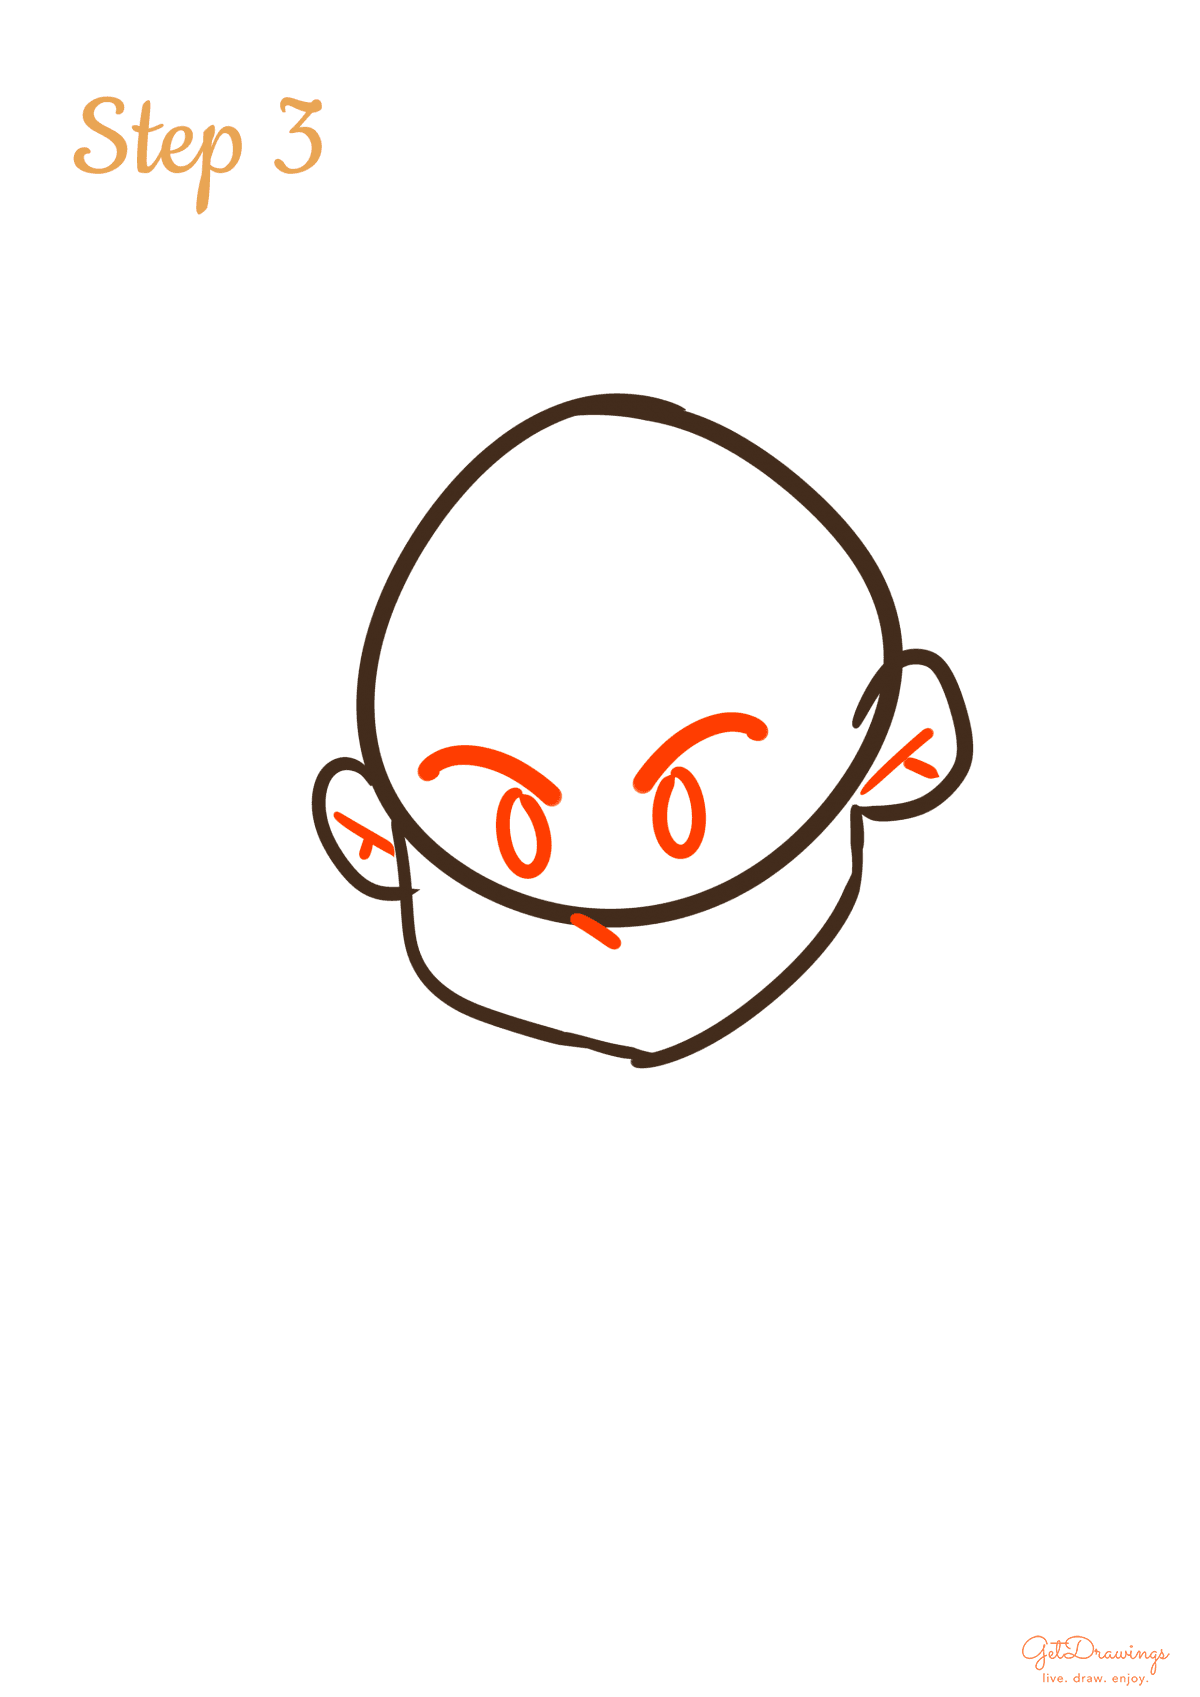
Step 3: After the previous step, we’ll continue drawing the detail of the head by adding eyes, nose, and ear details. Start by making two arches in between the ears, then make two narrow ovals below it to create the cornea. Next, add a short curve line below the eyes to draw nose. Don’t forget to add the inner detail of the ears by making two short lines intersecting with each other on each ear.
Step 4: After that, we can start drawing the eyebrows on top of the eyes. You can draw it by making two leaf-like shapes that mirror each other. After that, create an uneven inverted triangle below the nose to create a mouth.

Step 5: Now we can continue with the previous part, which is several short curve lines around the head and on top of the ears. This part will create a slick back-like hair and head-shape for your cupid. Next, create a curve line inside the mouth to draw its teeth.

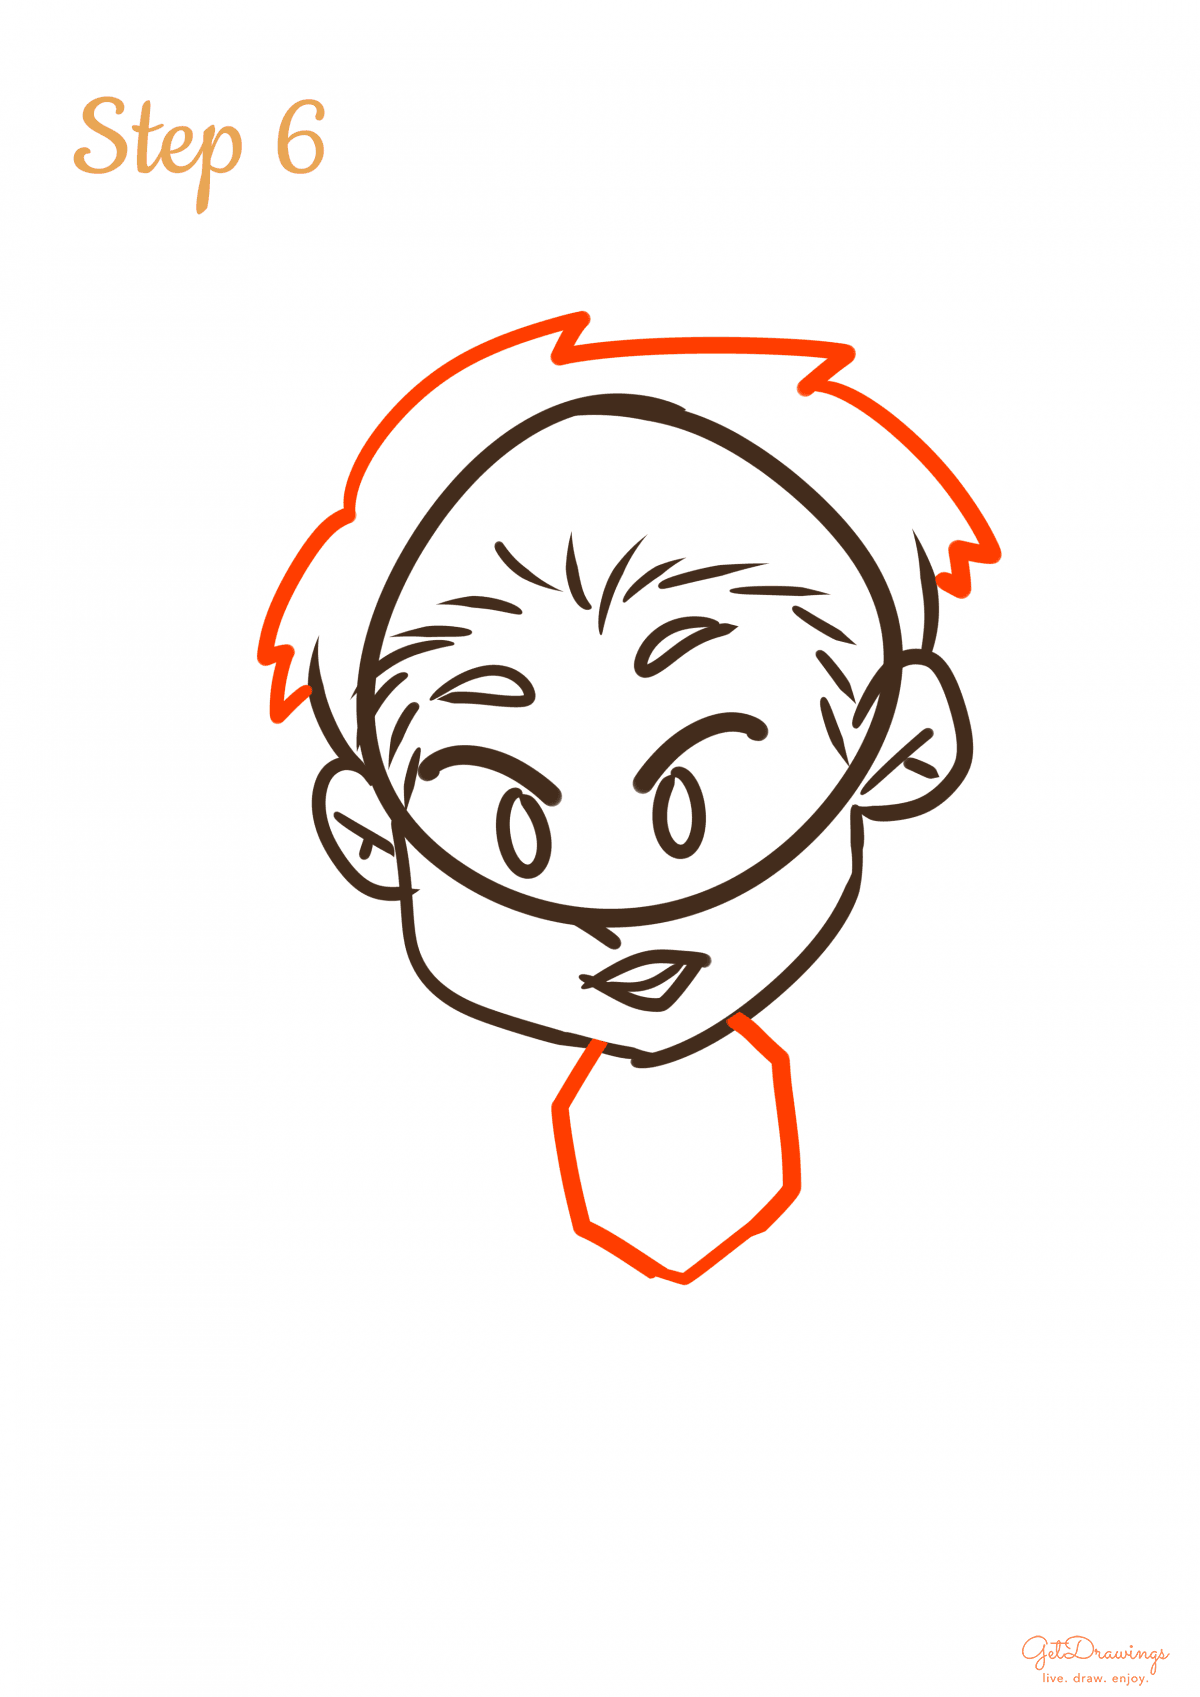
Step 6: Then, we can continue to create the Cupid’s hair by making several curve lines that resemble curvy spikes on the previous step (see picture.) Then, create an uneven shape that resemble an uneven octagon. This will be the body guideline for your cupid.
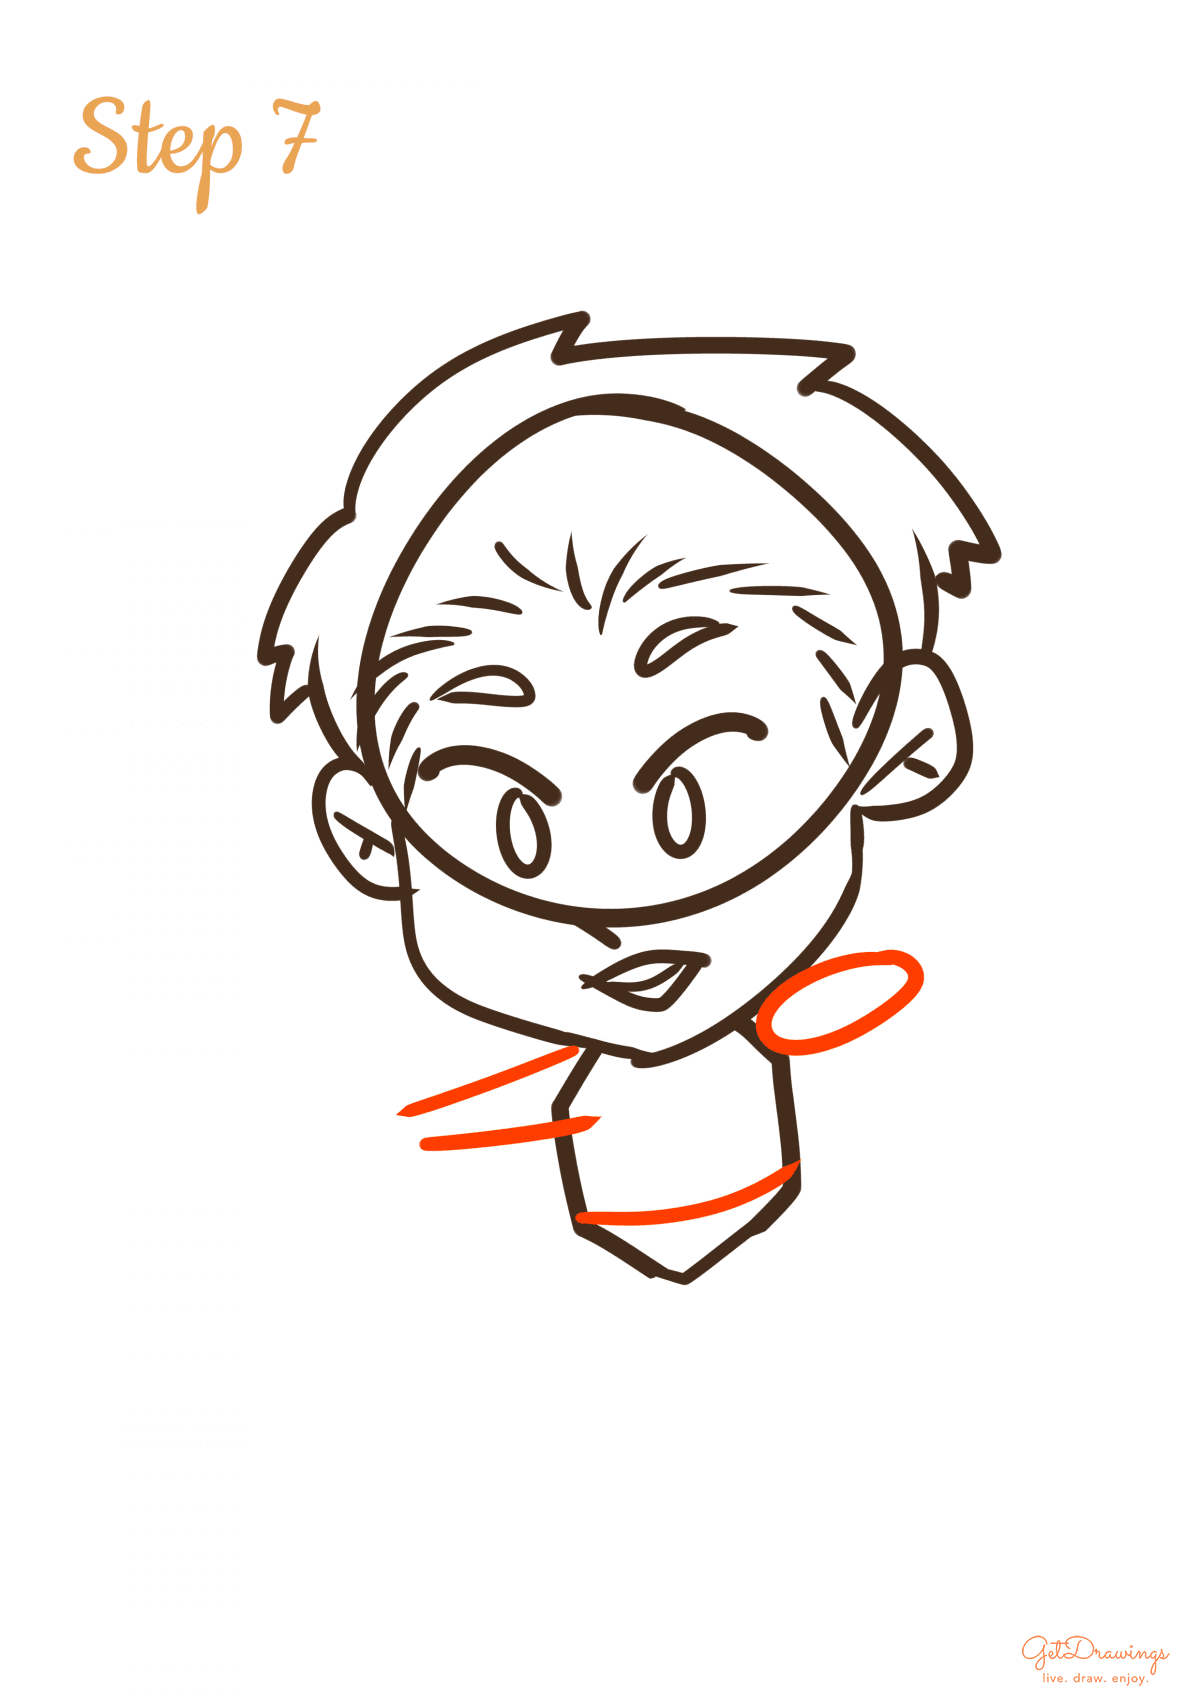
Step 7: Finally, we can start drawing the details. Start from the arms, create the left-hand side of the arm by making two straight lines that almost intersect with each other. Then, add horizontal and narrow ovals for the right-hand side of the arm guideline. After that, add a curve line inside the uneven octagon-like shape. This will represent its pants.
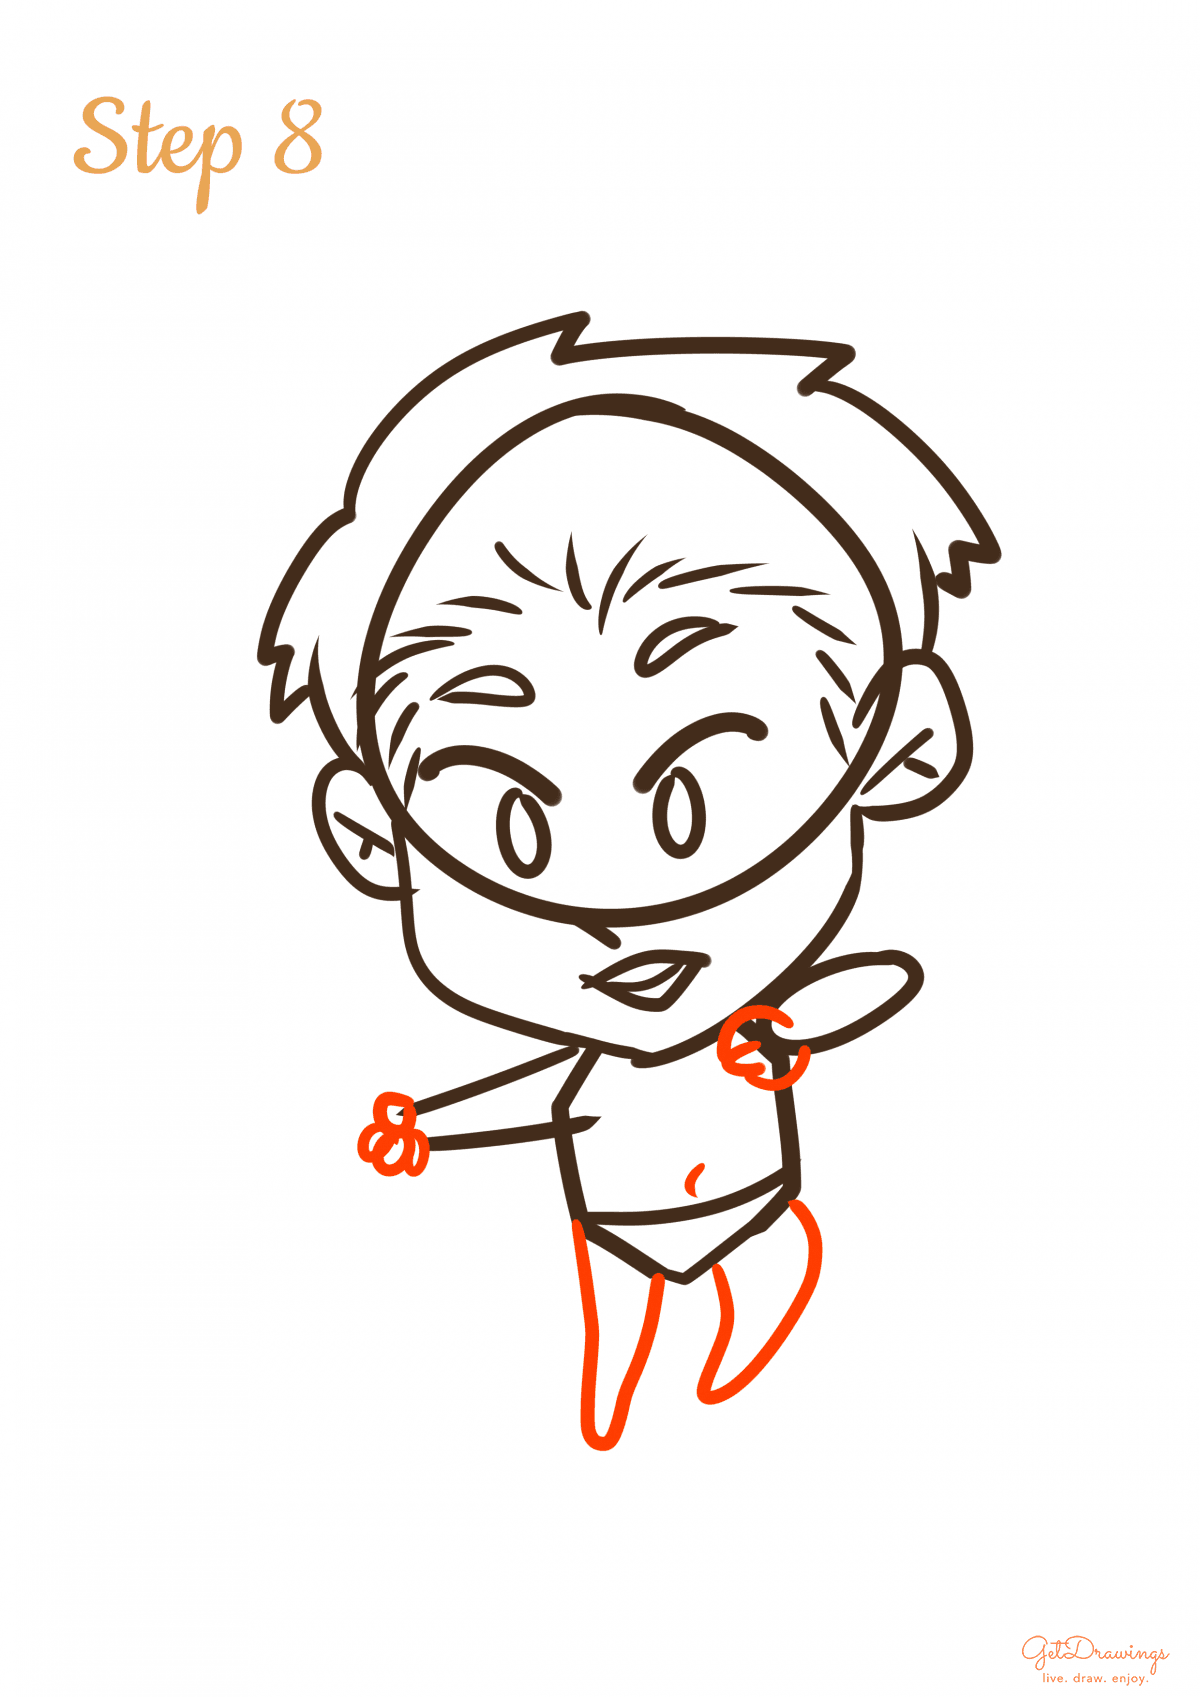
Step 8: Moving on, we’ll be focusing on the hands and feet. Start by making several ovals for the left-hand-side of the cupid. Stack the ovals to resemble a fist trying to grab something. As for the other hand, create several short curve lines to make a hand that depicts pulling hand. Then, draw two narrow curve lines that depicts simplified legs (see picture to better understand).
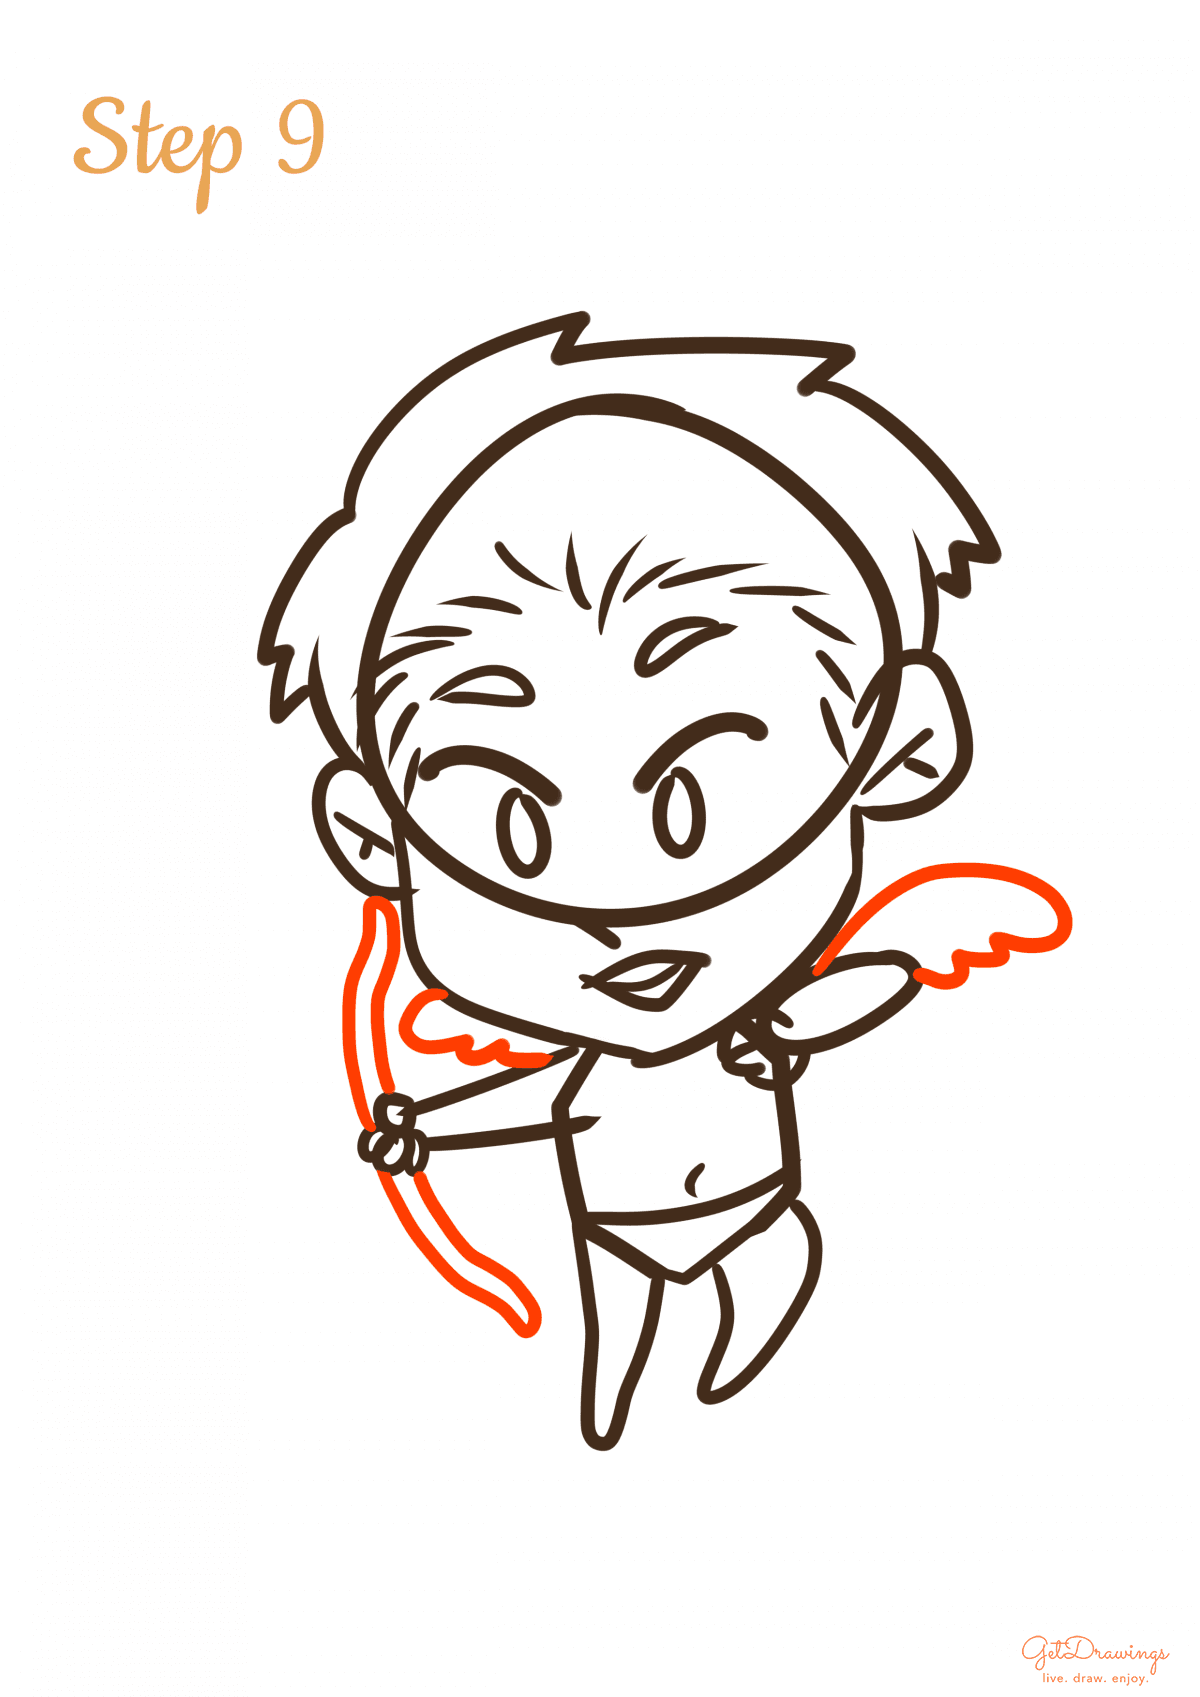
Step 9: After you made the hands and legs, we’ll start drawing the wings. First, make the big curve next to the arms (see picture). After that, add several short curve lines to finish the wings. Create for both side of the body. Don’t forget we’ll need to draw the bow for the items that Cupid mostly brought. Start by making narrow and long curve lines on both top and bottom side of the left-hand side hand (see picture to better understand).
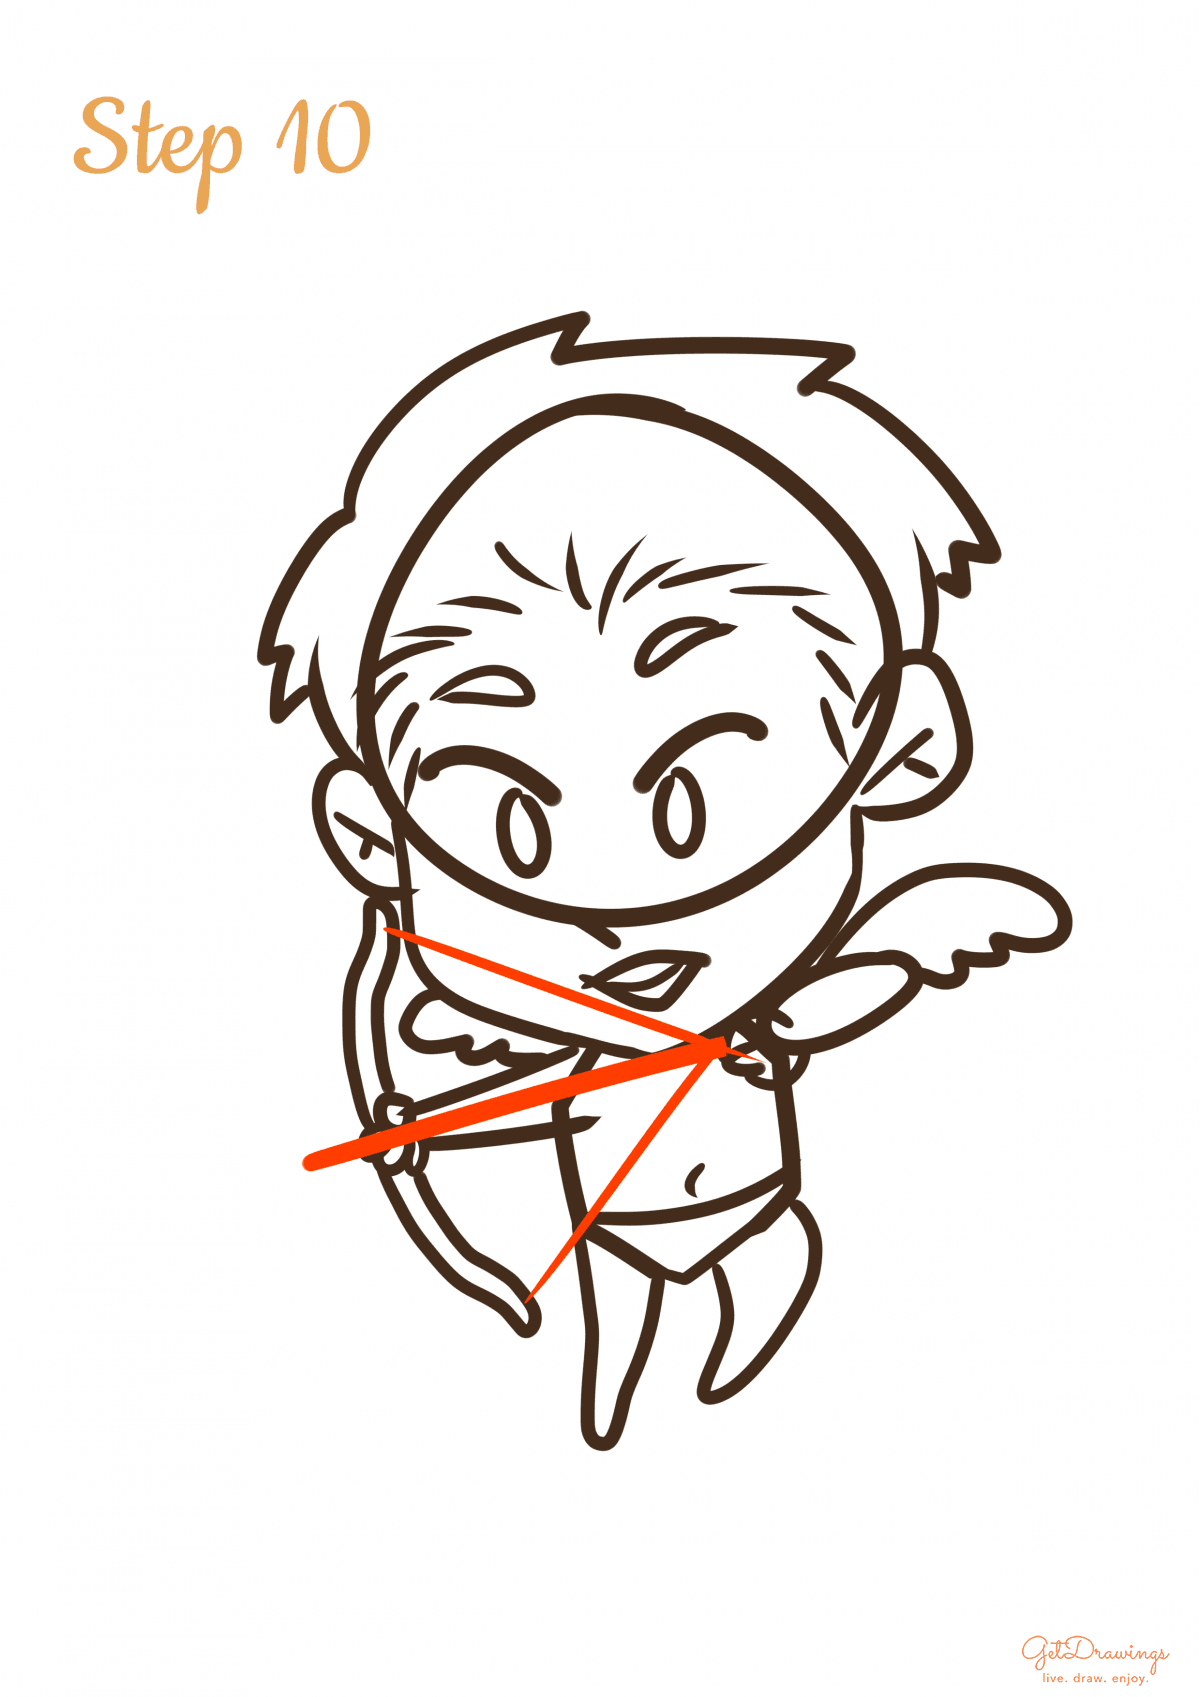
Step 10: Now we can start drawing the arrow and the line on the bow. Create the arrow by making a straight line in between the bow, and add another diagonal line to create the bow’s lines.
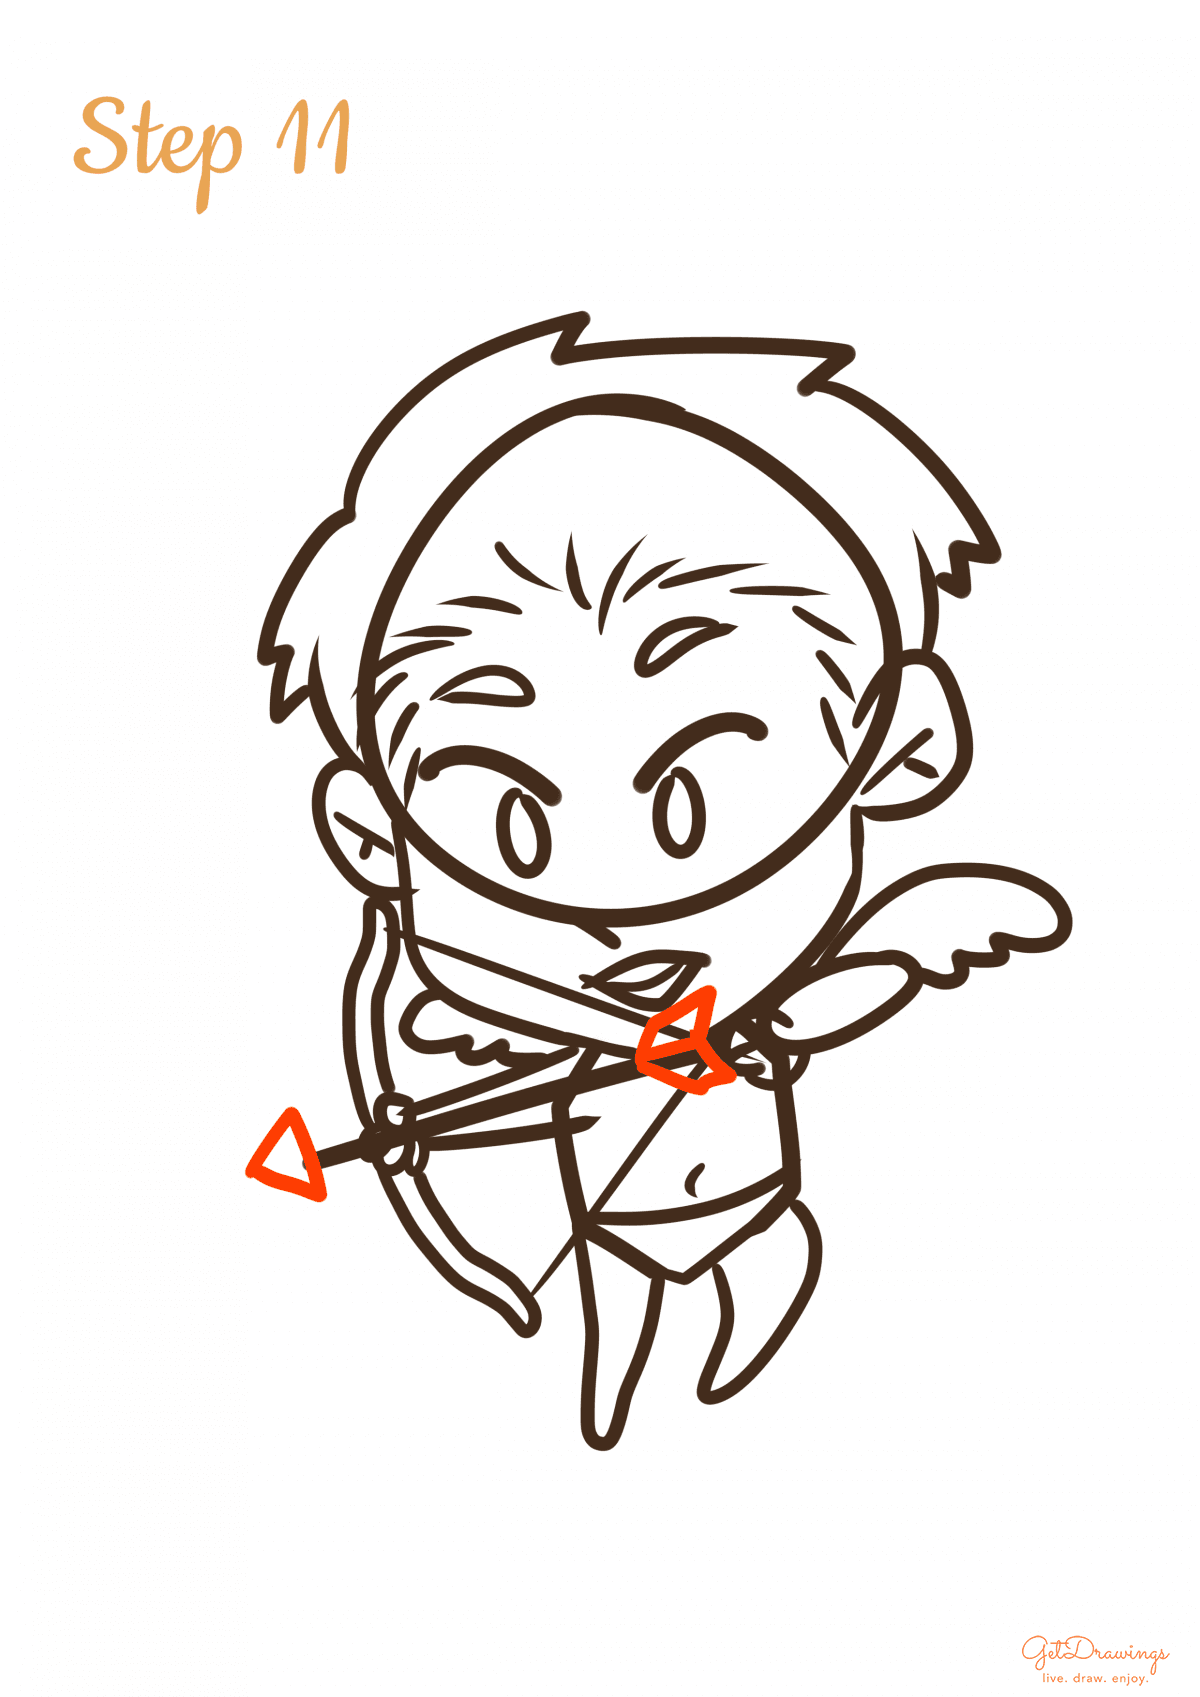
Step 11: Finally, we can start drawing the details. Start from the pointy part of the arrow by drawing a triangle on the left-hand side of the arrow. Then create two parallelograms on the right-hand side of the arrow. This will be the fletching of the arrow.
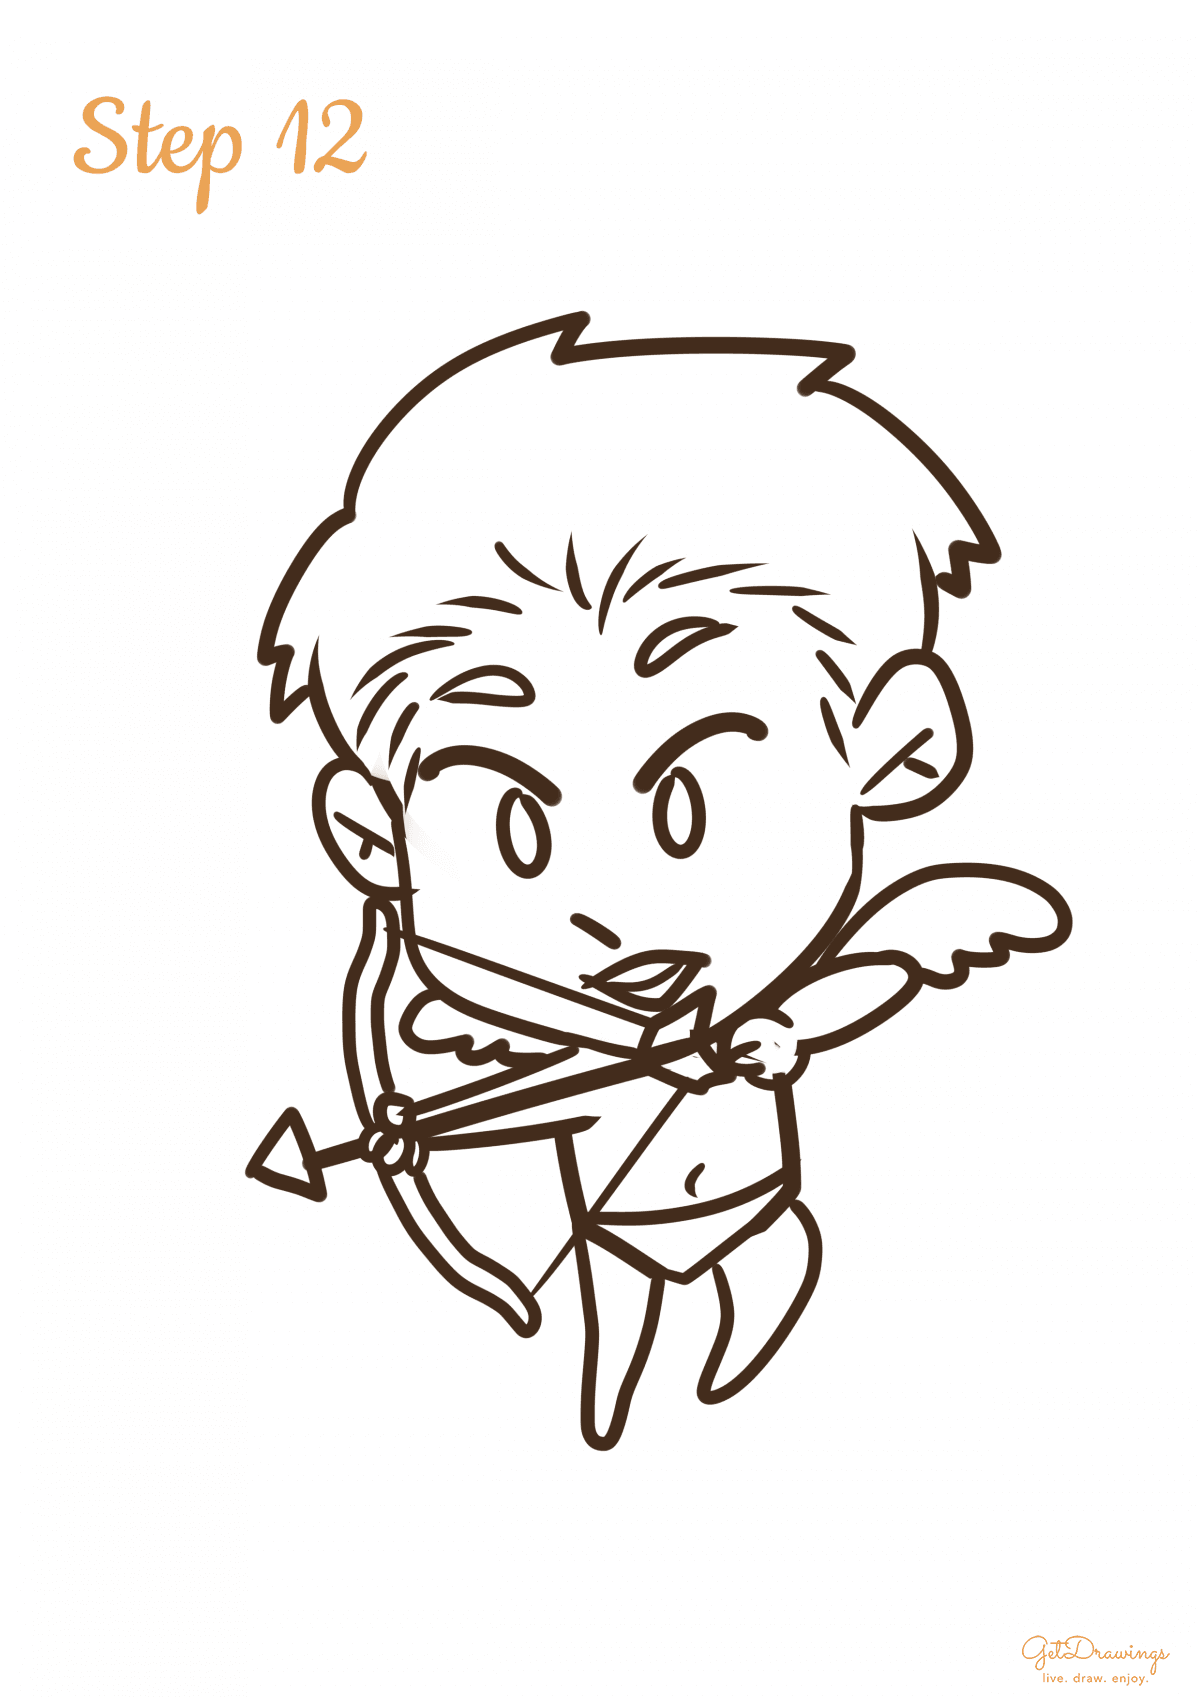
Step 12: Lastly, there’s a line that intersecting each other, It’s the best time to erase it. To see your Cupid clearly, you’ll need clean lines. Voila! You’ve finished drawing a Cupid!

Since you’re drawing a Cupid, you need to look at the actual reference of what you’re going to draw. It is important because drawing mythical creature won’t be smooth or easy if you don’t know the reference. Even if it’s seems easy, this will be hard if you’re not used to draw. You’ll need keen eyes and a lot of practice so you can make your drawing perfect. Good luck!


Drawing hacks
Drawing hacks

Digital Drawing for Beginners

Drawing Ideas - an Inspiring List of Things to Draw

Watercolor painting for beginners
