How to draw a Christmas Elf
During Christmas, a figure like Santa Claus have tons of subordinate which is an army of Christmas Elf. An elf is a fictional magical dwarf-like character that helped Santa Claus in making the gifts for well-behaved children. They live with Santa at the North Pole throughout the year. Therefore, if you want to depict Christmas Elf, you can follow my instructions. Prepare a paper, a pencil, and an eraser. Now we’re ready to draw!
Steps:
Step 1: First of all, we’ll start by drawing the guidelines. The purpose of guidelines is to help you estimate the size of the body and to guide you in drawing the rest. Therefore, we’re going to draw from top to bottom. Therefore, we need to start drawing a circle at first with two straight lines that crossed each other inside the circle. This will be the head guideline. Don’t forget to leave a space below it for the rest of the body.

Step 2: Moving on to the next step. To make ears, eyes, eyebrow and cheek, you can start from the both side of the head guideline to create curved lines that ends in the center of the guideline (see picture to better understand). This creates cheeks until its chin. Then, add two leaf-like shapes on top of the cheek line to create the ears. Add a thunder like shape with uneven line to create the in-depth part of the ear. After that, create two arches on the center of the horizontal guideline to create the eyes and add two narrow ovals below it. Moving on, add another smaller two leaf-like shapes for the eyebrow on top of the previous steps.

Step 3: Next, we’ll continue drawing the hair, nose and mouth. Now create its nose by adding a short diagonal line near the vertical guideline and below the eyes. After that, add a long and two short straight line below the nose to create the smirking smile. Then, add several lines (see picture) to create the hair lines and sideburns being slicked back. After that add another curve to depict the head and add another spiky line to add spikes on the right-hand side of the head.

Step 4: Moving on, we’ll be drawing its hat. Therefore, we’ll draw the guideline of the hat by adding a triangle-like shape with curvy line on the lower line. Then add several curve lines to create pattern on the hat.

Step 5: Now we can start drawing the cloak by making several spikes around the neck and add small circles on each spike.

Step 6: Then, moving on to the body and legs guidelines. Start from creating an uneven rectangle below the previous step and add four straight lines below it to make the legs.

Step 7: Next, draw the arm by making line that resemble elbow on both sides. Add a belt by drawing two straight line in the middle of the body guideline. Then we can start making the shoes by adding a small-uneven-rectangles on both legs.

Step 8: Moving on to the next step, we can continue to draw two gloves by creating shapes that resemble hands holding the hip (see picture to better understand). Then, add a rectangle on the center of the belt to create the buckle. After that add two trapeziums for making the shoes.

Step 9: After that, add the details on the buckle by making another smaller rectangle inside it. Then, add a circle on top of the buckle for the button on elf’s coat.

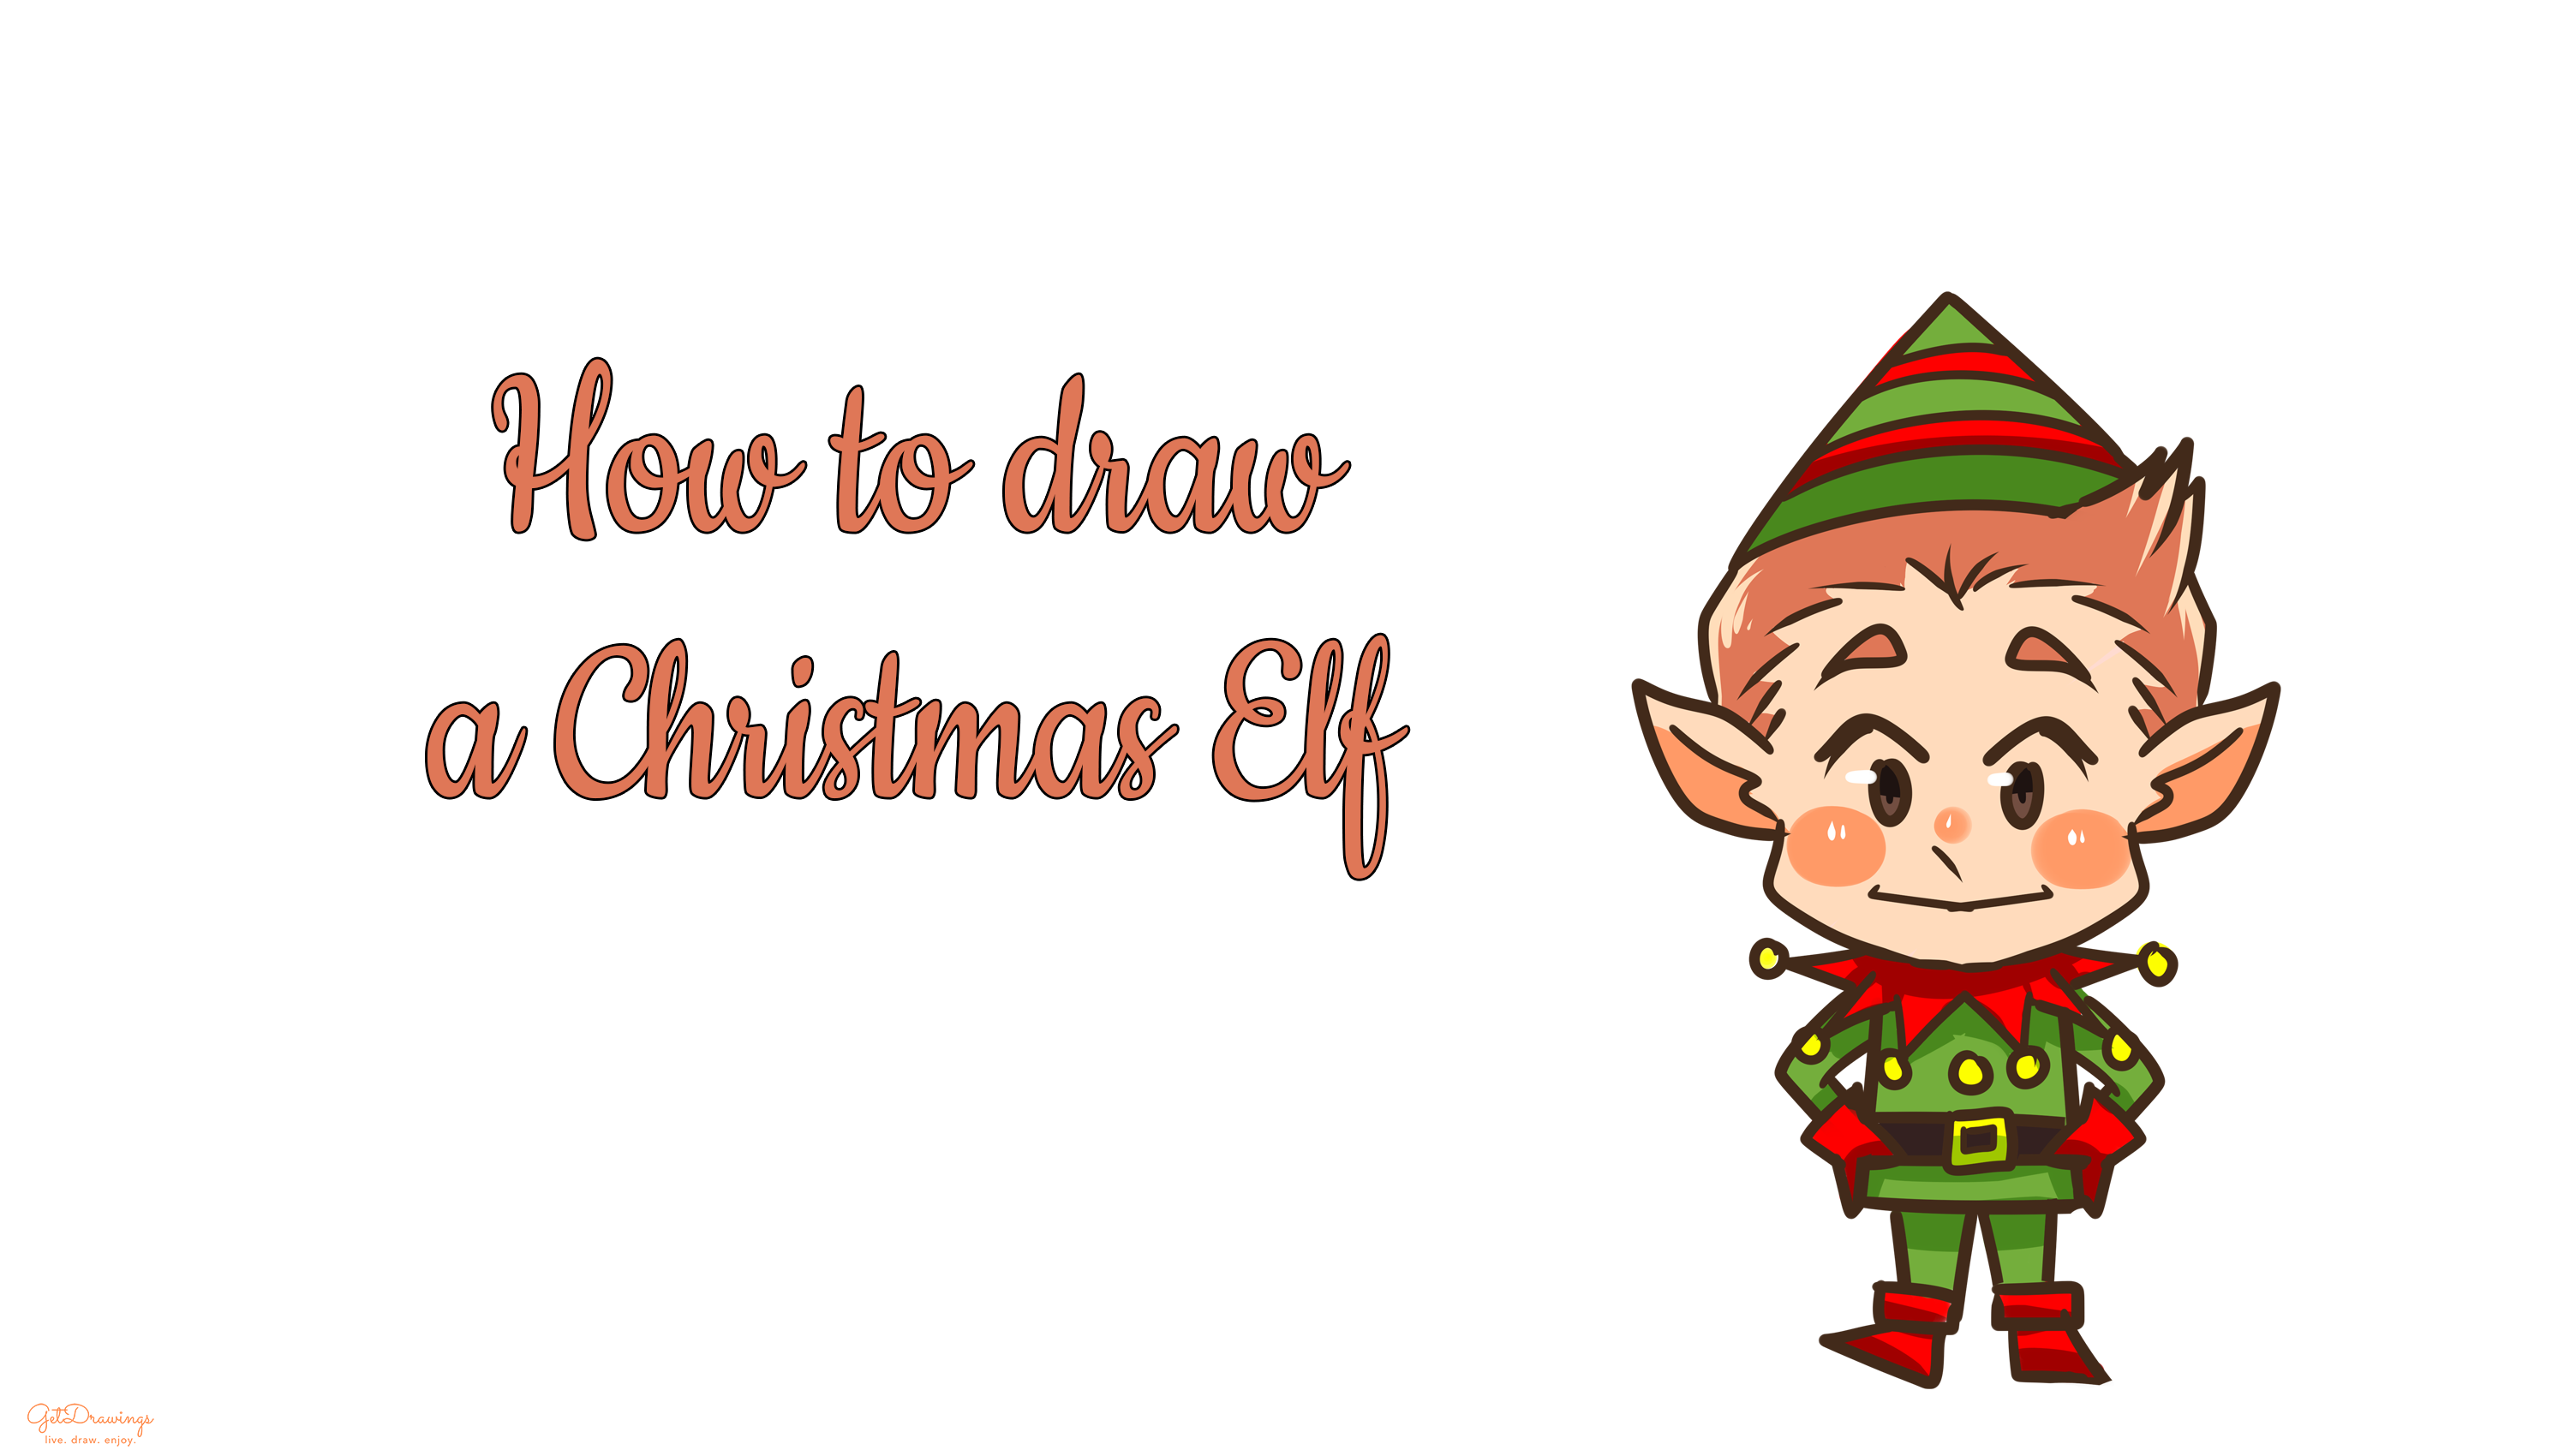
Step 10: Now we can finish it by erasing the guidelines and Voila! A Christmas Elf is done!


When drawing an elf, the most important part is to look at the reference. How’s the actual Christmas elf would wear, the detail, each part, etc. This is important because to look for the features in Elf. Therefore, it’s important especially drawing the guideline. You’ll need keen eyes and a lot of practice so you can make your drawing perfect. Good luck!
