How to draw a Horse?
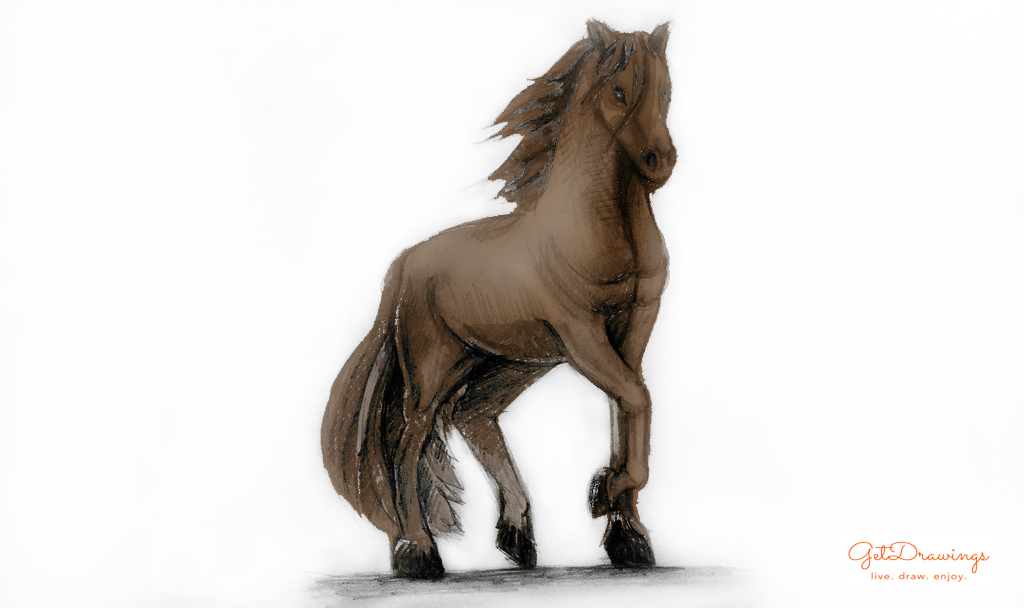
Today we will learn how to draw a horse in pencil. Horses are ancient helpers and companions of mankind, who have helped people in ancient times in work, battles and rest. By nature, the horse is a kind and peaceful animal, the image of which is often depicted in cartoons. With the help of my step-by-step tutorial, you can draw a horse easily and not compulsorily.
Tools and materials:
- White paper sheet;
- A simple pencil;
- An eraser.
So, let's start to draw:
Step 1. With a simple pencil we draw an oval, which later serves as the basis for the trunk of the horse:

Step 2. A little higher on the right, we draw a circle that will be half as large as the oval. The circle will serve as the basis for the animal's head:

Step 3. We connect the circle and the oval with winding lines. Thus, we draw the horse's neck:

Step 4. Now draw a muzzle, which will be slightly diverted to the right, with a rounded end:

Step 5. We will add on the vertex two small pointed ears, looking in different directions:

Step 6. Remove the circle from the eraser, which was drawn earlier in the construction. It will not be needed anymore. Next, draw the muzzle of the animal: eyes, nostrils and mouth:

Step 7. From the top of the head we will draw a part of the mane, which will fall on the horse's face. The lines are made slightly wavy and of different lengths:

Step 8. Now add the mane. Hair will be slightly diverted to the side (to the left), as if they develop in the wind:
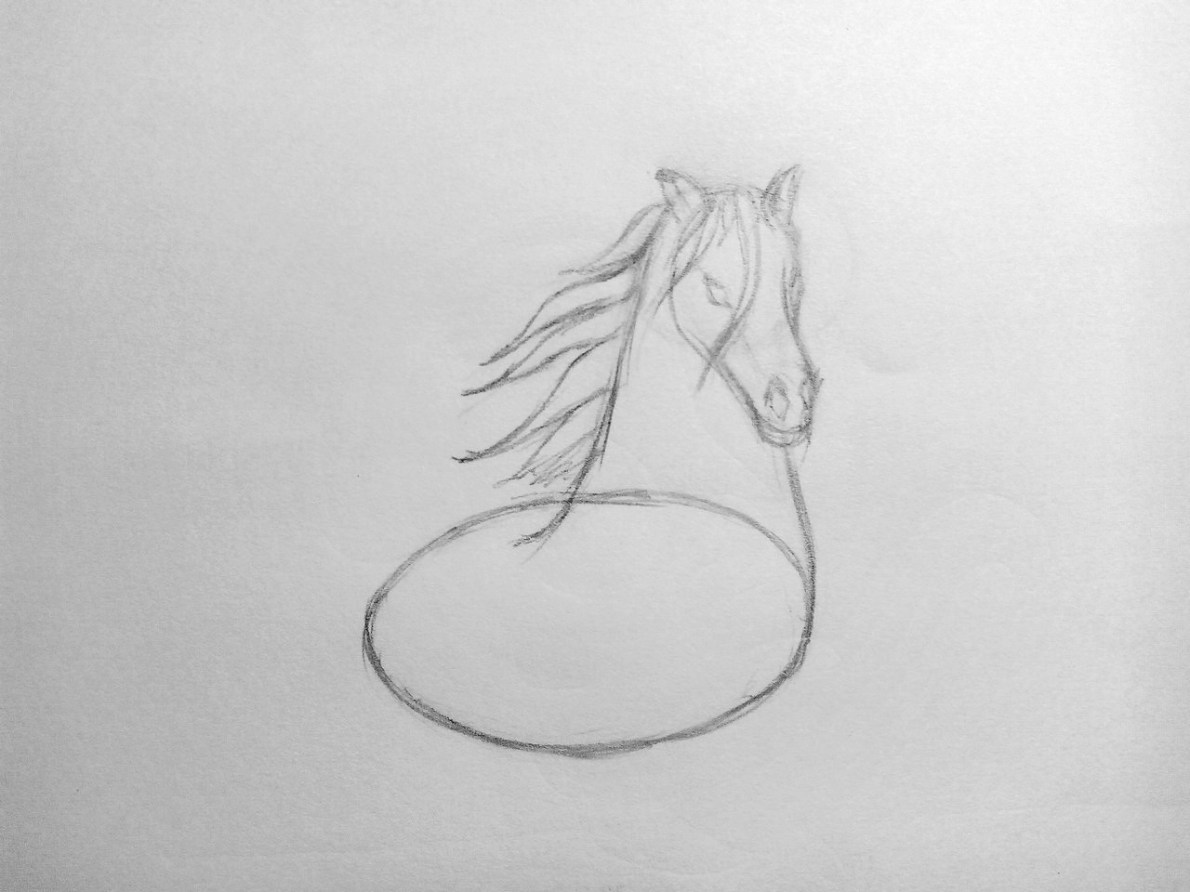
Step 9. Next, draw the neck and chest of the steed. Thanks to the symmetrical arrangement of the muscles, its chest is divided into four parts. Just add the outline of the back of the horse:

Step 10. Let's draw horse's two front legs. The left leg will be bent and held on weight, and on the right foot the emphasis is made:

Step 11. Now add the hind legs. Parallel to the front, one of the legs will be raised, in this case - the right one. Hind legs, in proportion to the front, will look more massive:

Step 12. Eraser erase the oval, which was the basis of the trunk. On the back of the animal we draw a long tail, and at the bottom of the legs - hooves:

Step 13. We draw the eye and the nostril with a simple pencil:

Step 14. Draw a shadow on the muzzle and neck of the horse, as well as add a falling shadow from the mane:

Step 15. Then we go to the two front legs. It is worth noting that the hind leg will be darker in tone than the front:

Step 16. Apply a slight shadow on the back of the horse's body:

Step 17. Strengthen the tone on the back of the animal's body. Near the bends, the strokes are made denser:

Step 18. We finish the drawing, adding the contrast of the illustration. We are working on the details. The drawing is ready!

So we learned how to draw a horse with the help of a step-by-step tutorial. Never try to draw a horse beautifully, if you did not come out the first time. You can always return to this manual to refresh the forgotten steps. Cheers :)

