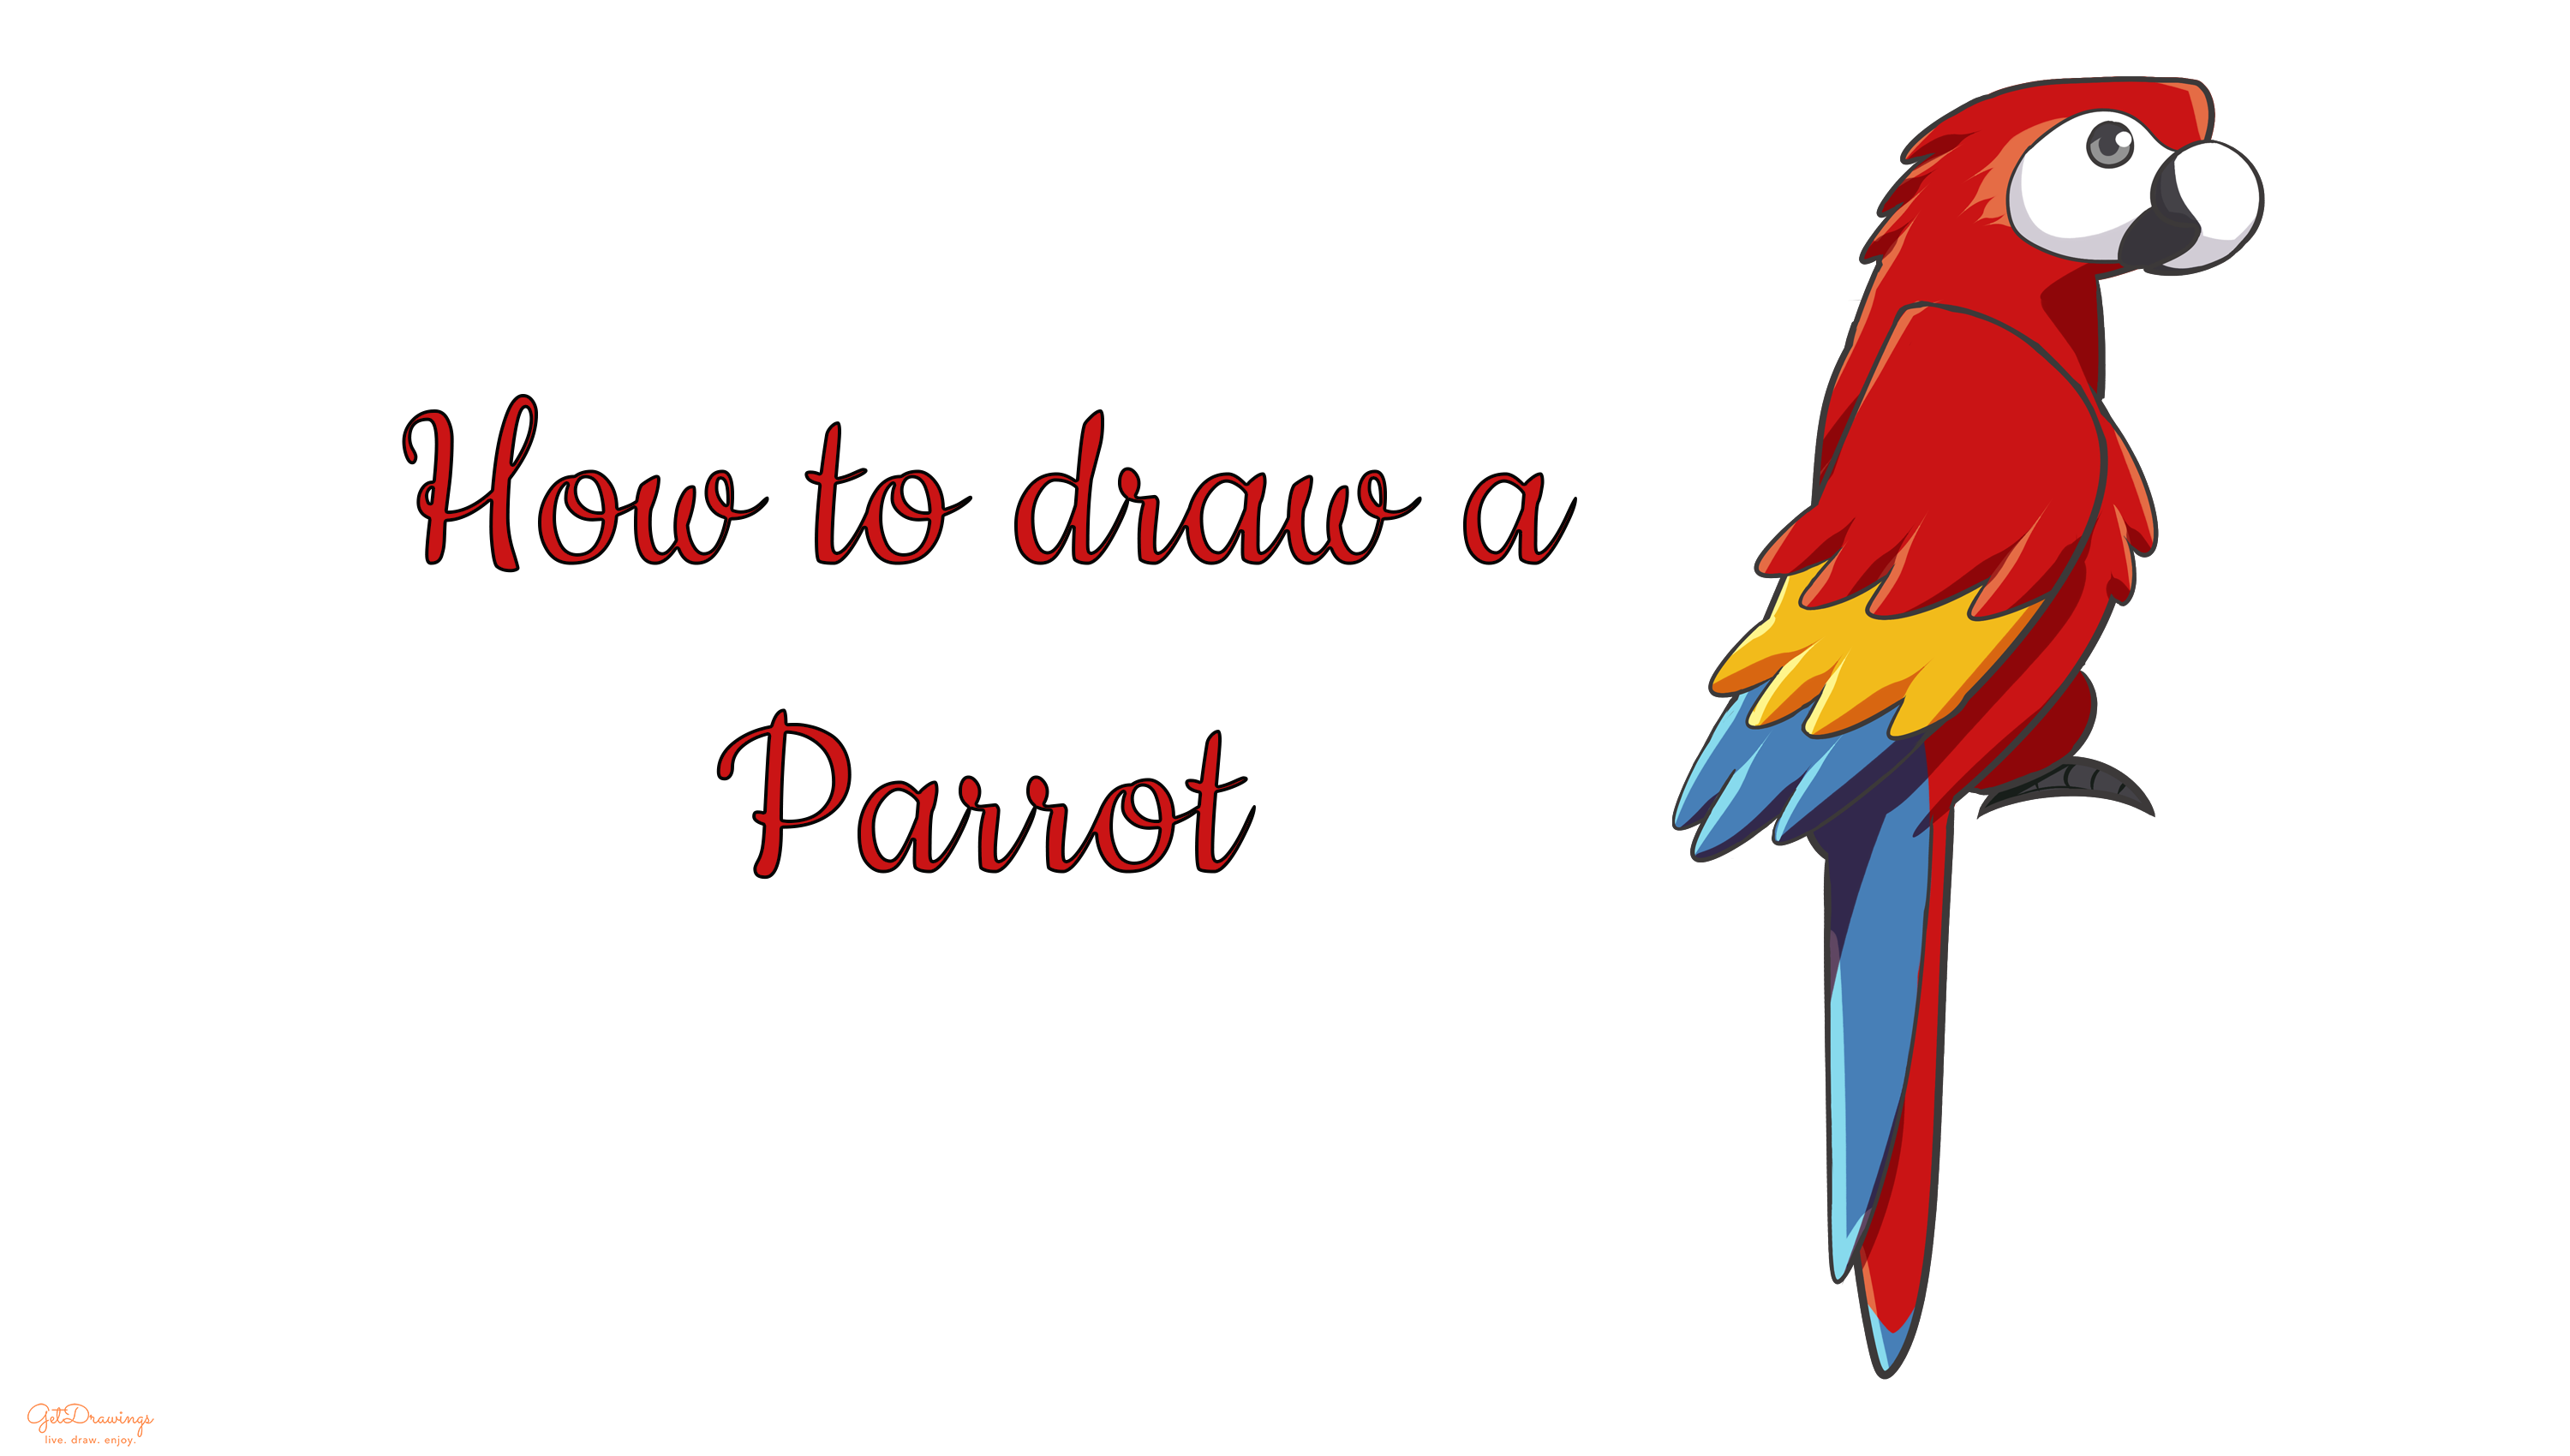
How to draw a Parrot?
This world provide lots of living beautiful things that we can see. One of the most beautiful things that we can see is Parrot with its colorful feather. It also became one of the animals that appears in a movie called “Aladdin”. If you want to capture the beauty of Parrot and would love to draw it, all you have to do is prepare a paper, a pencil and an eraser. Then, let us start drawing!
Steps:
Step 1. Firstly, you’re going to create its head first. But before that, we need to create a guideline in order to help you continue the rest. Draw a parallelogram with curvy edges to create the Parrot head guideline on the upper part of the paper. Also, don’t forget to leave a big space below it to reserve space for the rest of the body.

Step 2. Secondly, you’re about to continue to make its body. You don’t want your parrot to not have a body right? Draw a half-chicken-breast-like shape to create its body guidelines. Make it orient to the right because we’re going to make the Parrot facing on that way.

Step 3. Then continue to make its neck by creating two curve lines below the head guideline. These lines will be a guideline [that connects OR and a connector to] the head with the body.

Step 4. After that, we know that Parrot has a tail feather. We’re creating its guideline. Draw a narrow vertical arch to create its tail feather guideline. Make it longer than the length of the body.

Step 5. Don’t forget that a Parrot also has thighs. Create one for them by drawing a small curve on the lower body guideline.

Step 6. It’s not a bird if it doesn’t have wings, right? Create another half-chicken-breast-like shape for its wings guideline. Rotate it a bit so you can still see the body guideline.

Step 7. Your Parrot also has a pair of feet, so create one for them! Do it by creating a crescent-like shape below its thigh.

Step 8. What would it be if a bird doesn’t have a beak? Now you’re going to create its upper beak by creating a coma-like shape on the right-hand side of the head guideline.

Step 9. The beak also needs lower part. Create it by making a curve line from the lower edge of the upper beak.

Step 10. Now you can start creating its eye by drawing a circle next to the beak on the head guideline.

Step 11. After creating all the guidelines and several of its features, now we can go to the next part: detail. Start making a curve line (see picture) to add details to its head from the upper part of the beak.

Step 12. Then, continue the curve line to finish the details from the previous step by creating another curve line that ends on the lower beak.

Step 13. You also want your Parrot to look fluffy, don’t you? Create several curves on the head guideline, it’ll make your Parrot’s head looks fluffy.

Step 14. Usually, Parrots have 3 layers of color on its wings. We’re going to create several curves three-in-a-row on the wing part. See picture to better understand.

Step 15. As for the feather tail, it tends to have 2 layers of color. We’re going to create another narrow arch on the feather tail but shorter.

Step 16. Lastly, you also want the Parrot’s breast looks fluffy, right? Create several curves next to the body guideline.

Step 17. Your Parrot is done and you can erase the guideline! Also, you can color it the way you want!

To help you to draw the rest of the body, you need to create guidelines so you can imagine how the Parrot would like. It’ll take time to draw the beauty of Parrot but the results will make you believe you want to draw more when it’s done. You’ll have to practice more if you want to make your Parrot look exactly like the real one. If you can draw it once, you’ll want to draw anything even more!
