How to draw a Santa Claus
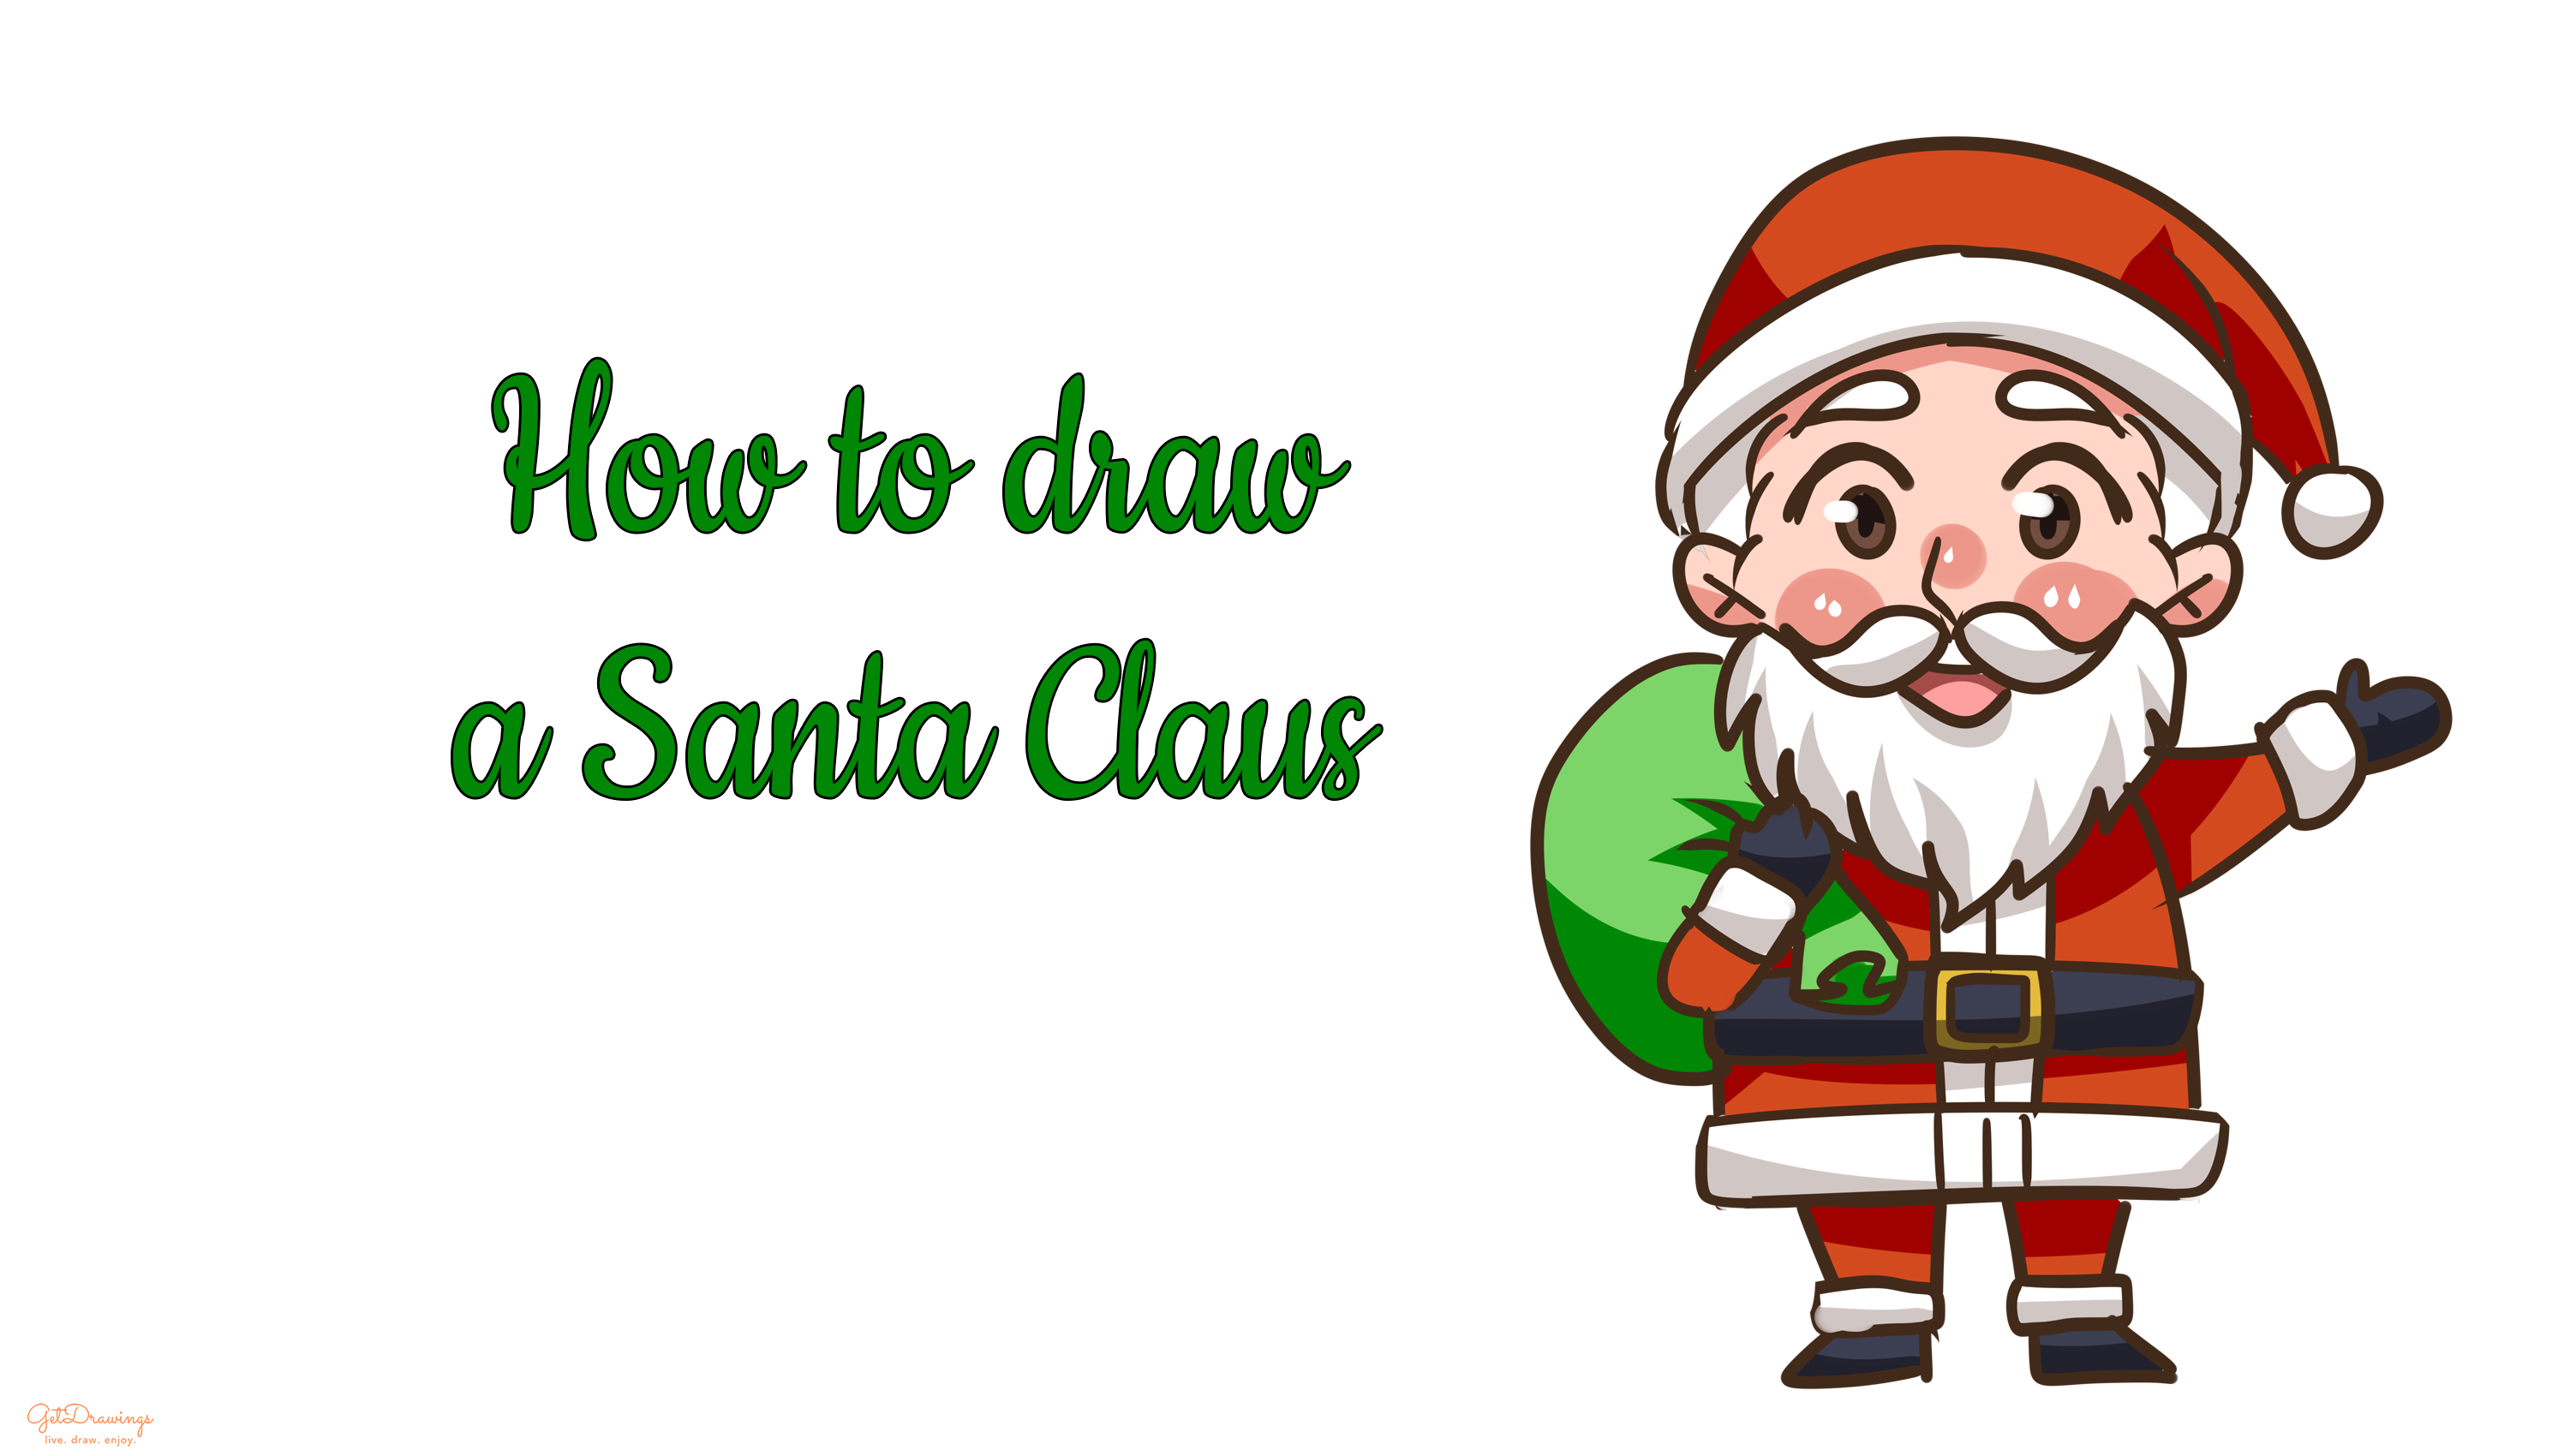
In December, there’s an annual festival where people commemorating the birth of Jesus Christ which is Christmas. Before that day, there’s a Christmas Eve where a legendary figure appear that bring gifts to the homes of well-behaved children. It is known as Santa Claus or simply, Santa. Santa Claus is portrayed as a white-bearded man with red coat and white fur collar and cuffs that carries a bag full of gifts for good children. Therefore, if you want to depict Santa Claus, you can follow my instructions. Prepare a paper, a pencil, and an eraser. Now we’re ready to draw!
Steps:
Step 1: First of all, we’ll start by drawing the guidelines. The purpose of guidelines is to help you estimate the size of the body and to guide you in drawing the rest. Therefore, we’re going to draw from top to bottom. Therefore, we need to start drawing a circle at first with two straight lines that crossed each other inside the circle. This will be the head guideline. Don’t forget to leave a space below it for the rest of the body.

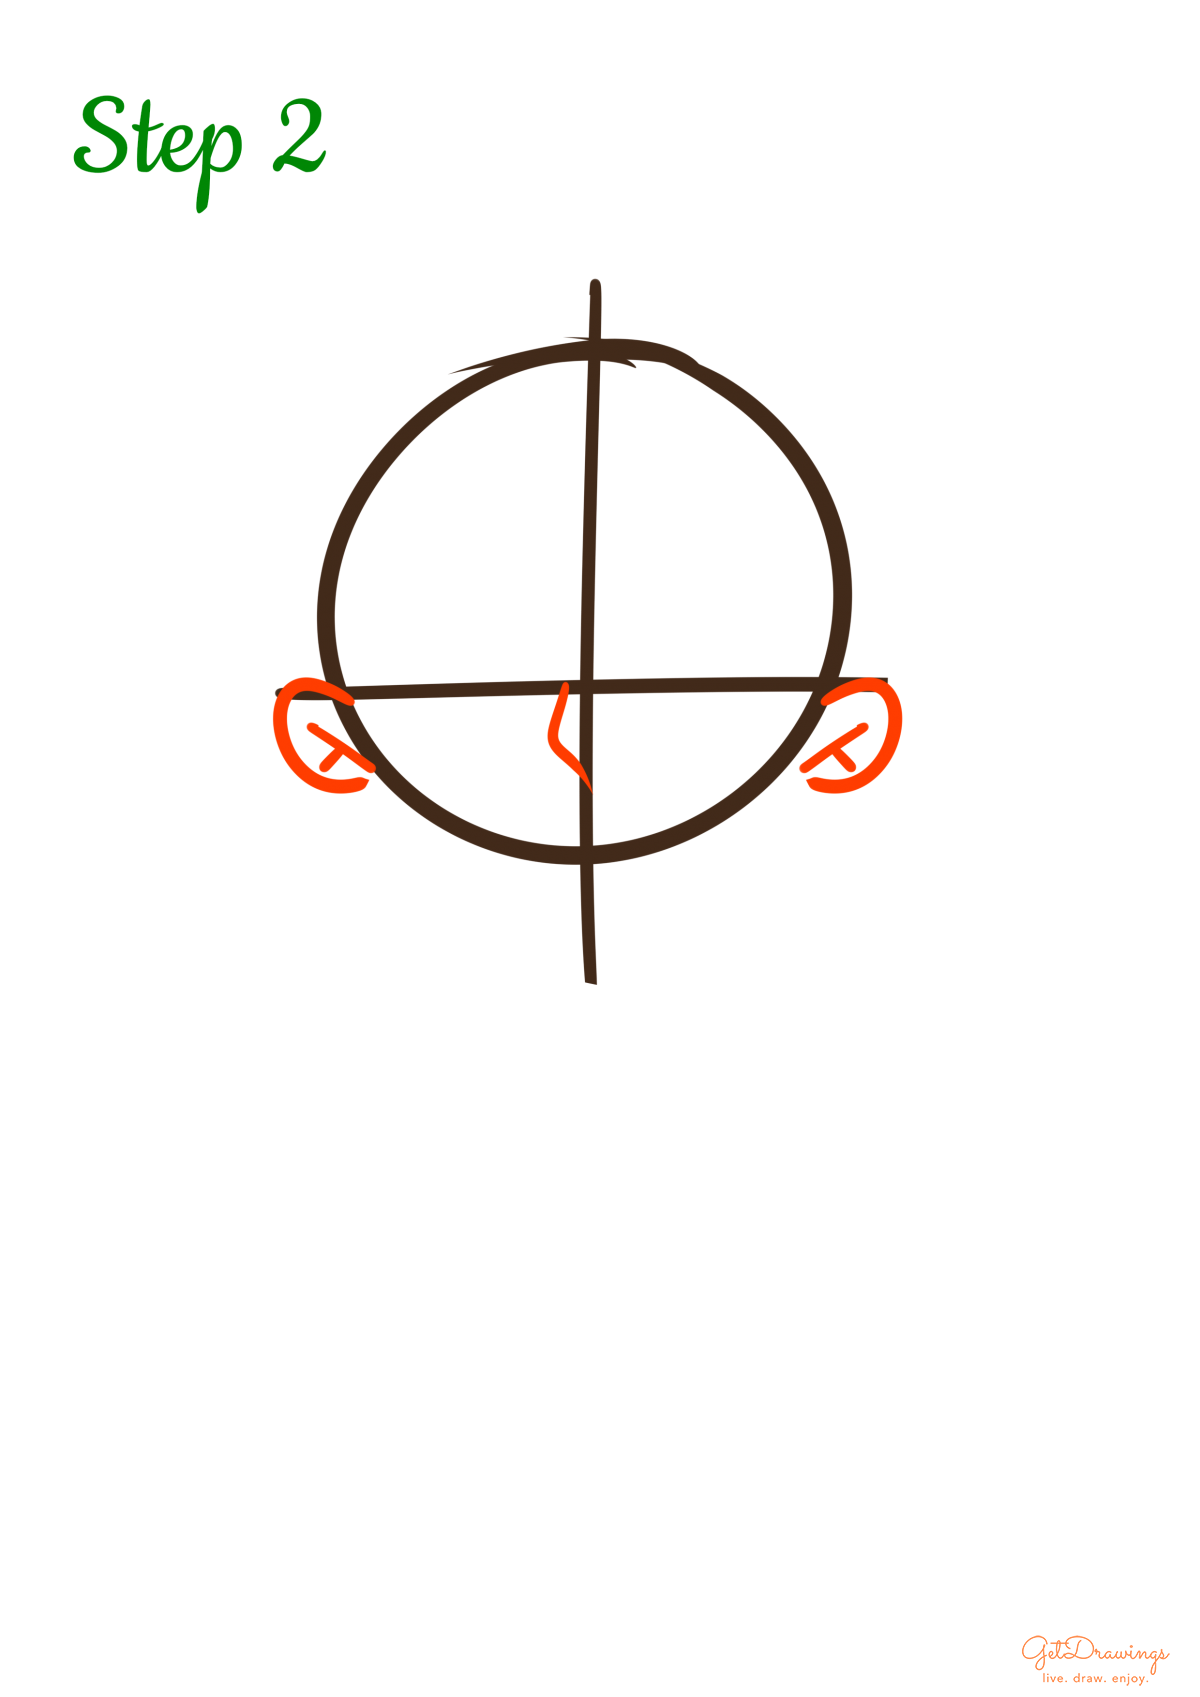
Step 2: Moving on to the next step. To make ears and nose, you can start from the both side of the head guideline to create curved lines and then add two short straight lines (See picture to better understand) to give a depth inside the ears. Then, add another curved line in the middle of the crossed line of the guideline to create its nose
Step 3: After the previous step, we’ll continue drawing the detail of the face. Now create its eyes by adding two arches above the horizontal line of the guideline. Lastly, add two ovals below the arches for the cornea. Add two leaf-like above the eyes to make its eyebrows for the final touch of making Santa’s face

Step 4: Moving on, we’ll be drawing its moustache and sideburns. Therefore, we’ll draw the guideline of the sideburns by adding several curve lines in between the ears and eyes of both sides (see picture). Then, create another two leaf-like shapes below the nose to create the moustache.

Step 5: Now we can start drawing the beard and mouth. You can start drawing the beard by creating a fire-like shape but reverted below the moustache. The length of the beard must be equal to the ears. Don’t forget to add two curve line to end the beard to the moustache. After that, since the mouth mostly covered by the moustache, just draw two curve line to depict the mouth and teeth showing.

Step 6: Then, moving on to the Santa’s hat. Start from the fur of the hat by creating two curve line that ends each other and closed the head. After that, add a big curve line above the fur until it reached the right-hand side of the head. Lastly add two short curve line to resemble the hat folding and edge line of the hat.

Step 7: Next, end the hat with the fur ball by creating a small circle on the last previous step. We can start by making the base of the body which is an uneven rectangle-like shape that have a curve line on each side. Then, create two of the arm guidelines by creating a diagonal small oval on the left-hand side of the body that intersect with the body guideline. As for the arm on the right-hand side, create two slightly curved lines (see picture to better understand).

Step 8: Moving on to the next step, we can continue adding detail to the Santa coat. Draw two long uneven rectangles on the center and below the body guideline to create a belt and the fur for the coat. Below the body guideline, add four straight lines to create the legs. Then, add two uneven rectangles on the arm part to create the fur cuffs of the coat.

Step 9: Now, you can start drawing the hands by creating several curve lines that creates fists on the left-hand side. As for the right-hand side, just create a small and bigger curve that resemble an open hand. Then for the details on the coat, create a square in the middle of the belt to create the buckle. Then, add several straight vertical lines in the center of the coat. Then create furry cuffs for the lower pant by adding small rectangles with curved edges. As for the shoes, create two trapeziums below the furry cuffs.

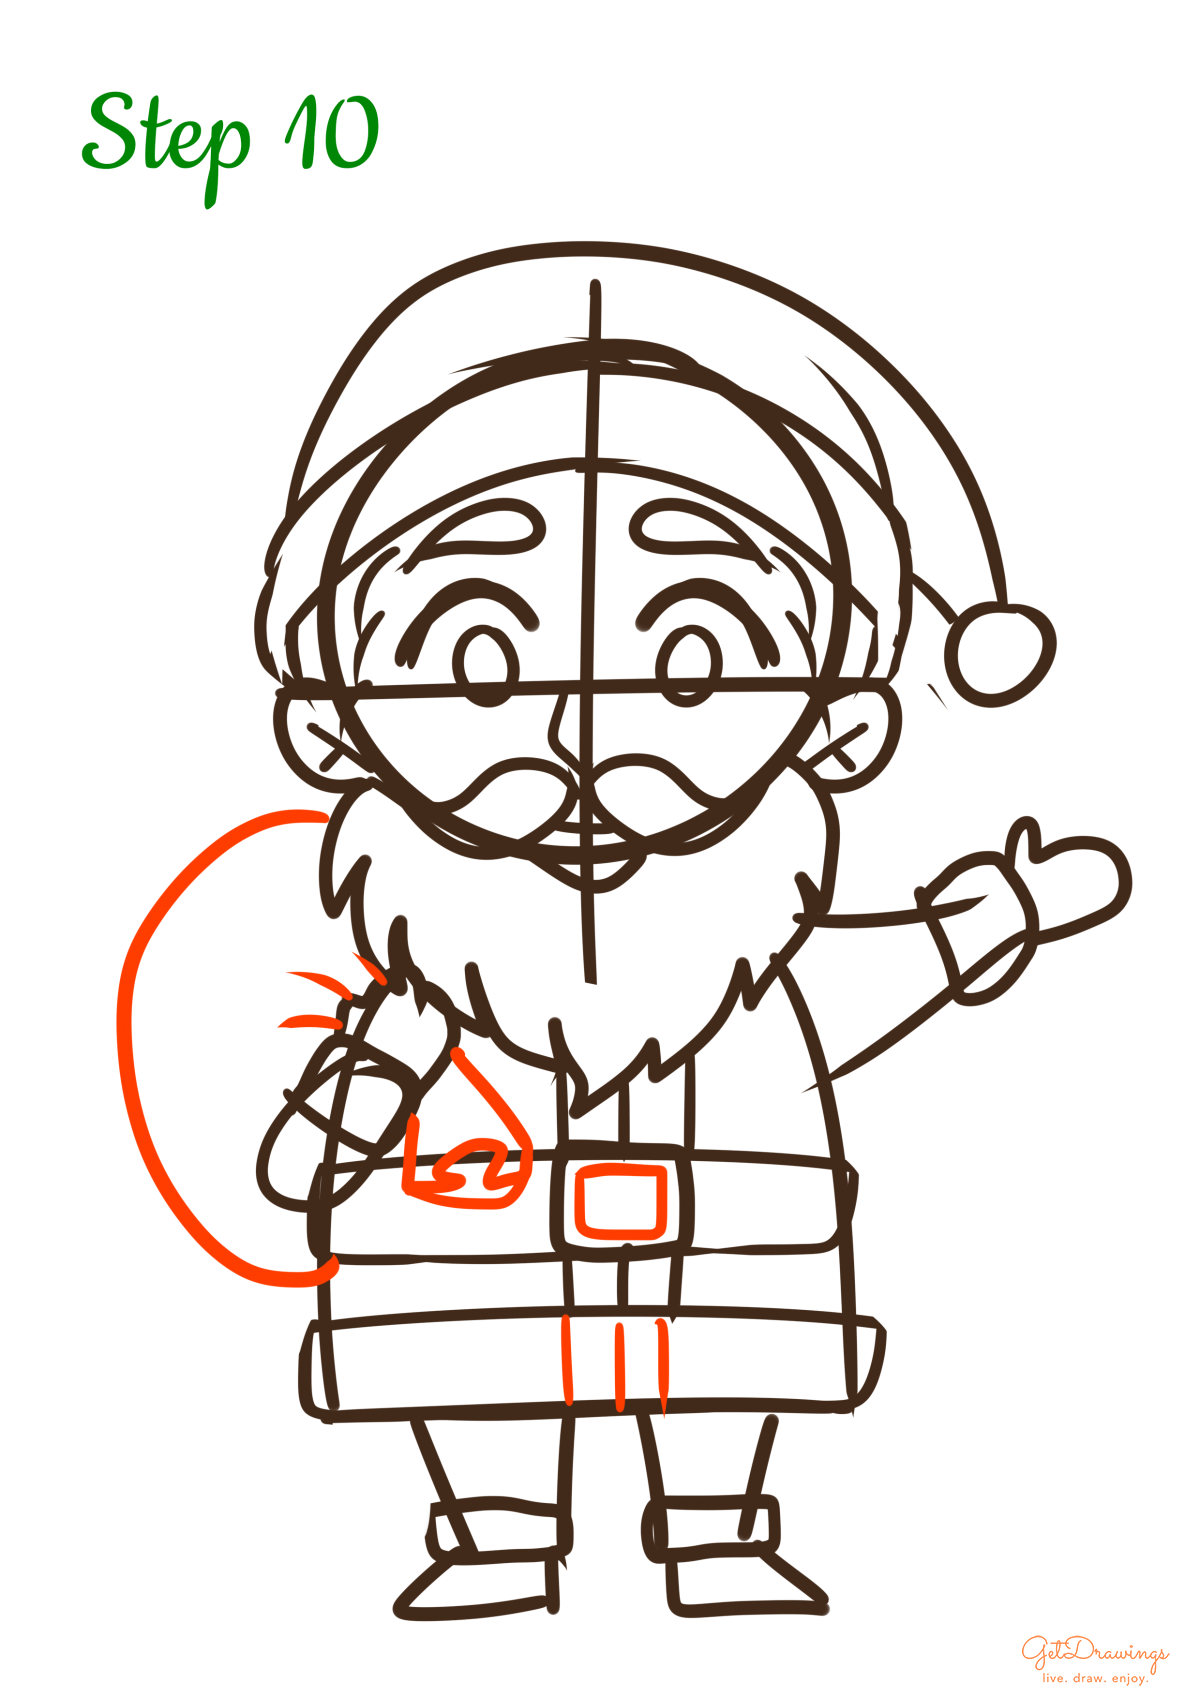
Step 10: Then, continue with the buckle, add a smaller rectangle in the middle of the previous rectangle. Also, add another detail on the furry detail on the lower coat by drawing three short straight lines. After that, we’ll be drawing a bag of gifts starting from the giant curve on the left-hand side of the body to resemble the many gift Santa brought. After that add three short curve line near the left-hand side hand. Lastly add several lines that consist of straight and curve lines to resemble the end of the bag (see picture).
Step 11: Now we can finish it by erasing the guidelines and Voila! Santa Claus is done!

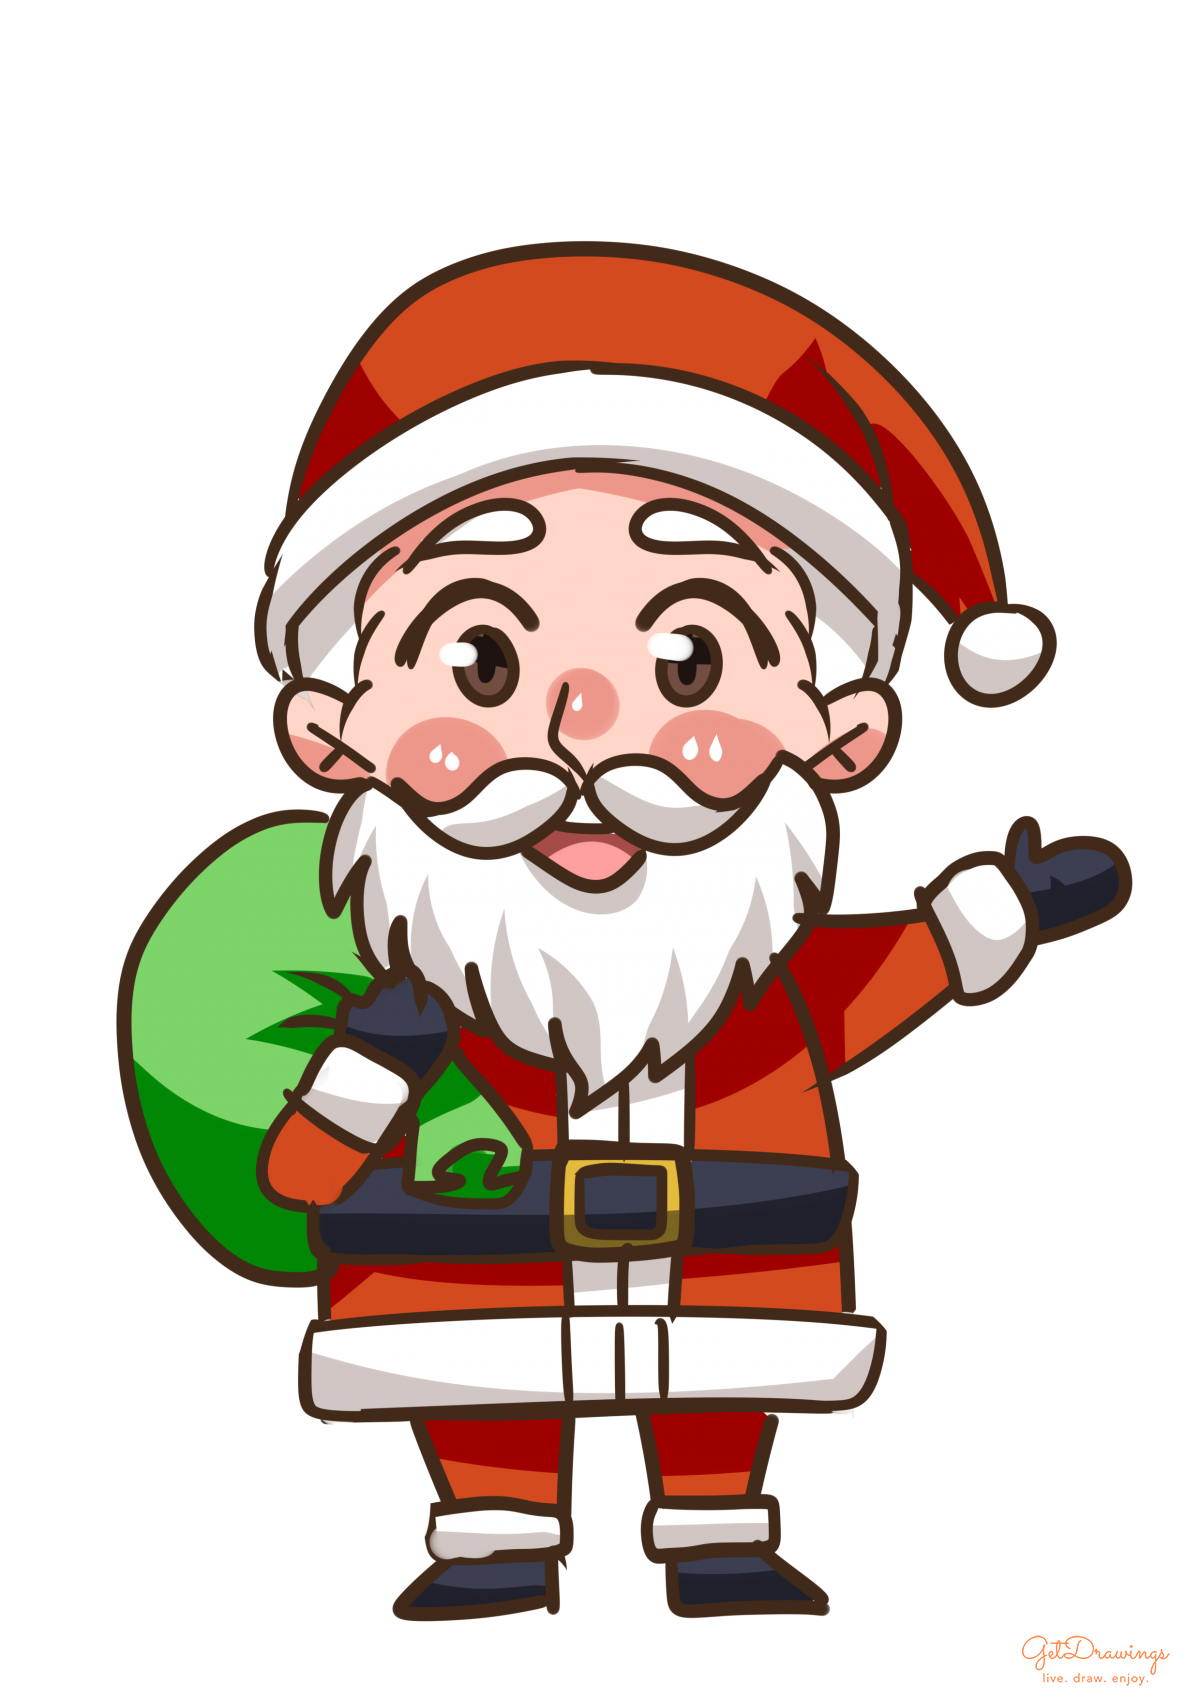
When drawing a Santa Claus, the most important part is to look at the reference. How’s the actual Santa Claus would wear, the detail, each part, etc. This is important because to look for the features in Santa Claus. Therefore, it’s important especially drawing the guideline. You’ll need keen eyes and a lot of practice so you can make your drawing perfect. Good luck!
