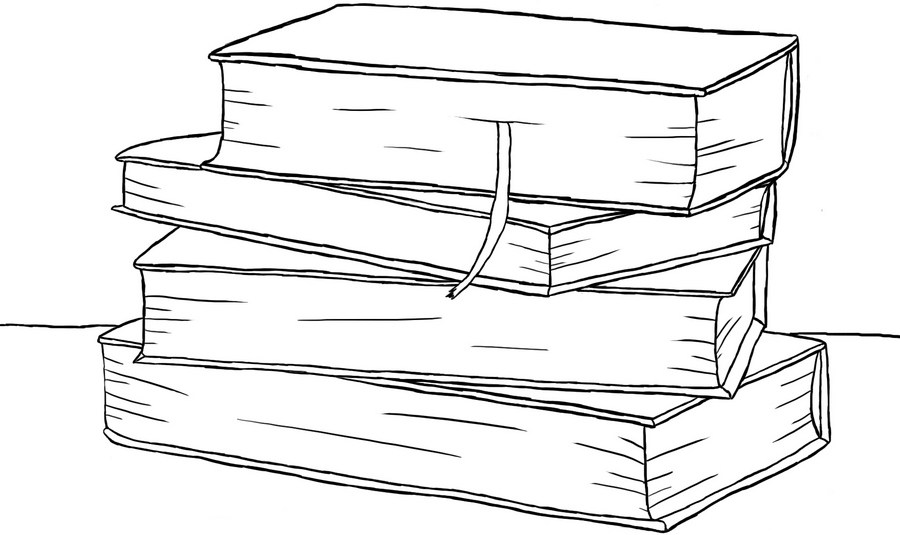
How to draw Books on a graphic tablet?
Learning to draw on a graphic tablet is similar to learning to draw on paper. Beginning to learn to draw is not worth with complex illustrations, which are filled with small details. First we will practice drawing objects from simple shapes. From the tutorial we learn how to draw books on a graphic tablet in Adobe Photoshop. Their shape is similar to squares and rectangles, and for a beginner painter they are the most suitable figures for training.
Tools and materials:
1. Graphic tablet and feather (used Wacom Intos Draw, but any analogy is suitable).
2. USB connection to a computer or laptop.
3. Software Adobe Photoshop.
You can also use a simple pencil, an eraser and a piece of paper.
Steps of the work:
Step 1. Open Adobe Photoshop. Create a new document (surface) in the following sequence: File - New. You will have a window in which we expose the dimensions of our future surface. We do this in pixels: width - 1754 and height - 1240.
Step 2. We expose the parameters of the brush. Diameter should be 5, if necessary, you can slightly increase. The mode is normal, the opacity is 100, the pressure is 100.
Step 3. Draw a horizontal rectangle on the surface of the sheet. It will determine the total width and height of all the books in the picture:

Step 4. Draw the figure of the first book, only lines and without detail:

Step 5. We'll finish to draw the other three books, so that in general there are four pieces. Notice that they all lie in different ways, but the drawing should not go beyond the edges of the common rectangle (which we built in the first step):

Step 6. We need to highlight the cover on the books, so we are thickening this area:

Step 7. Remove the outer rectangle that helped with the construction, using the "eraser" tool. Add a bookmark in the form of a tape that hangs from the upper book:

Step 8. The area where the paper is located (the inside of the book), remains flat for a while. It needs to add invoices. For this purpose, near the bends and in the middle, we add several lines of different sizes with pointed edges:

Step 9. For the stability of the drawing, you need to add a horizontal line, placing it behind the books:

Step 10. The drawing is ready! Only remains to save it. Click File - Save As ...:
Step 11. After you click "Save as ...", a dialog box appears. It is necessary to choose the appropriate format. Find the "File type", and after, click on the arrow from which the drop-down list will appear. To make a picture open on your computer through a normal picture viewing, select the format - JPEG (JPG) or PNG. Confirm by pressing OK. Attention, you must remember where you save your work, otherwise you will simply lose among the other files:
We learned how to draw not only smooth lines on a graphic tablet, but also learned how to draw books. This exercise can be done a little differently, if you put several books next to your computer, from which you will also draw in a linear form, through a graphic tablet. This tutorial can be performed more than once to "study" the hand with simple forms.

